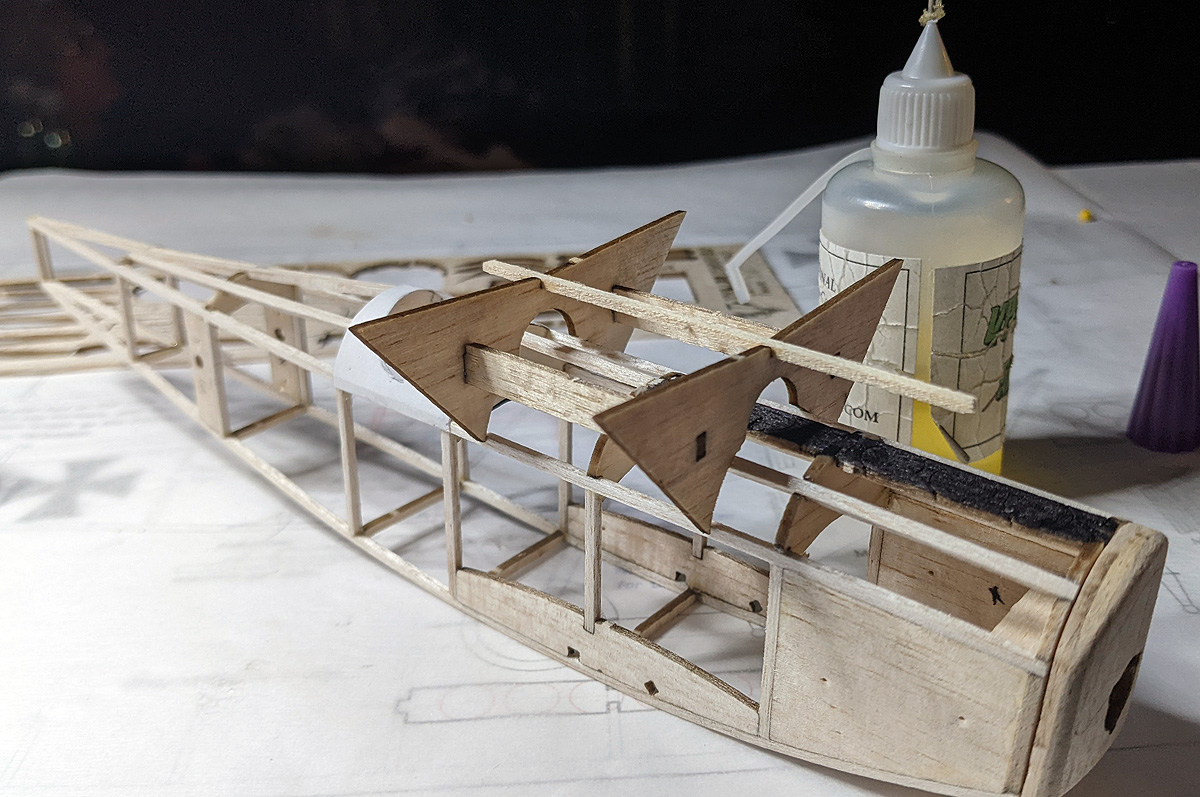
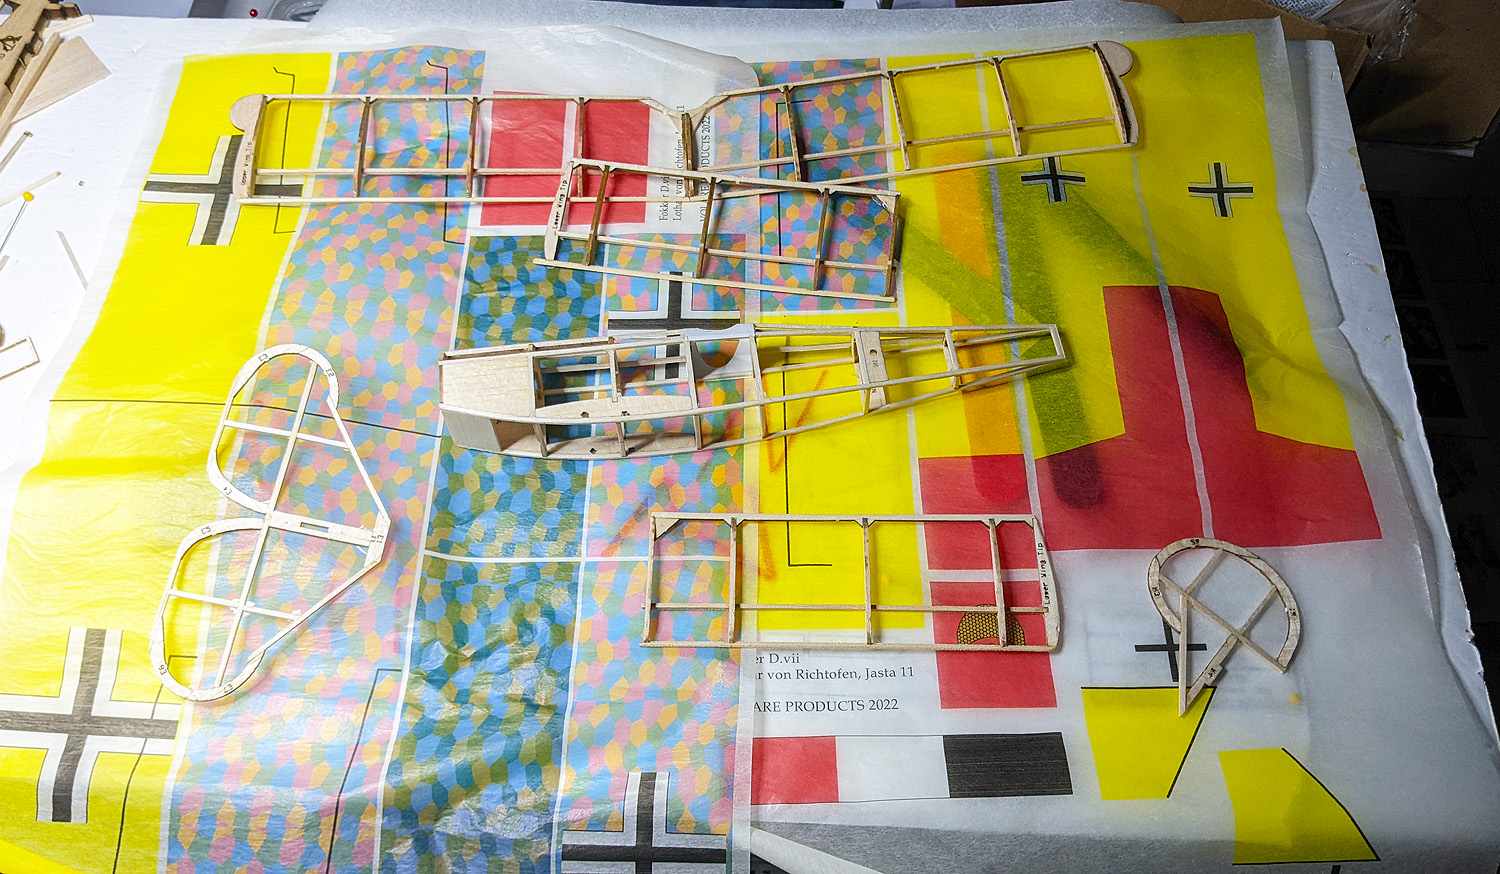
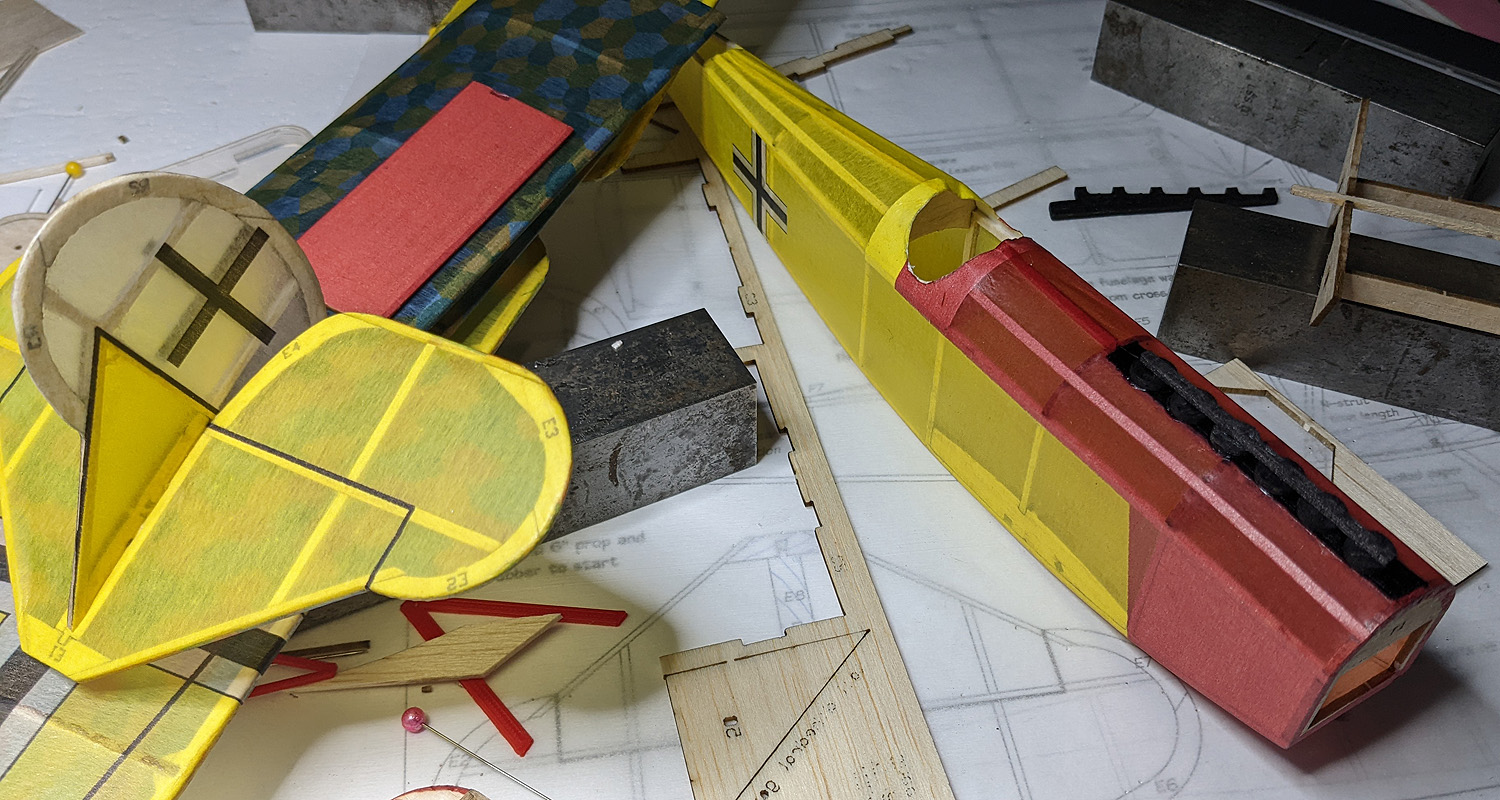
Trimming the Model, that is; keep your models away from trees!
While I have a degree of success in getting models to fly, I do not consider myself an “expert”. After 30 years of flying Free Flight, I still have a good degree of uncertainty when it comes to making my models perform as I think they should. I go to many contests and wonder how “the greats” do it and why don’t my planes fly that way.
Today, I will outline some of the things that I have done to make planes fly. It won’t be “everything” but it’s a start. Keep in mind, I still shake my head – and scratch my head – when I encounter a plane that is misbehaving. And this happens quite regularly – almost with EVERY model I build. Today I am going to cover three models that I was flying at most recent Cloudbuster indoor contest just last week.
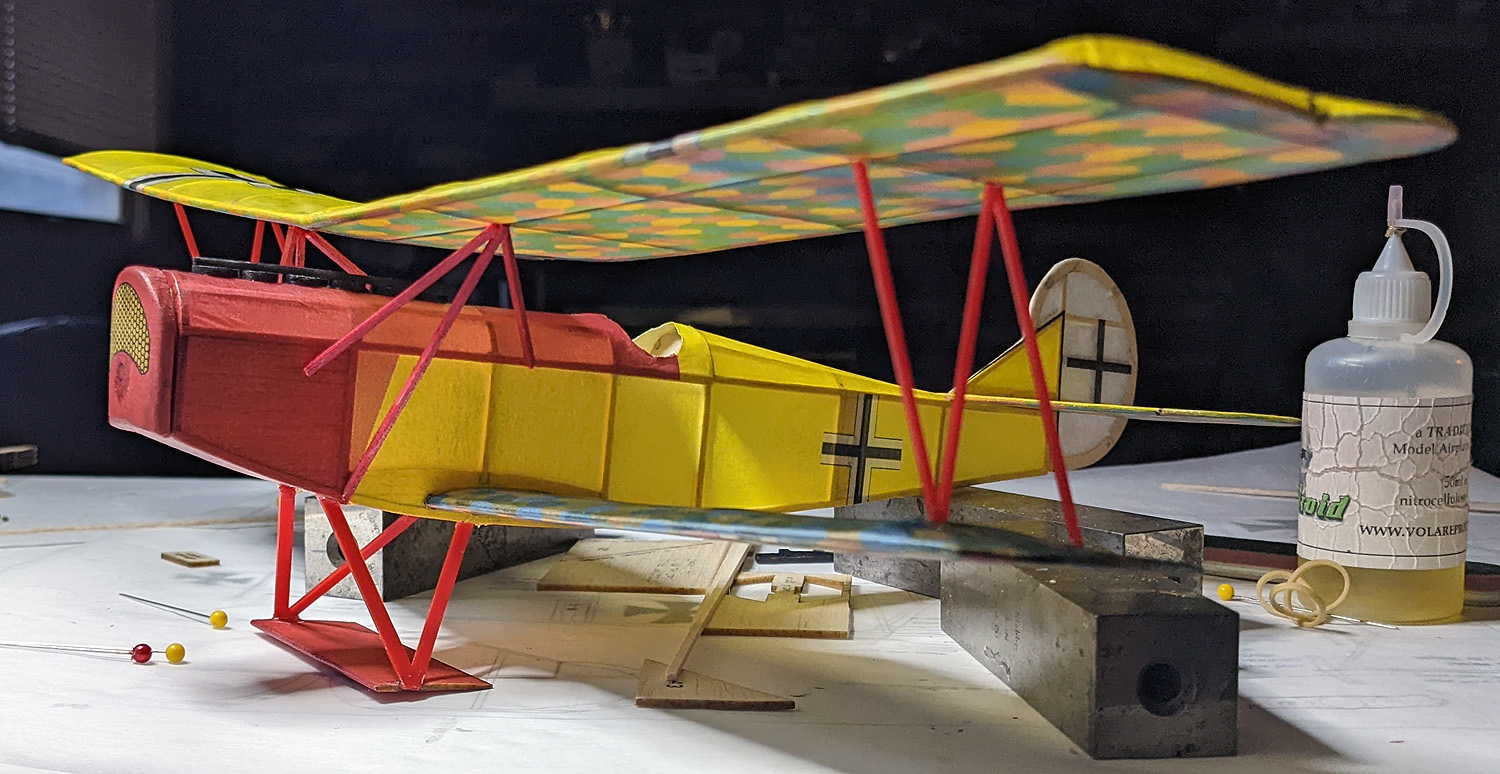
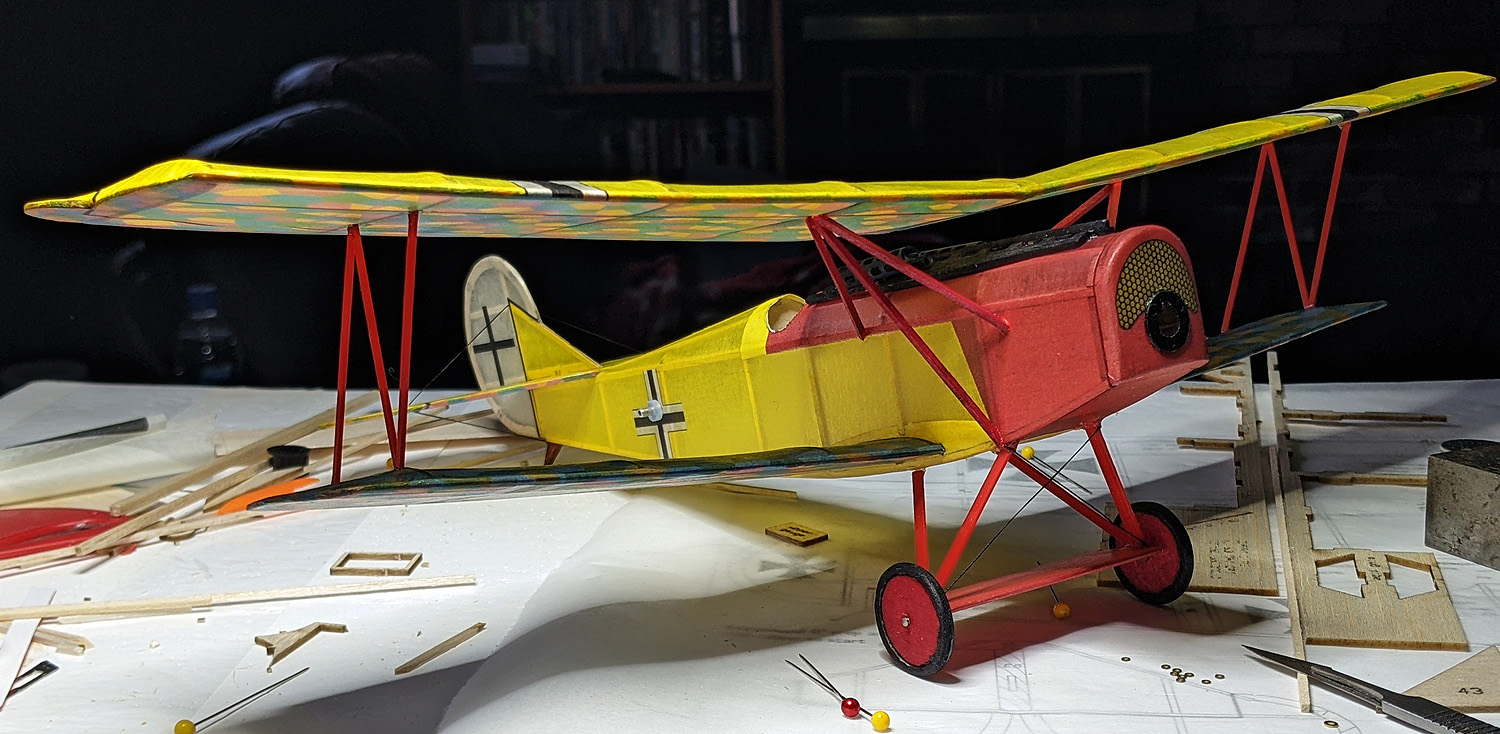
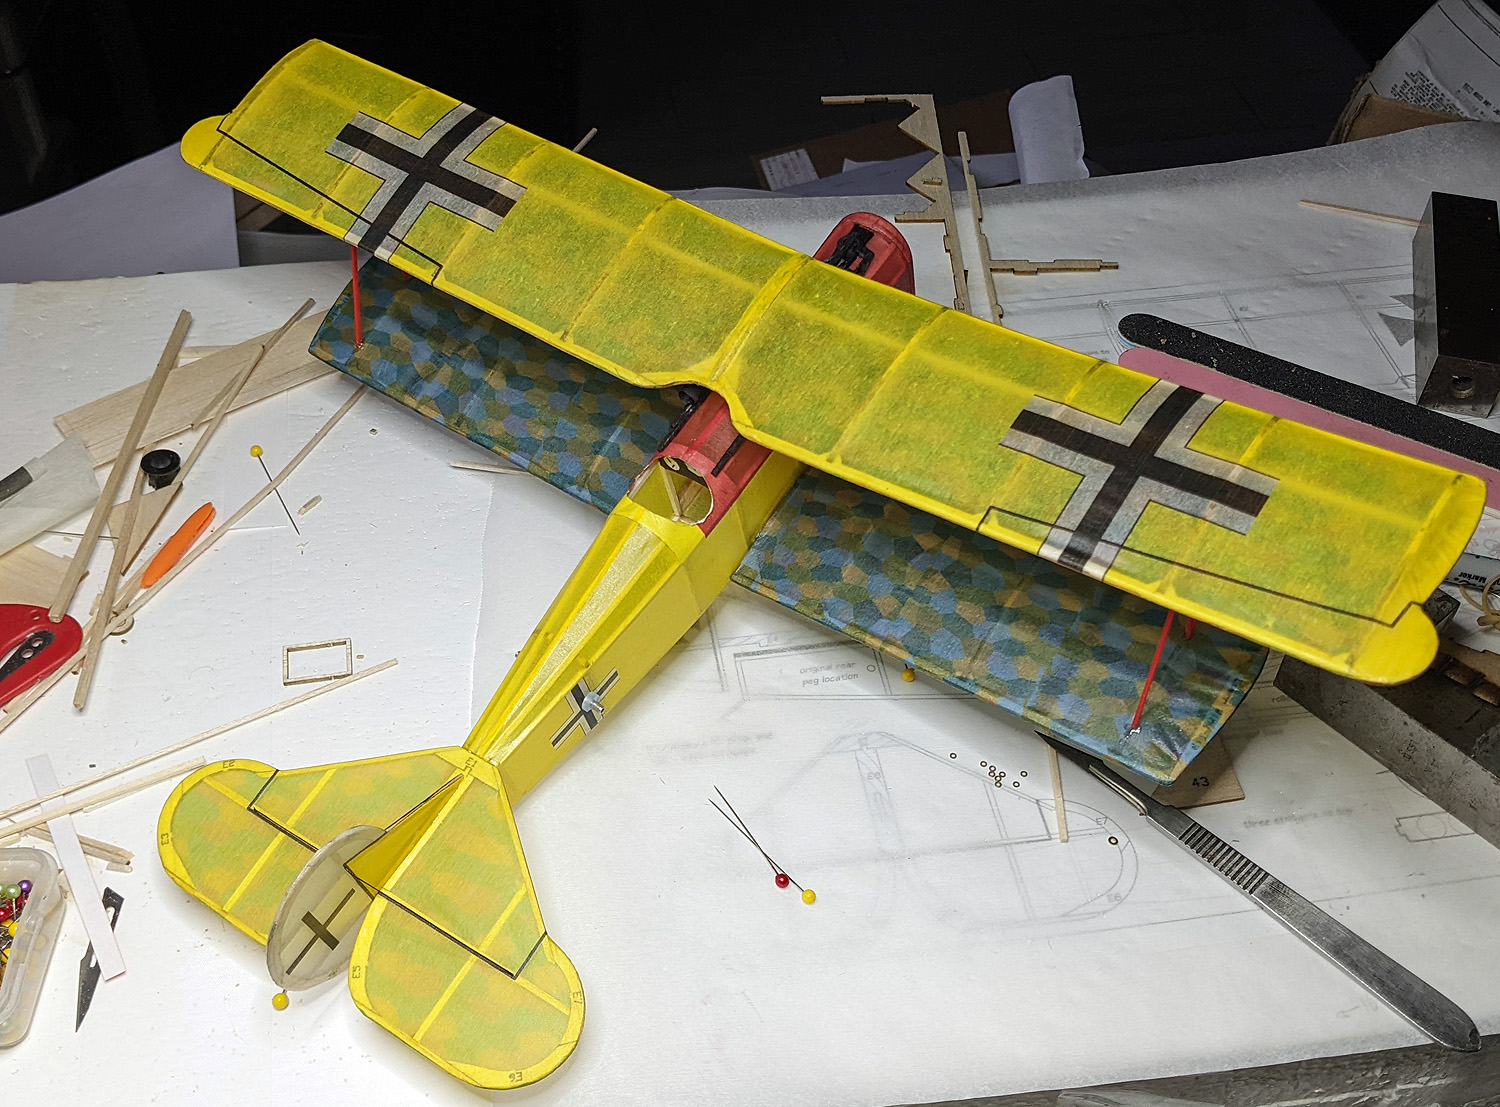
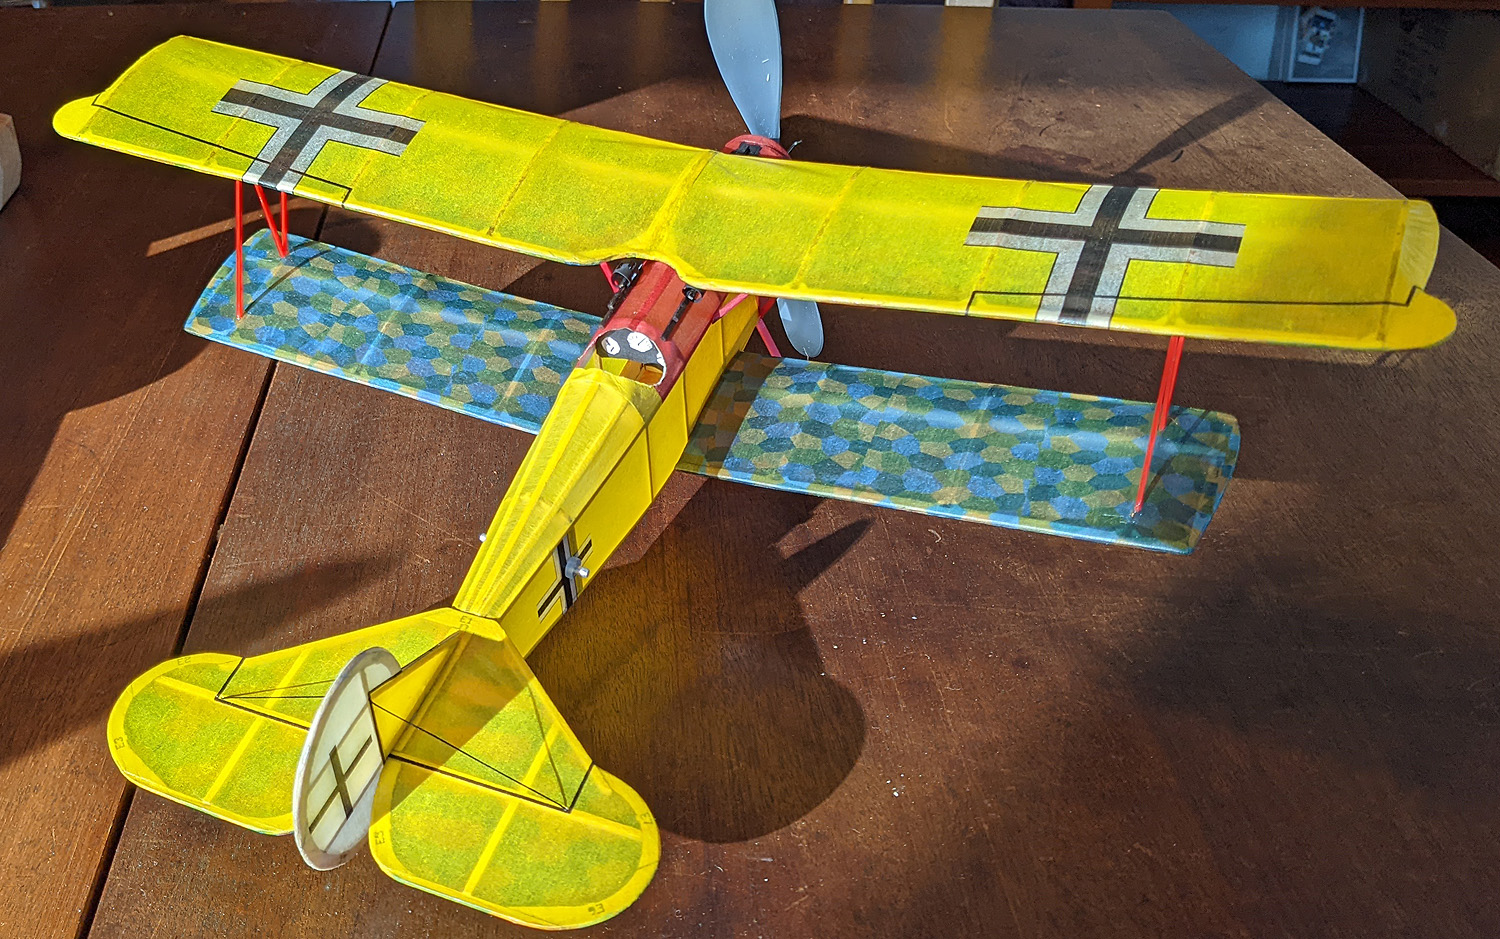
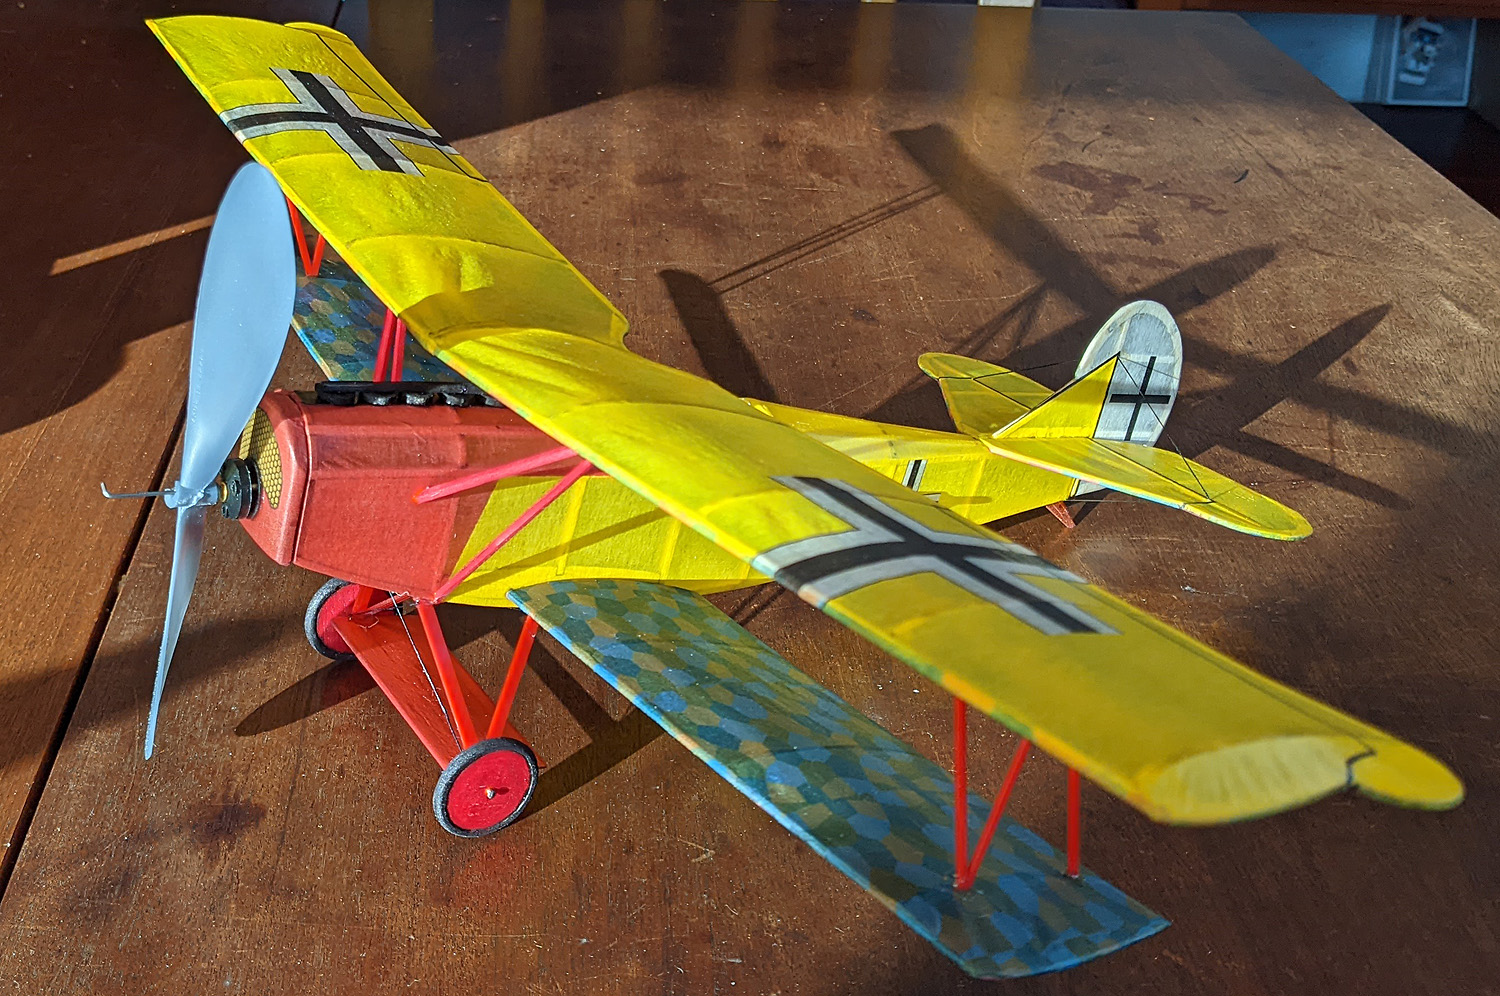
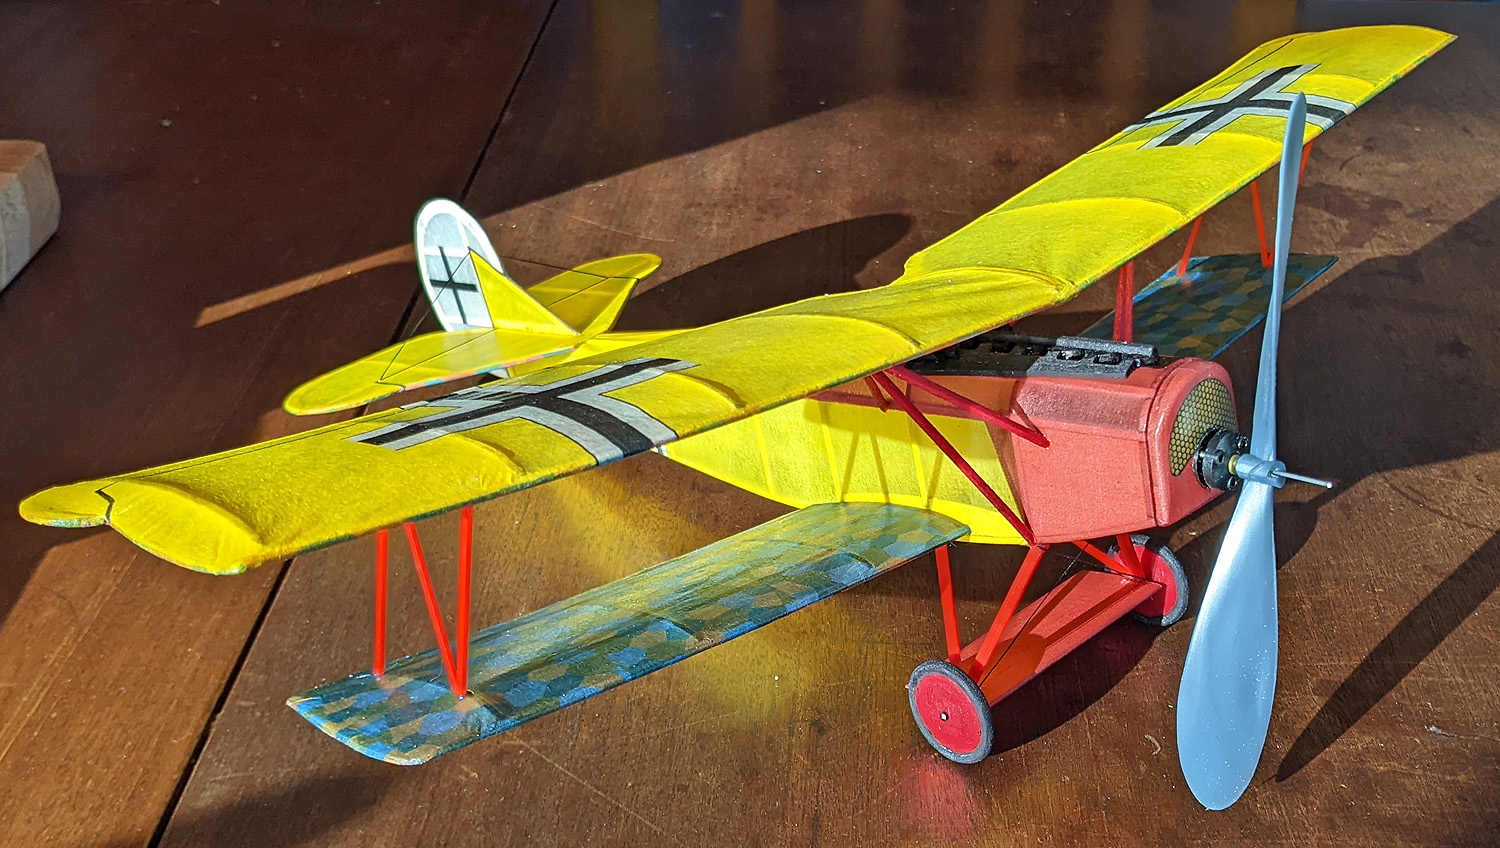
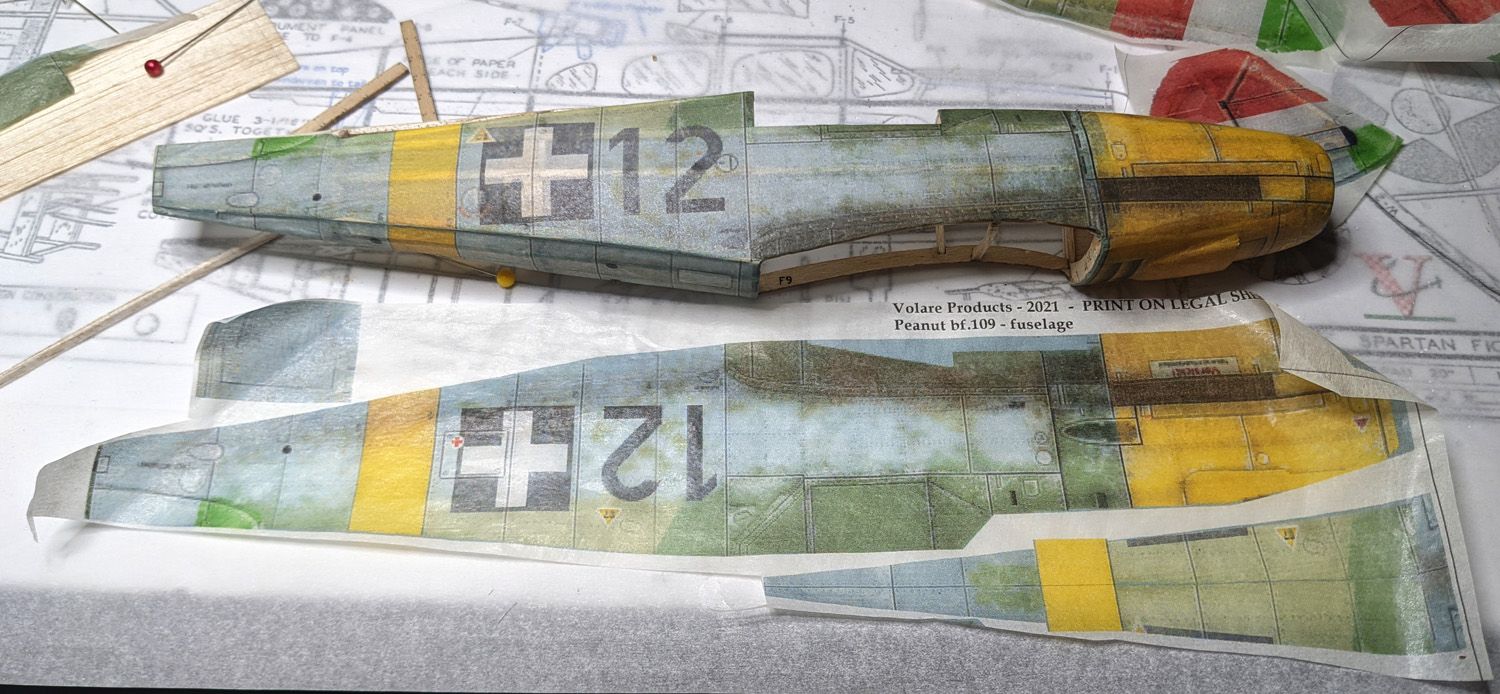
Exhibit #1 – the Messerschmitt Bf.109 Peanut. I flew this in November and was VERY pleased with it. In December, some were flying Peanut and I wanted to join in, as I figured the 109 would have a good chance of taking first place. I did fly it a few times – and was unable to record a score – what happened?

I took the model out of the box, wound it up and got a 48 second test flight – GREAT! Maybe the best flight to date, although it was climbing dangerously high and getting close to the rafters. I wound up again and called for a time and I had NO success – the plane nosed up, stalled, fell off, and dove for the ground, cracking the propeller.
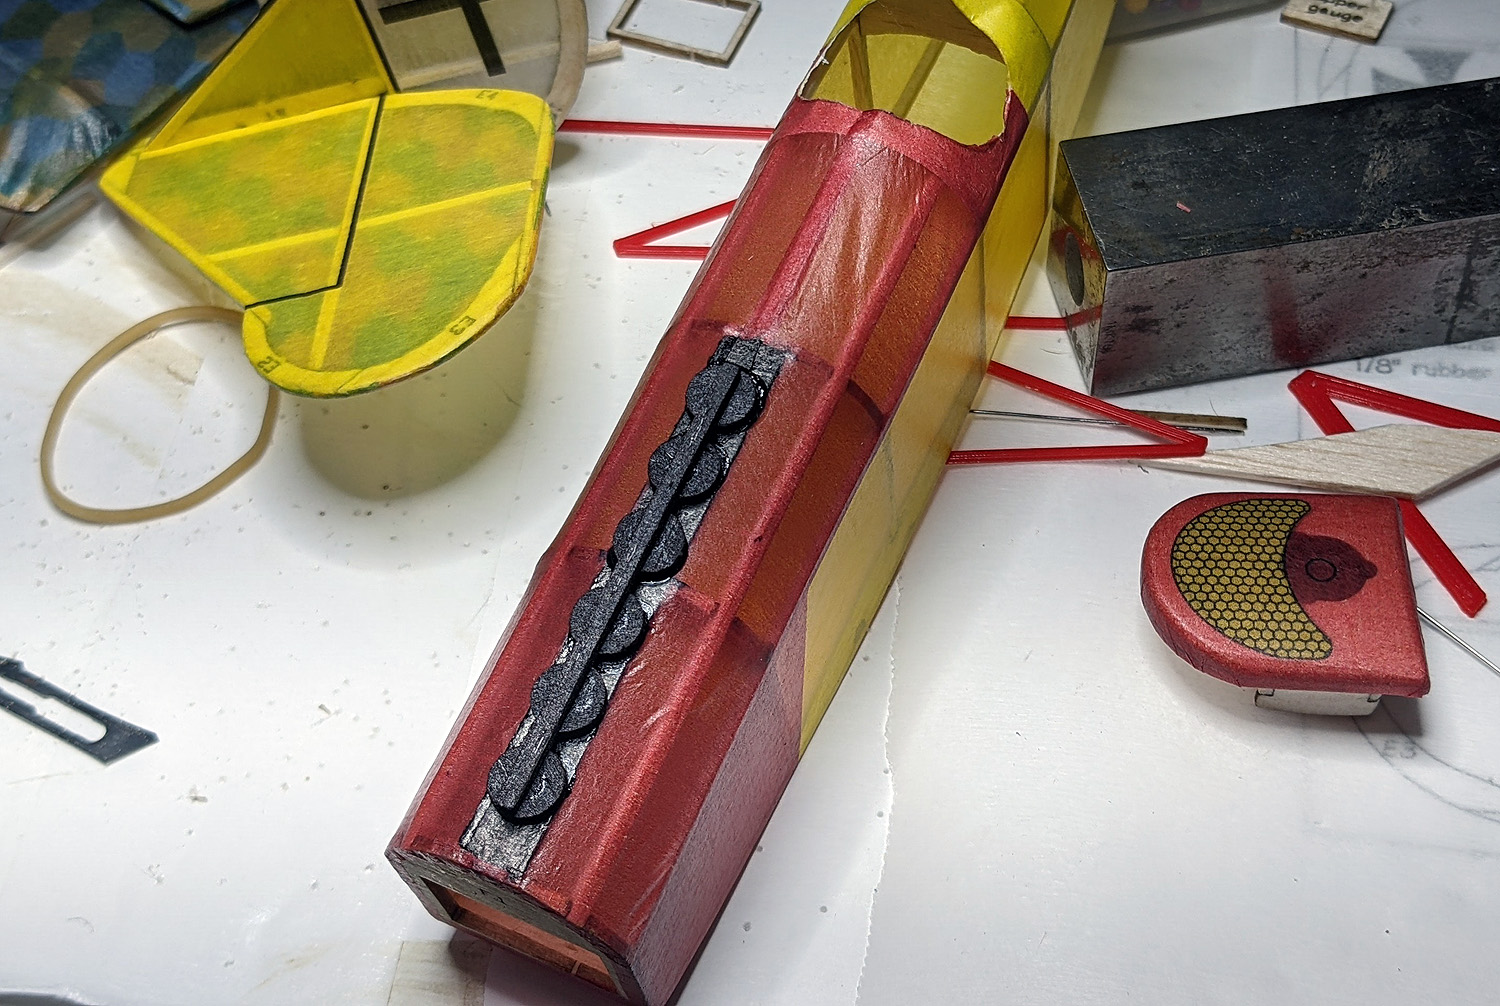
As I fixed the propeller, I notice one of the tail struts was loose. I did not fix it and it isn’t critical to flight. Since it was stalling on launch, I gave it more down thrust, and added clay to the nose (I should not have to do this – the model was flying well). I wound up again and gave it a gentle toss and had the same experience. This was a very stable model last month and even during the initial test flight that day? what had happened? I picked up the model and saw the wooden prop was broken in half – no more test flights that day.
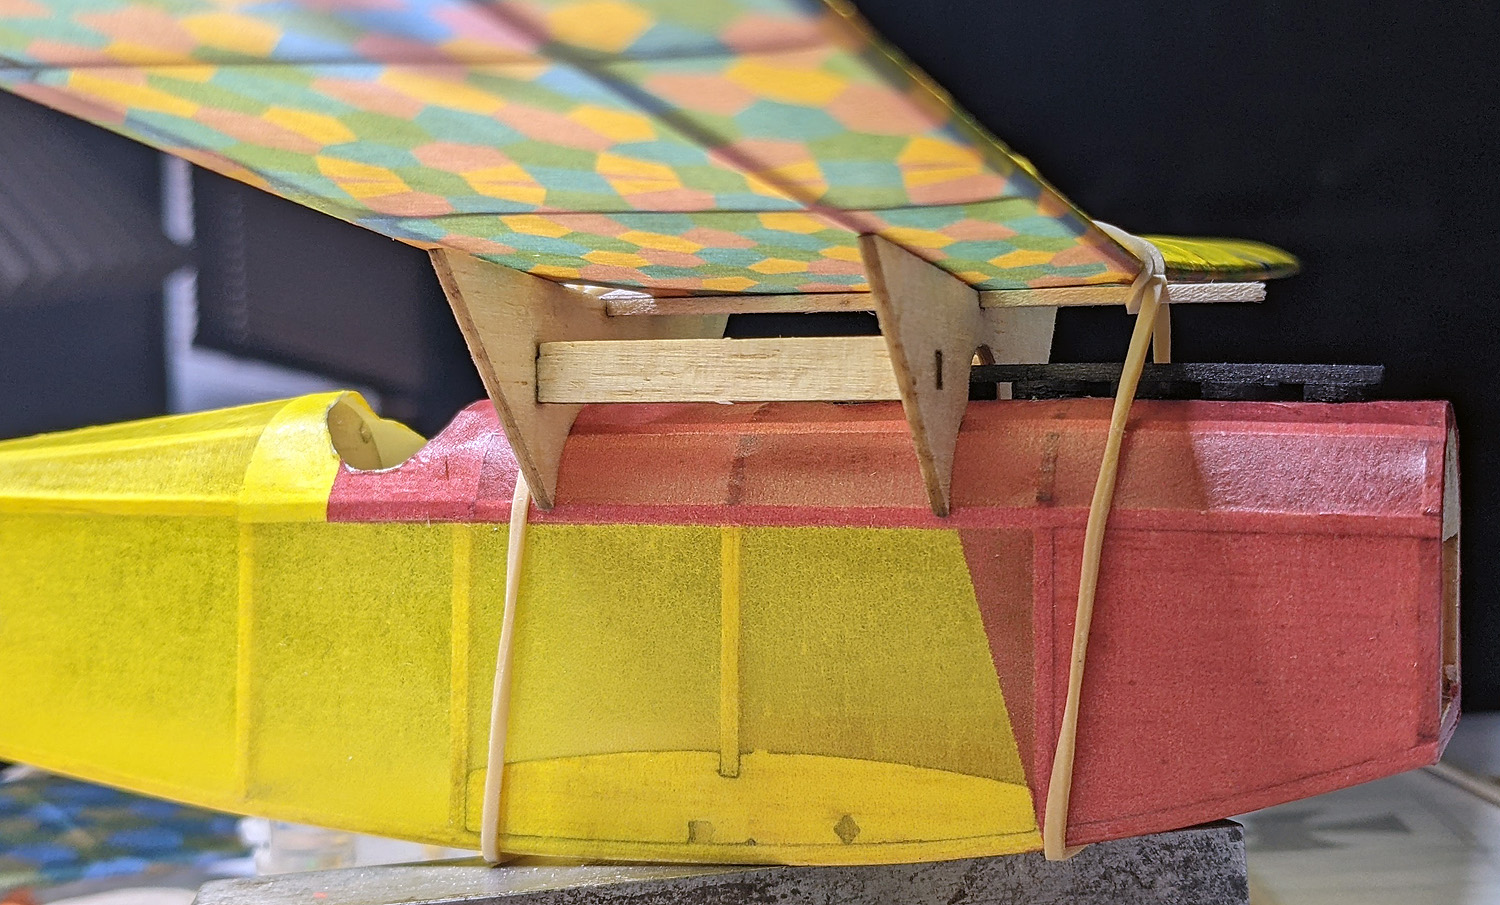
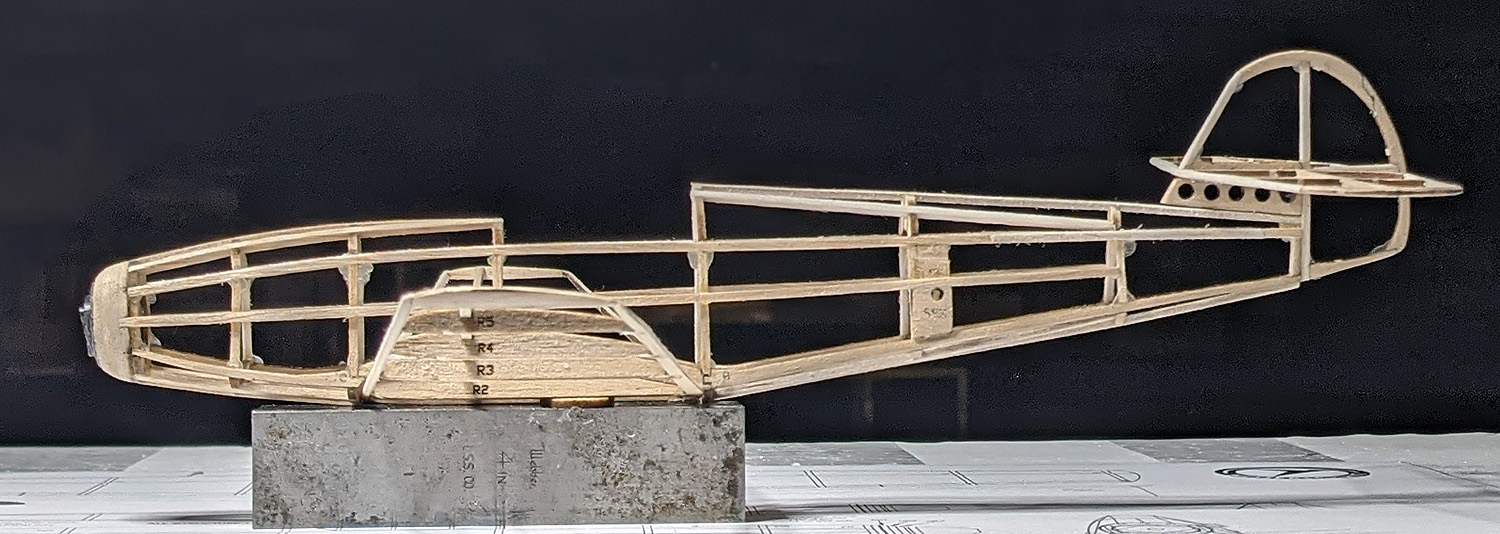
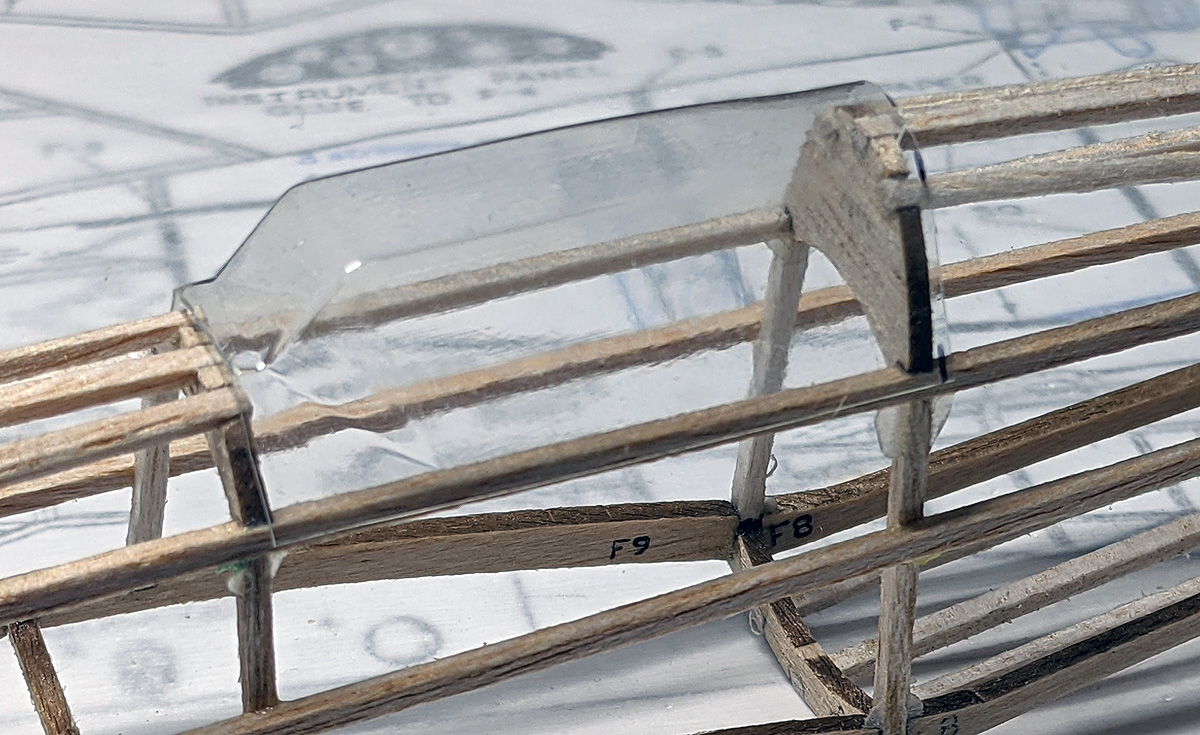
Fixing it at home, I discovered what I think was the problem – and it was due to laziness or something even worse – careless disregard. While the prop was curing, I focused on that tail strut. I discovered that the horizontal stab was about 3/8″ forward of where it should be. The h-stab and the fin have complementary notches and slide together and are then glued in place. Later the tails struts are glued in place. Here is where the carelessness comes into play:
I had not glued the h-stab to the fin. My post-crash analysis reveals that the h-stab would slide forward under a moderate sudden stop (inertia). Since the tail struts are a fixed length and glued solidly to the fin and the fuse, they would act as a pivot point – and force in a slight amount of negative incidence (up elevator). This would cause a nose up on launch that my chunk of clay and twist of down thrust could not overcome.
Lesson #1 – always solidly fix your surfaces once you have a good-flying model. I don’t even do adjustable tails, so there was absolutely no reason I should not have glued that in the first place. This cost me damage to a good-flying plane: I broke the propeller, cracked the trailing edge of one wing, and tore the tail strut loose.
Lesson #2 – if your plane suddenly misbehaves, THERE IS SOMETHING WRONG. Do NOT continue flying it until you give it a full and critical examination.
Exhibit #2 – the 20″ Comet Spartan Fighter. I had this model ready for November but it wouldn’t fly; it seems to be very sensitive on launch. It would either nose up or nose down immediately – something that some planes do what they are hard to grip (I usually see this on short-coupled planes or models with wing fillets – the Spartan is both).

Last week, I devoted a good 30 minutes or so to getting this plane to fly I stopped when I ended up with a cracked longeron and broken glue joints all along the length of the fuselage. This was not surprising considering how the plane tumbled when the flight was over. There was no landing with this plane – only crashes.
A couple of times I was able to get the model well up in the air, seemingly flying well. That is, until the power was low enough that it wouldn’t pull the plane around. Then the nose dropped. If the power came off under 10 feet, it simply looked like a steep dive into the ground. If the power came off at 20 feet, then the steep dive turned into a literal outside loop, with the model going beyond vertical before hitting the ground – hard.
The VAA (Volare Aviation Administration) review reveals that the h-stab is way too small on this model. If you recall, these 20″ Comet Dimer short kits are reproductions of the Comet kits – they event come with the original Comet Plans (well, downloaded scans, which are full of scan-upon-scan errors in addition to whatever initial design problems there were).
Archie Adamisin and I have done analysis on the six models. The Taylorcraft, Akron Funk, and the Spartan Fighter all have h-stabs that are too small. These produce models with TVo values under 0.4 – in the red zone. and this is caused by tails that are too small – these three will need the h-stab enlarged to 120% to give you a realistic chance at flying. Strangely – very strangely – the North American, the Vultee Attack and the Allied Sport all have TVOs well above 0.5 (0.6 will product a very stable model when properly trimmed).
I have added sheet wood to my h-stab on the Spartan and will resume flight trimming on this in January.
Lesson #3 – always check your design before building. If I had not done the quick-and-dirty kit production and done my traditional draw-calculate-adjust-build-fly process, this would have been revealed. Imagine how many Comet Kids had similar frustrations and just smashed their models.
Lesson #4 – How to launch a “floppy”, short-coupled, filleted model – hold the nose just in front of the wing to launch (not behind the wing). This it much like throwing a dart. Grasping in front of the CG results in much more consistent launches than grasping behind the CG.
Exhibit #3 – the Nickel Miller Racer. I think some people might be surprised by the performance of my tiny Miller Racer. Here are the official results (total of three flights) from the contest:
Comet 5¢ Scale – 3 fliers
1st – George Bredehoft – Miller Racer – 81
2nd – Mike Welshans – Cessna – 14
3rd – Winn Moore – Cessna – 8
Now, I don’t know if Mike actually totaled three flights and I am sure that Winn only flew one flight. These little things are tricky. I have found the Cessna especially tricky. I believe that Mike built his from the Comet plans while Winn and I built our Cessnas from my short kit. My short kit followed the advice above and enlarged the tail 110% to produce a reasonable TVo of 0.65.
My Miller Racer is the more stable of the two models that I have built, so I flew that. My score is the total of three flights plus 11 bonus points (10 for low wing, 1 for landing gear down – Dime Scale bonus points).

Now I am not going to profess to know how to make these fly, but I will tell you about this model. The tail is enlarge 120% over the Comet plan. It has a Comet 4″ prop blank, cut down to 3.5″. I use a loop of 1/16″ rubber. On my 28 second flight I put in about 1500 turns. It flies right under power. The glide is not much of a glide; more like a gentle fall. The prop is not freewheeling, so it just kind of brakes and spins, brakes and spins. Oh, and there is are several degrees of downthrust – the nose block is shimmed about 1/16″ at the top.
I think there is a little more left in the tank in this model. I think that I will try a loop of 0.40″ or 0.045″ – trying for less power and more duration. With 1/16″ it takes off hard. The down thrust pulls it down for a time but eventually it climbs. Along with pulling it down, the initial flight is much like a bumblebee – darting all over the place. I launch with the plane banked to the left, maybe 25 degrees or more. This is done to the torque roll ceases about the time the model is in level flight.
Lesson #5 – I don’t know if the above will work for everyone I just seemed to luck into it. I feel like I luck into a lot of success. But, being that there is a lot of success, it could be argued that not all of it is luck. One thing I know has helped me immensely – that is the Gizmo Geezer adjustable nose button. Much like Eli Manning and Frank’s Red Hot sauce, I put that s**t on everything (but not the Nickel kits – they are too small). This is not a product placement; I don’t care if you buy them from me or not – but you will have a much easier time trimming your thrust settings if you use an adjustable nose button. I also use Gurney flaps, clay on the wing tip, and huffing and twisting the wing panels – anything to get my models closer to the perfect flights that Tom Hallman and Wally Farrell have.
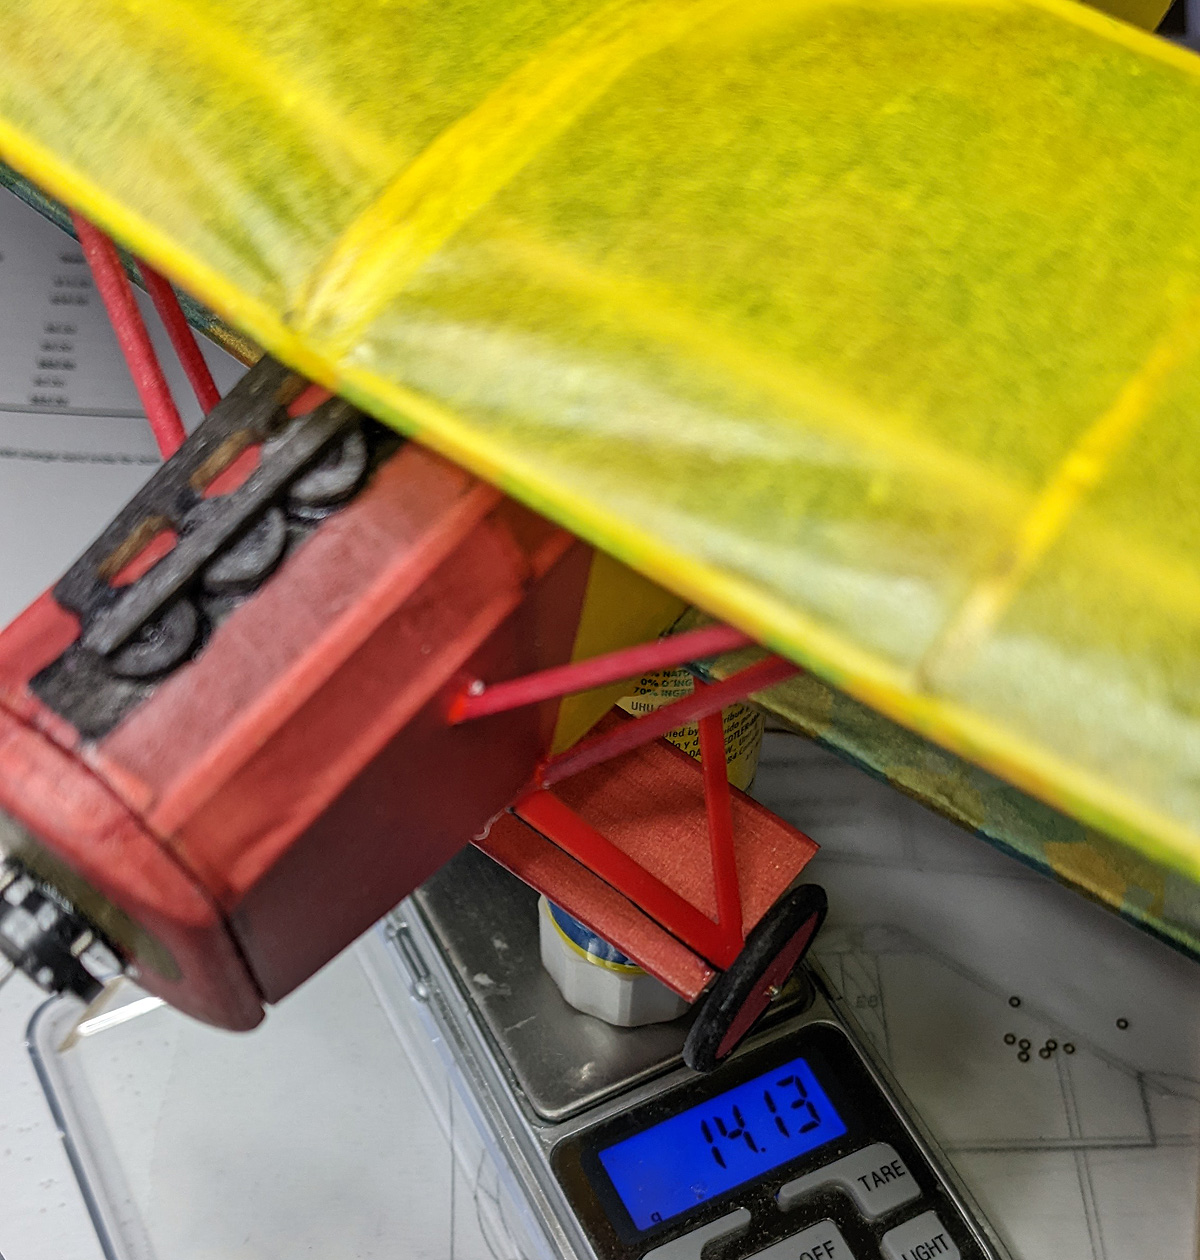
OOPS – LESSON #6 – (this will make all of your trimming easier) – BUILD LIGHT. Build lighter than you think you can. Most of our models are over-built, structurally. Do NOT build them to survive a crash; build them light to avoid crashing. The Spartan Fighter above survived many hard landings because it is light. It only weighs 18.5g. Shoot for wing loadings under 0.4 grams per square inch and you will be rewarded. If you can get under 0.3 for Peanuts, that’s even better.

 I decided to 3D print a Landing Gear saddle. It has a hole and a notch to accommodate the single wire. The test print worked very well; exactly as designed.
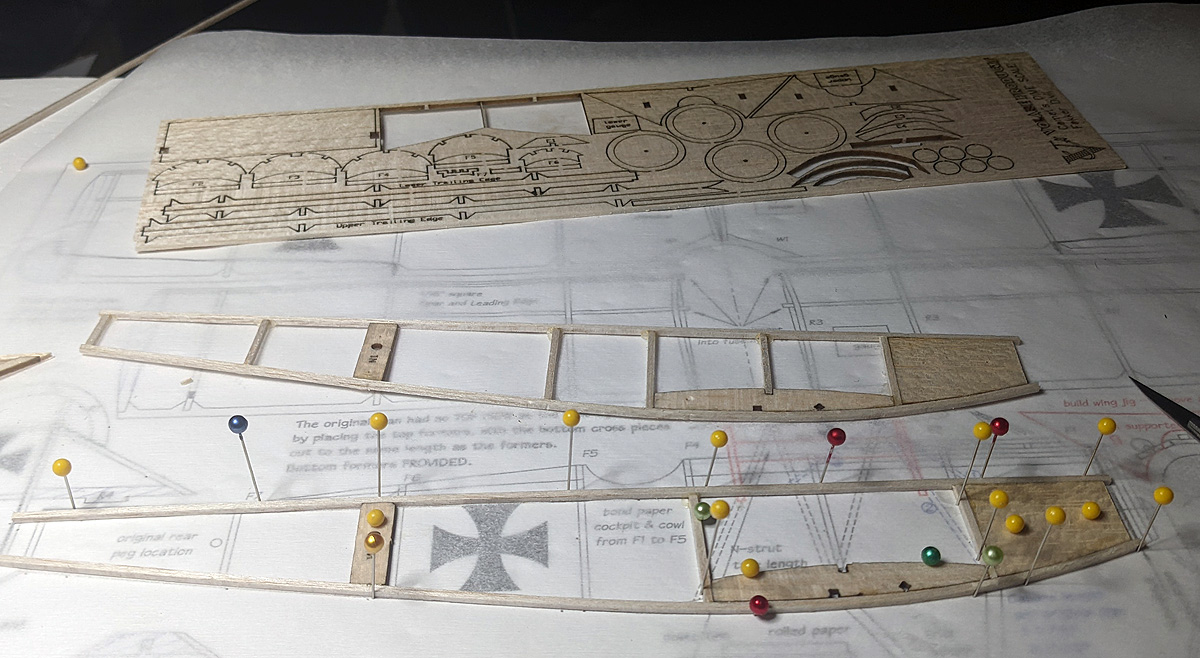
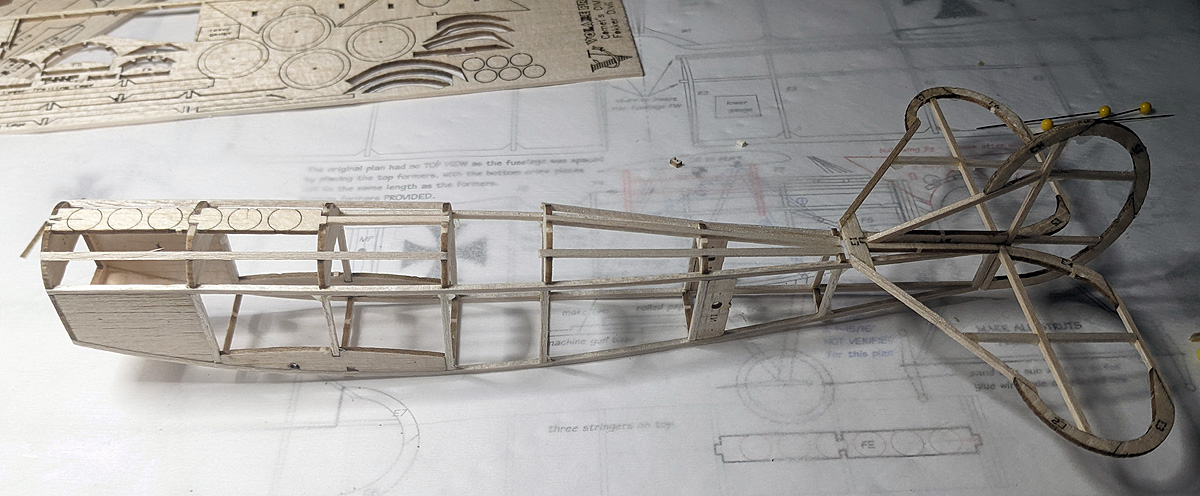
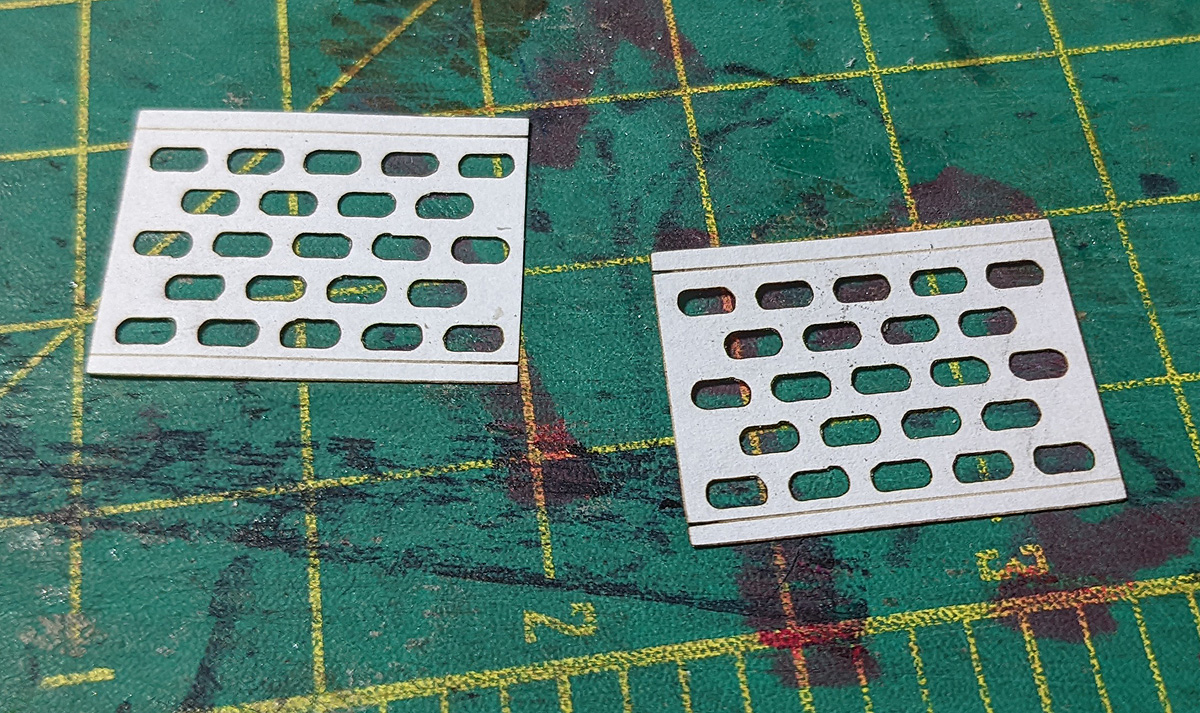
 I will provide two sheets of laser-cut parts: one sheet (1/16″) has all of the ribs, the wing tips, trailing edges, fin parts, wheel discs, and wing pylon. The other sheet (1/32″) has the tail cone, the tail winglets, and the blank to roll the tube fuselage. I will also be providing the 3D printed LG saddle.


 I even have GENUINE COMET PROPS to go with them. A few years ago, I bought this box of props on ebay and, being 4″ diameter, I hadn’t a clue how I might use them. Anyway, these will be a money-saving option with the Nickel short kits – or available separately at $2 each.

