For me, this was a welcome outing to Muncie – it really felt like it was my first outdoor contest of the year. It was actually only the second since I missed the May Cloudbusters meet due to attending the AMA Indoor Nats.
I arrived on Thursday evening after going to Cincinnati to take possession of all Jim Miller’s modeling stuff after his passing a few days before. This gave me a few more hours at the flying field, since I had intended to head down Friday morning. I arrived to a perfect evening. Pat Murray had been there all day and Mike Welshans and Ted Allebone had come down from Detroit and spent the late afternoon testing planes.
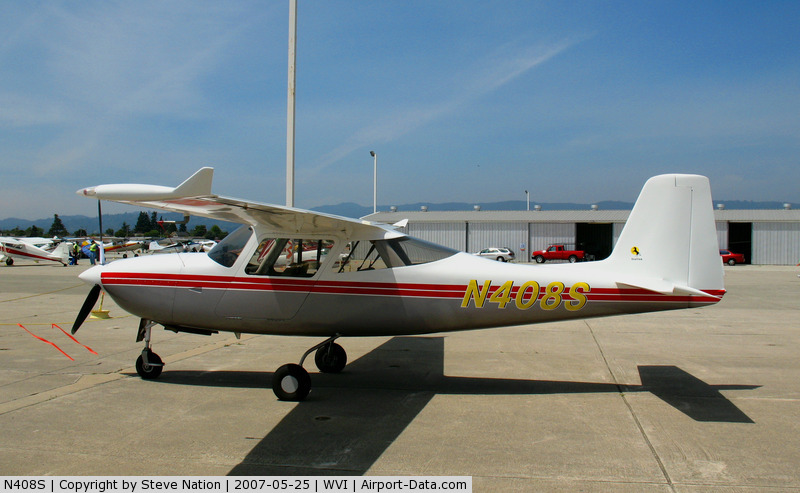
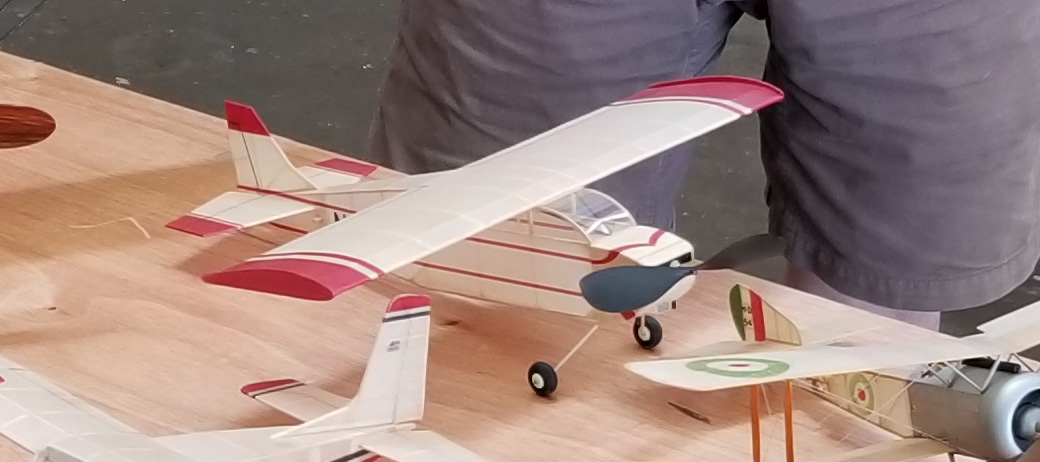
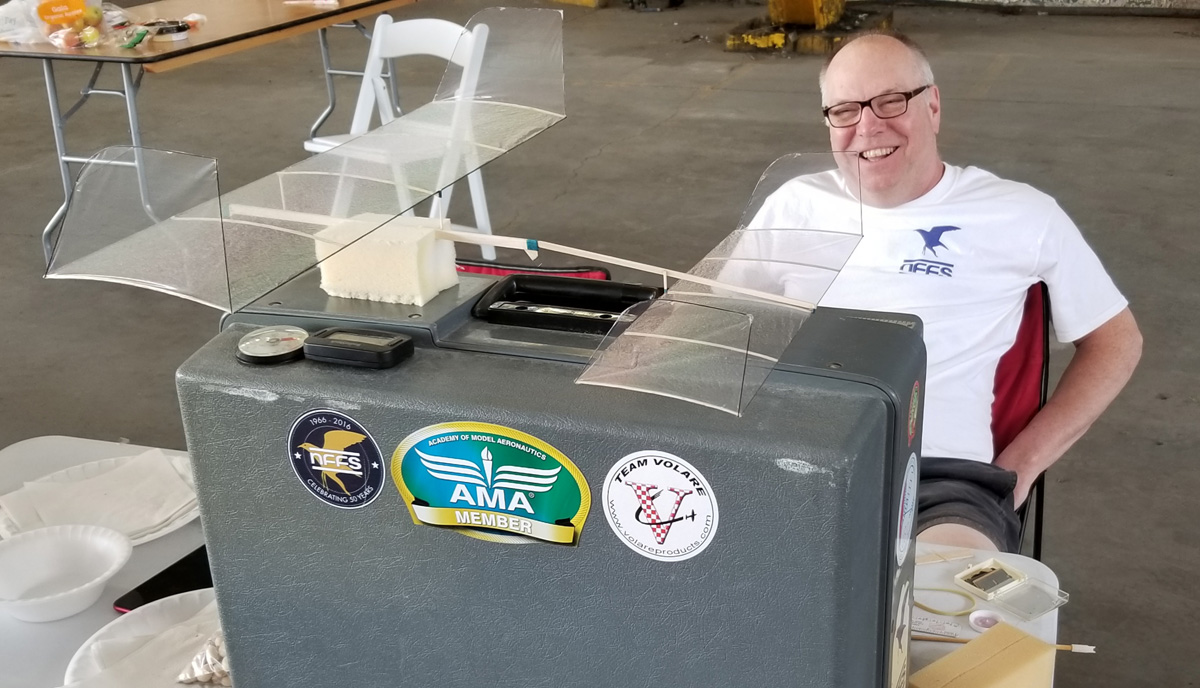
Ted Allebone testing a new Phantom from EasyBuilt
Friday proved to be equally perfect. We set up at the south end of the site and we didn’t have to move all weekend. I got out most of my new planes and we casually tested all day. I had some great flights but I also found out how poorly prepared I was – virtually all of my planes needed new motors – and I brought enough to register for 21 events!

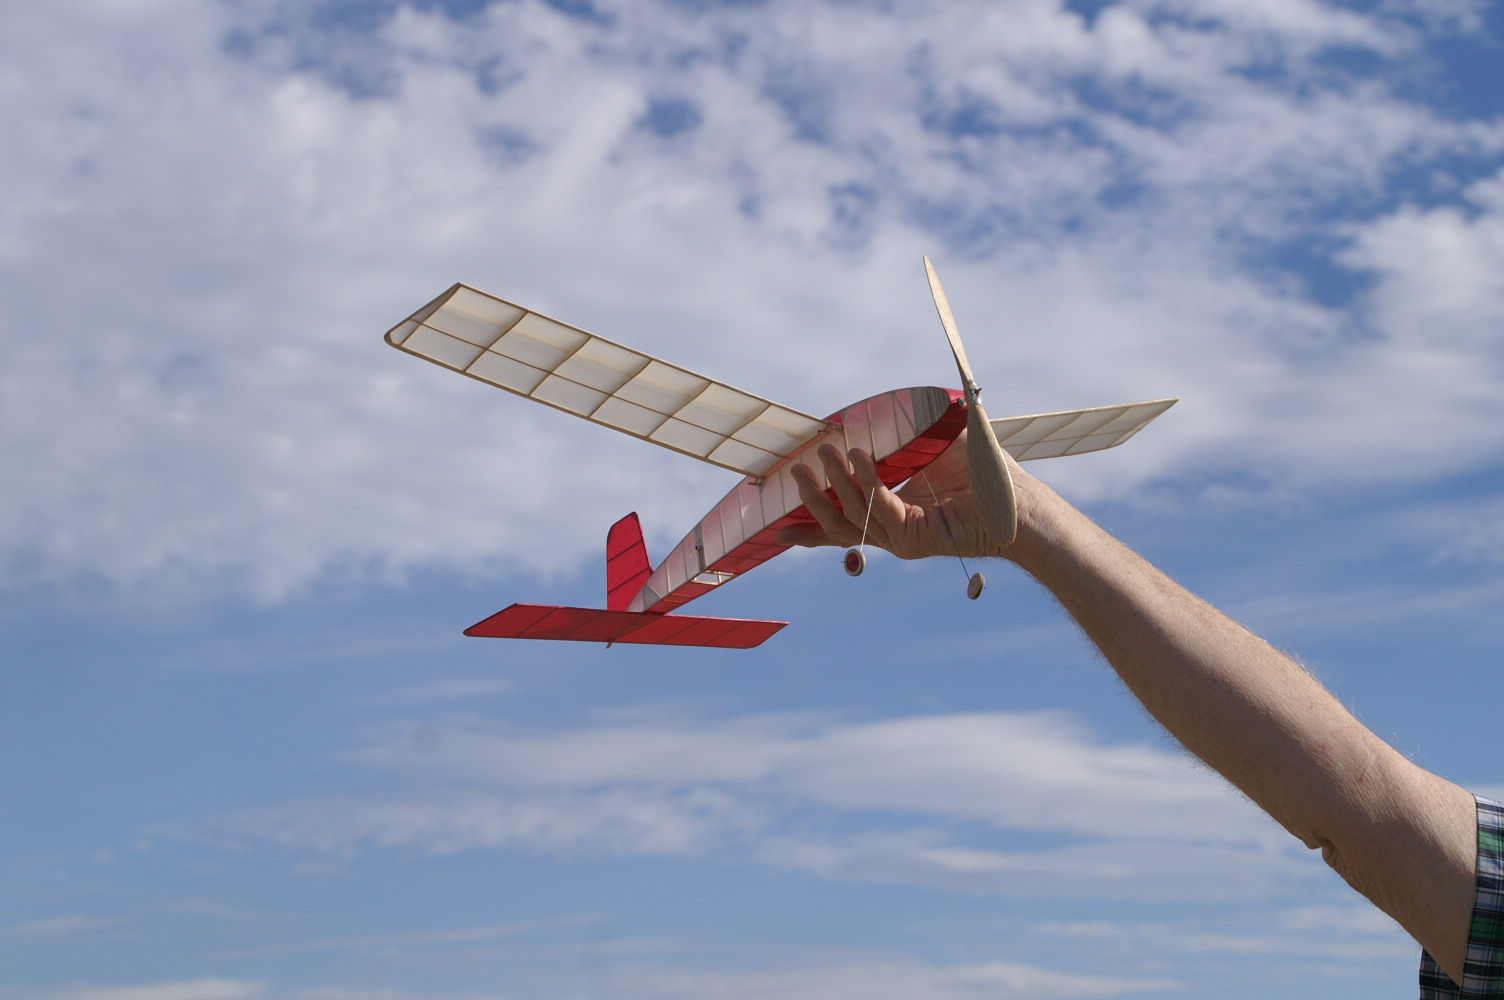
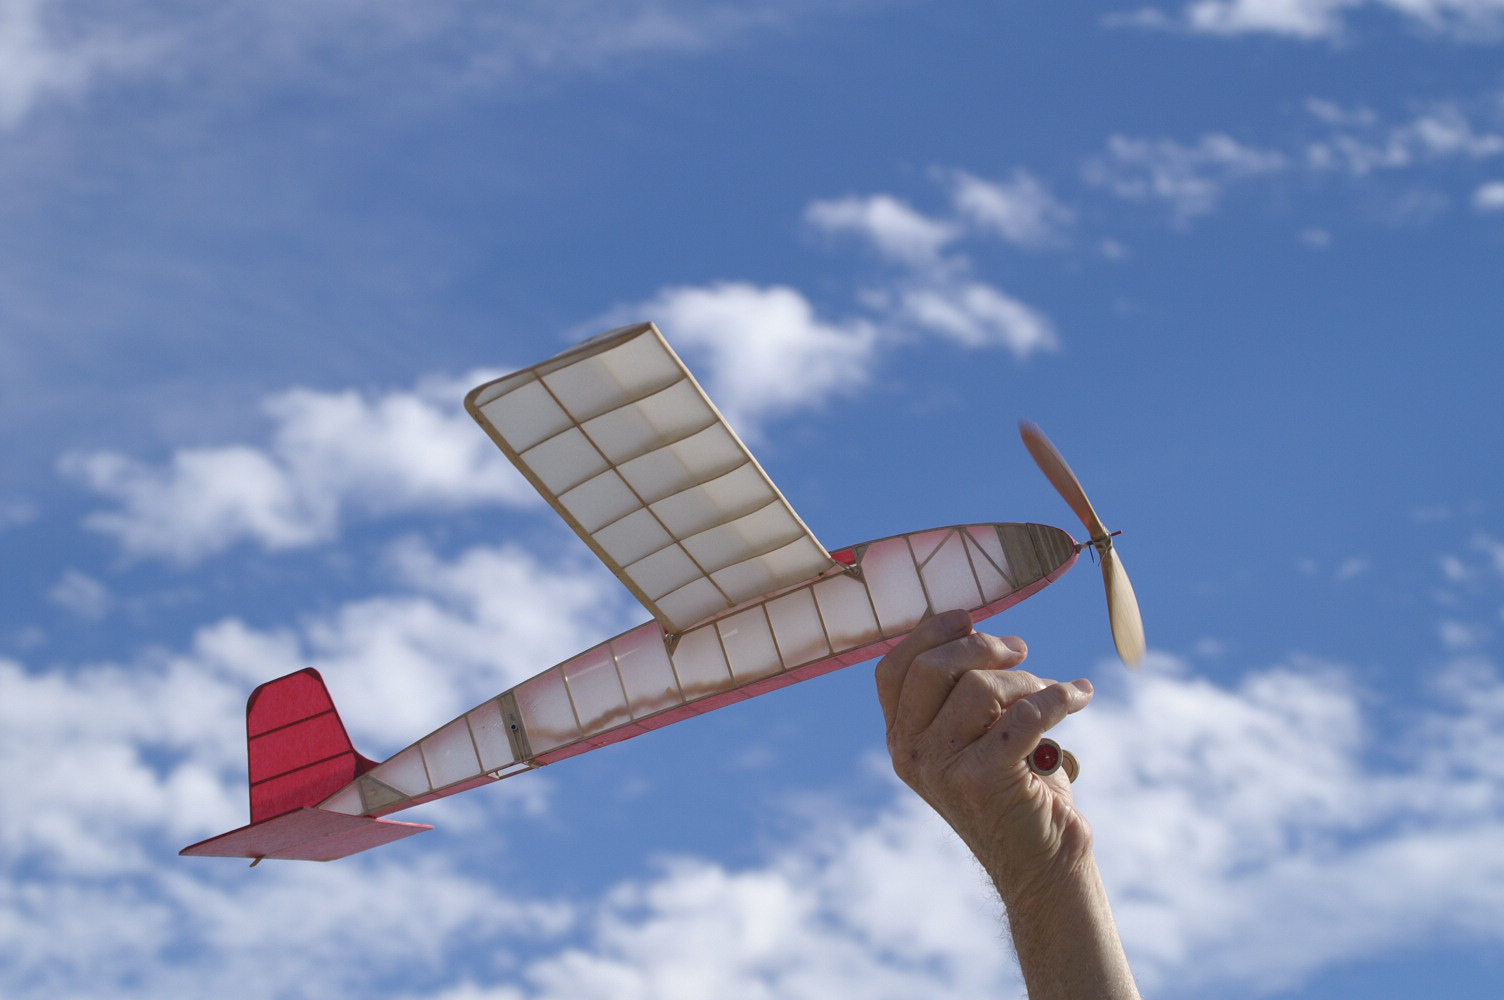
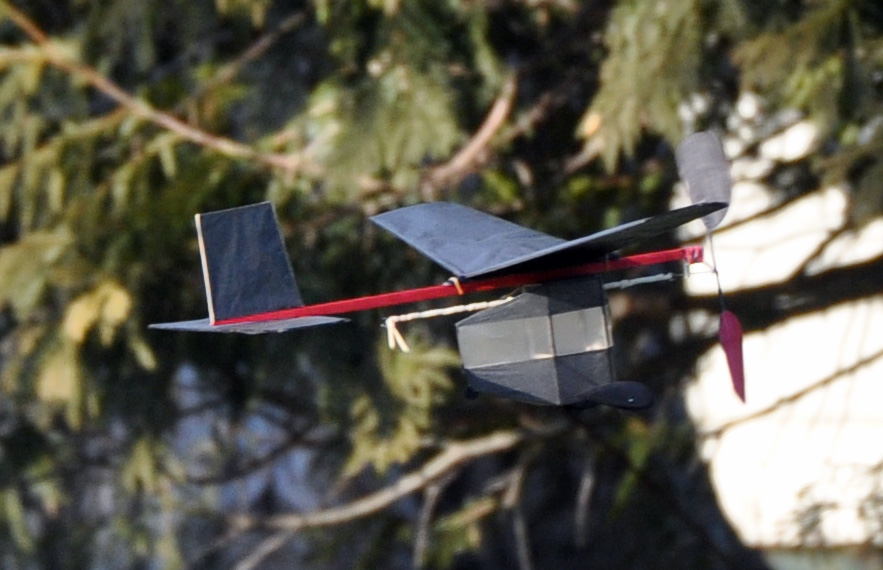
my Jumbo Stallion in flight
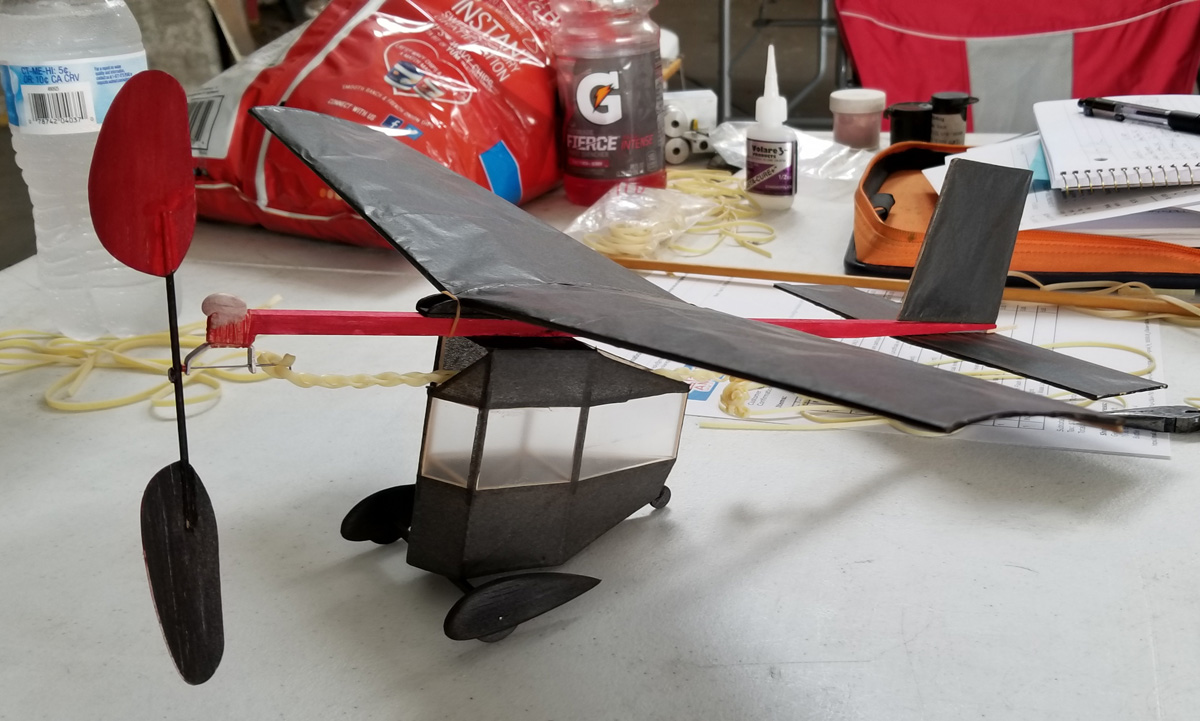
my Yankee IV 1/2 Wake showing its potential
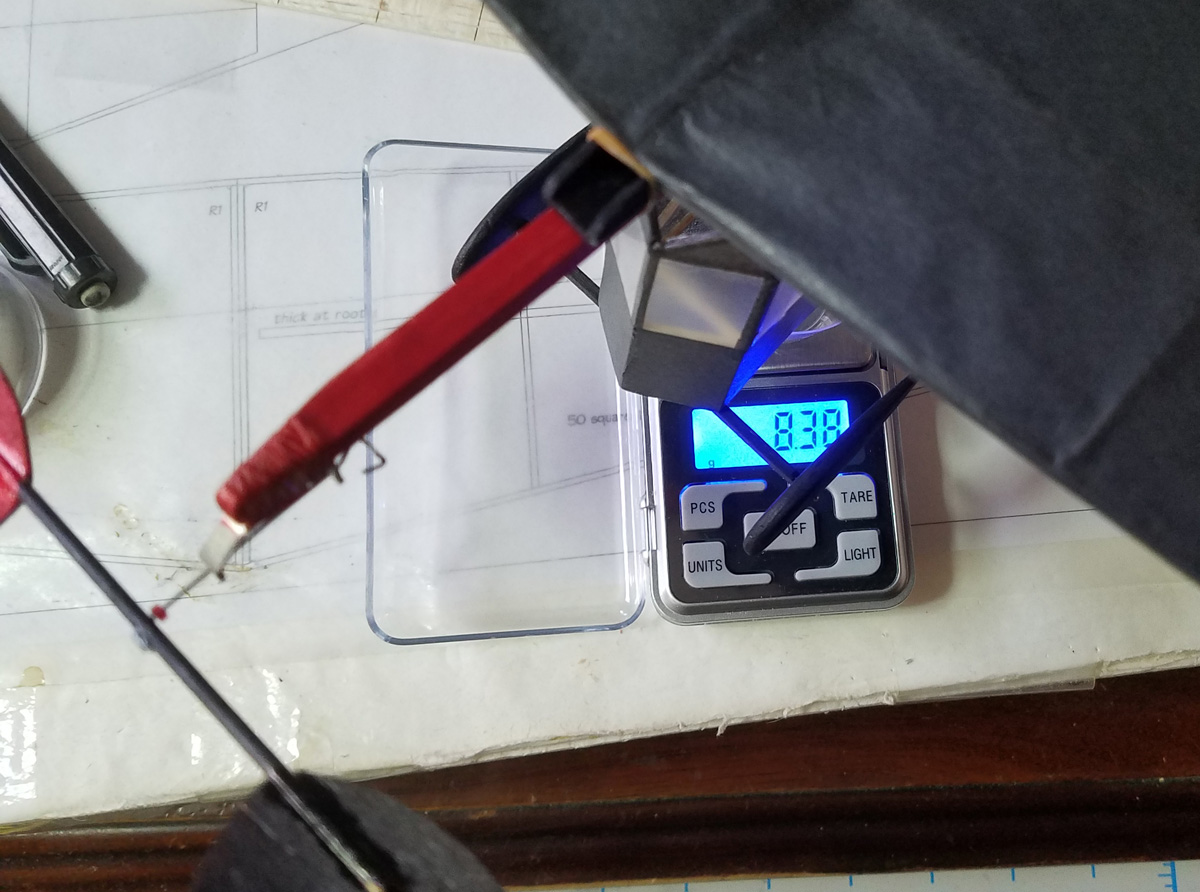
It turned out that event count was a little ambitious on my part – I just couldn’t get every event flown. I got my Jumbo Stallion up in the air on Friday; it flies low and slow, just like my original, but I think my blade area is too small – I will have to think about making a new prop. My brand-new-not-completely-finished Jimmie Allen Special went on a 5 minute flight – the fuse burnt down, but didn’t burn the rubber band (I got that fixed)! And I got some nice test flights on my new Yankee IV 1/2 Wakefield.

the un-burnt DT band on my Jimmie Allen Special! I’m very lucky it came down!
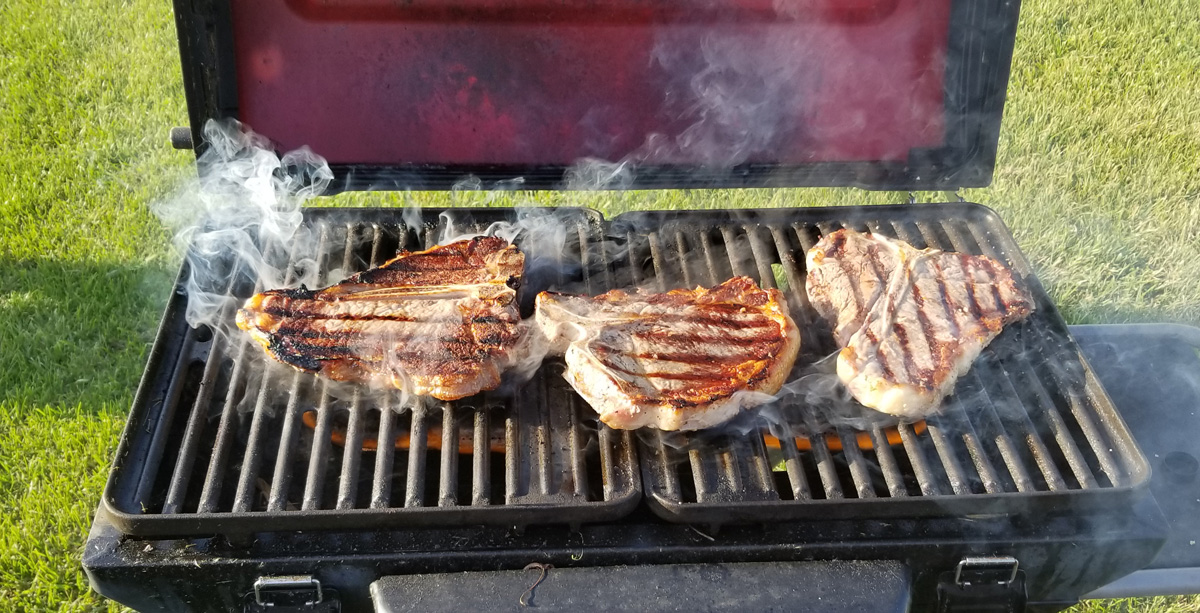
We just had a nice relaxed day of flying and camaraderie. Winn Moore arrived in the late afternoon, and he, Pat and I enjoyed some T-bone steaks grilled right on the flying field. We chatted into the night and I still didn’t make any new motors.

Sunset from the south end of the AMA Flying Site (site 4)
Saturday morning started out as a beautiful day, with no hint that it would become super-hot – we hit about 95 degrees with high humidity on Saturday and I went through over a dozen bottles of water and gatorade. Still, the wind was nearly nothing and we had some great flying. I had a very promising flight on my B-52 after adding a loop of 1/16″ rubber to the existing motor – it climbed out well on the first flight and circled to the left. I should have paid more attention – I knew that it circled to the right last year, but it was flying so nicely, I just went back and put in a couple hundred more turns – nothing too much. Or so I thought – the extra torque rolled it to the left on launch and broke the prop (and tore up the nose and tissue). I can get it fixed, but I wish I didn’t have to.
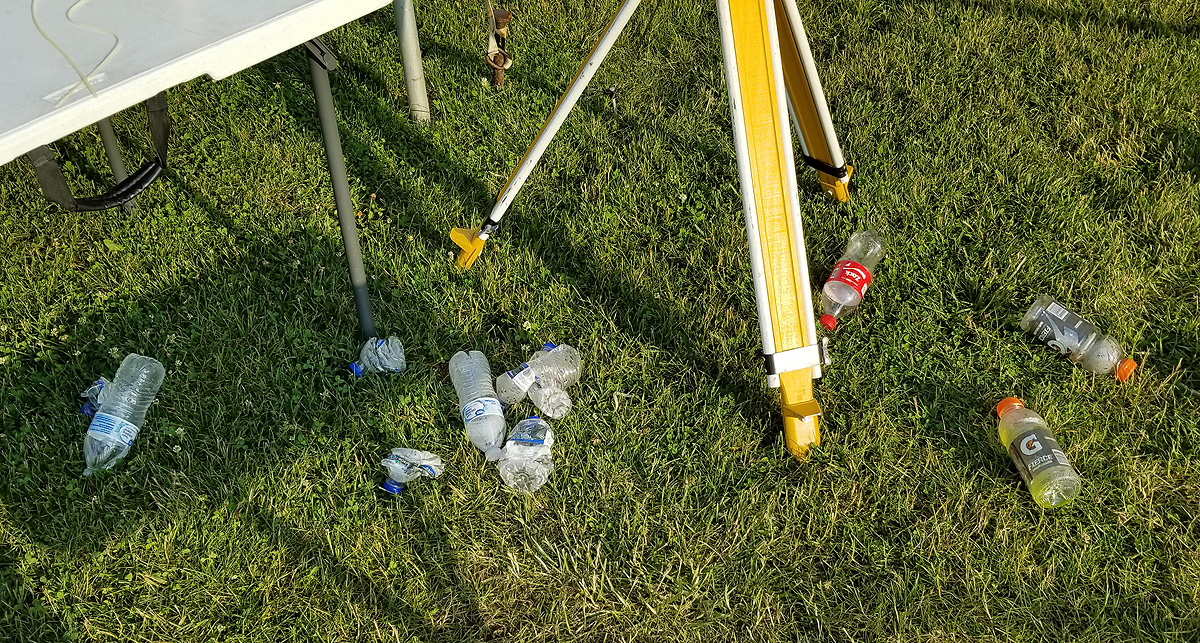
most (but not all) of my Saturday liquids
The air was good most of the day, with light thermals and occasional boomers. I maxed out in 2 Bit with my King Harry, but had a rough time with my Pepper. In Jimmie Allen, my Special couldn’t find any air and I settled for three flights under 70 seconds (needs more trimming and duration). I logged 3 of 6 flights in Phantom Flash and decided to return to that later. I flew my 24″ Comper Swift in both Golden Age and in the Greve Race, but didn’t win either event – Pat Murray took the Greve with a Mr Smoothie (of course).

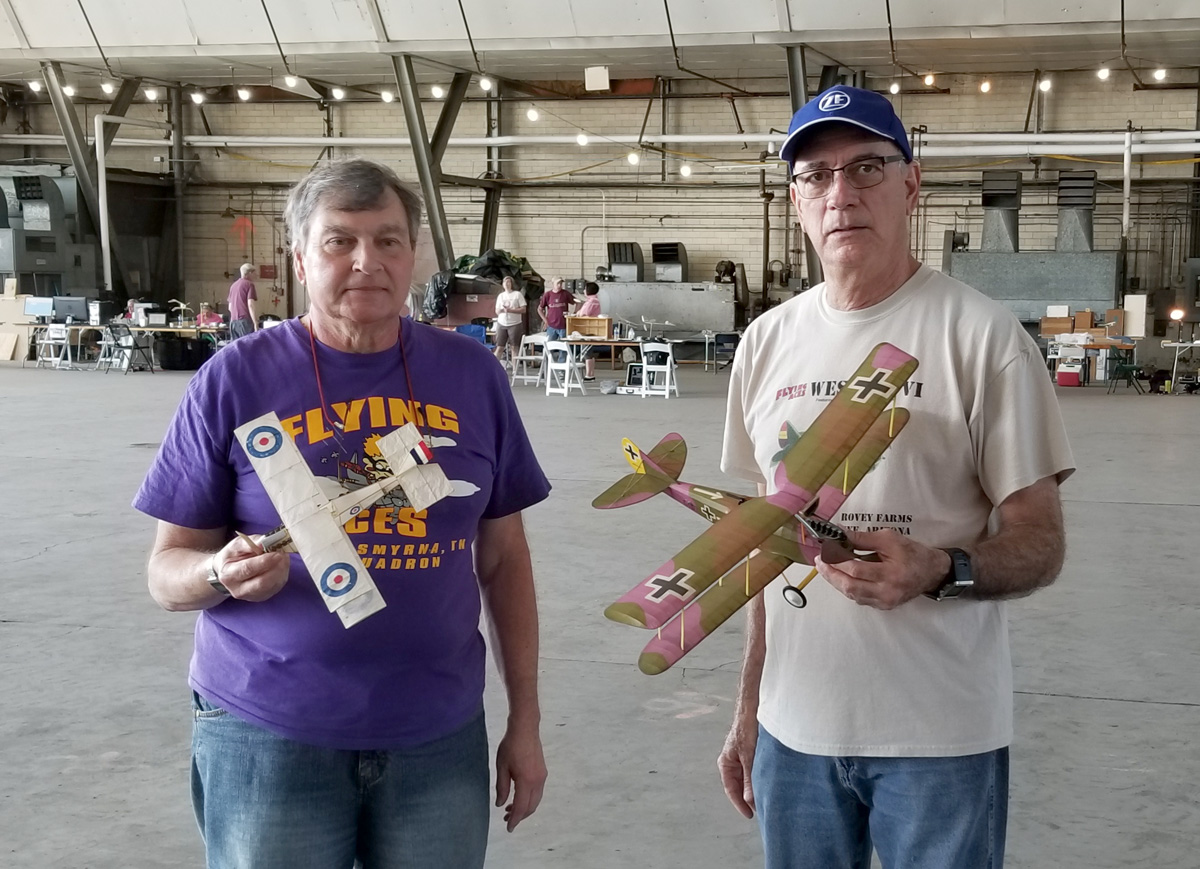
Mike Welshans, Dave Niedzielski, and Ted Allebone discussing something rather important.
McCook has two special club events that we enjoy flying – just for fun – they aren’t FAC events: On Saturday, they have the Watson Challenge and on Sunday, they have the Cloud Tramp Mass Launch. The Watson Challenge is best 2 of 3 flights (no max) with any model you want – but it must be propelled by a 24″ strand of 1/8″ rubber, provided by the Contest Director. One year, I won when I stripped the rubber to 1/16″ and flew a Peanut Maule M-5 OOS after 6 minutes. This year, I decided to use my new Phantom Flash.
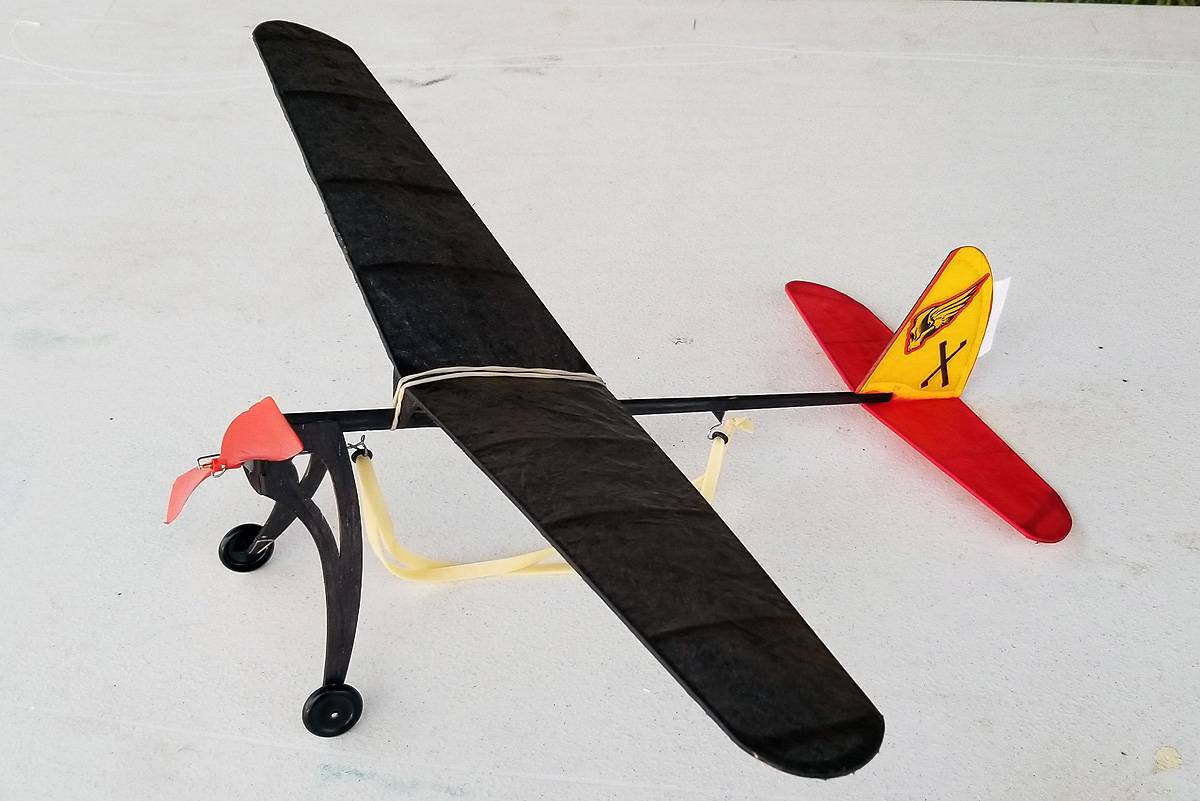
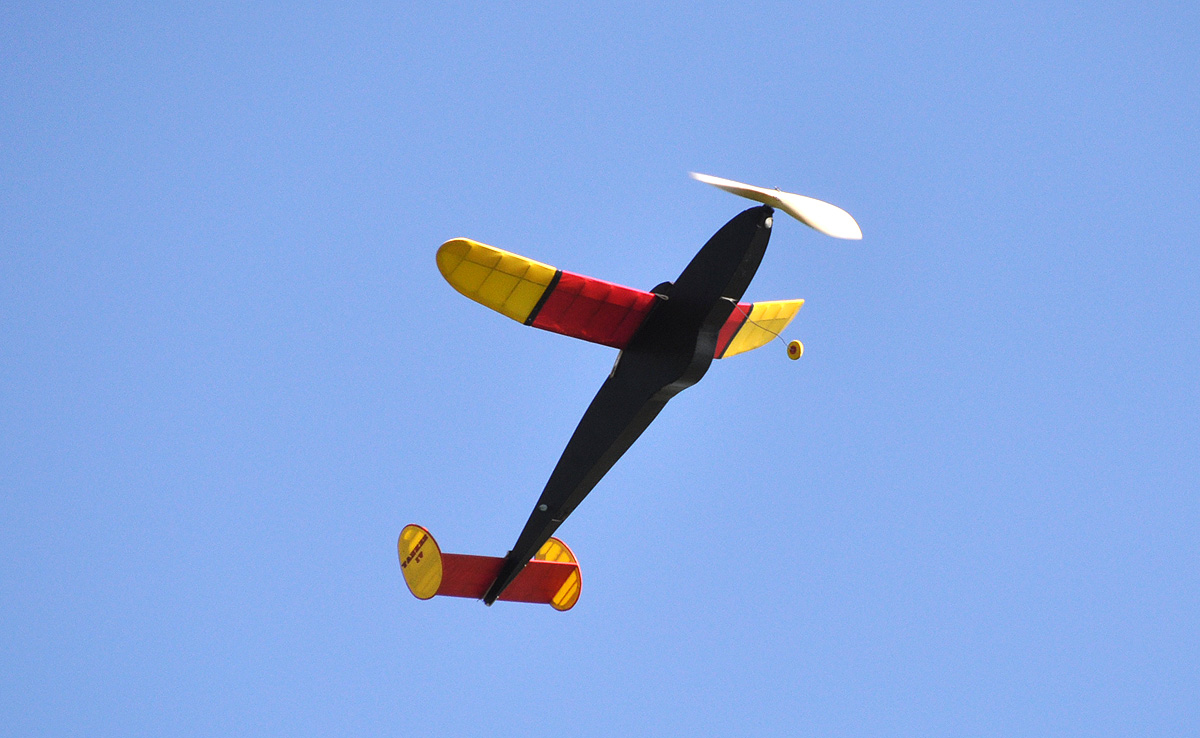
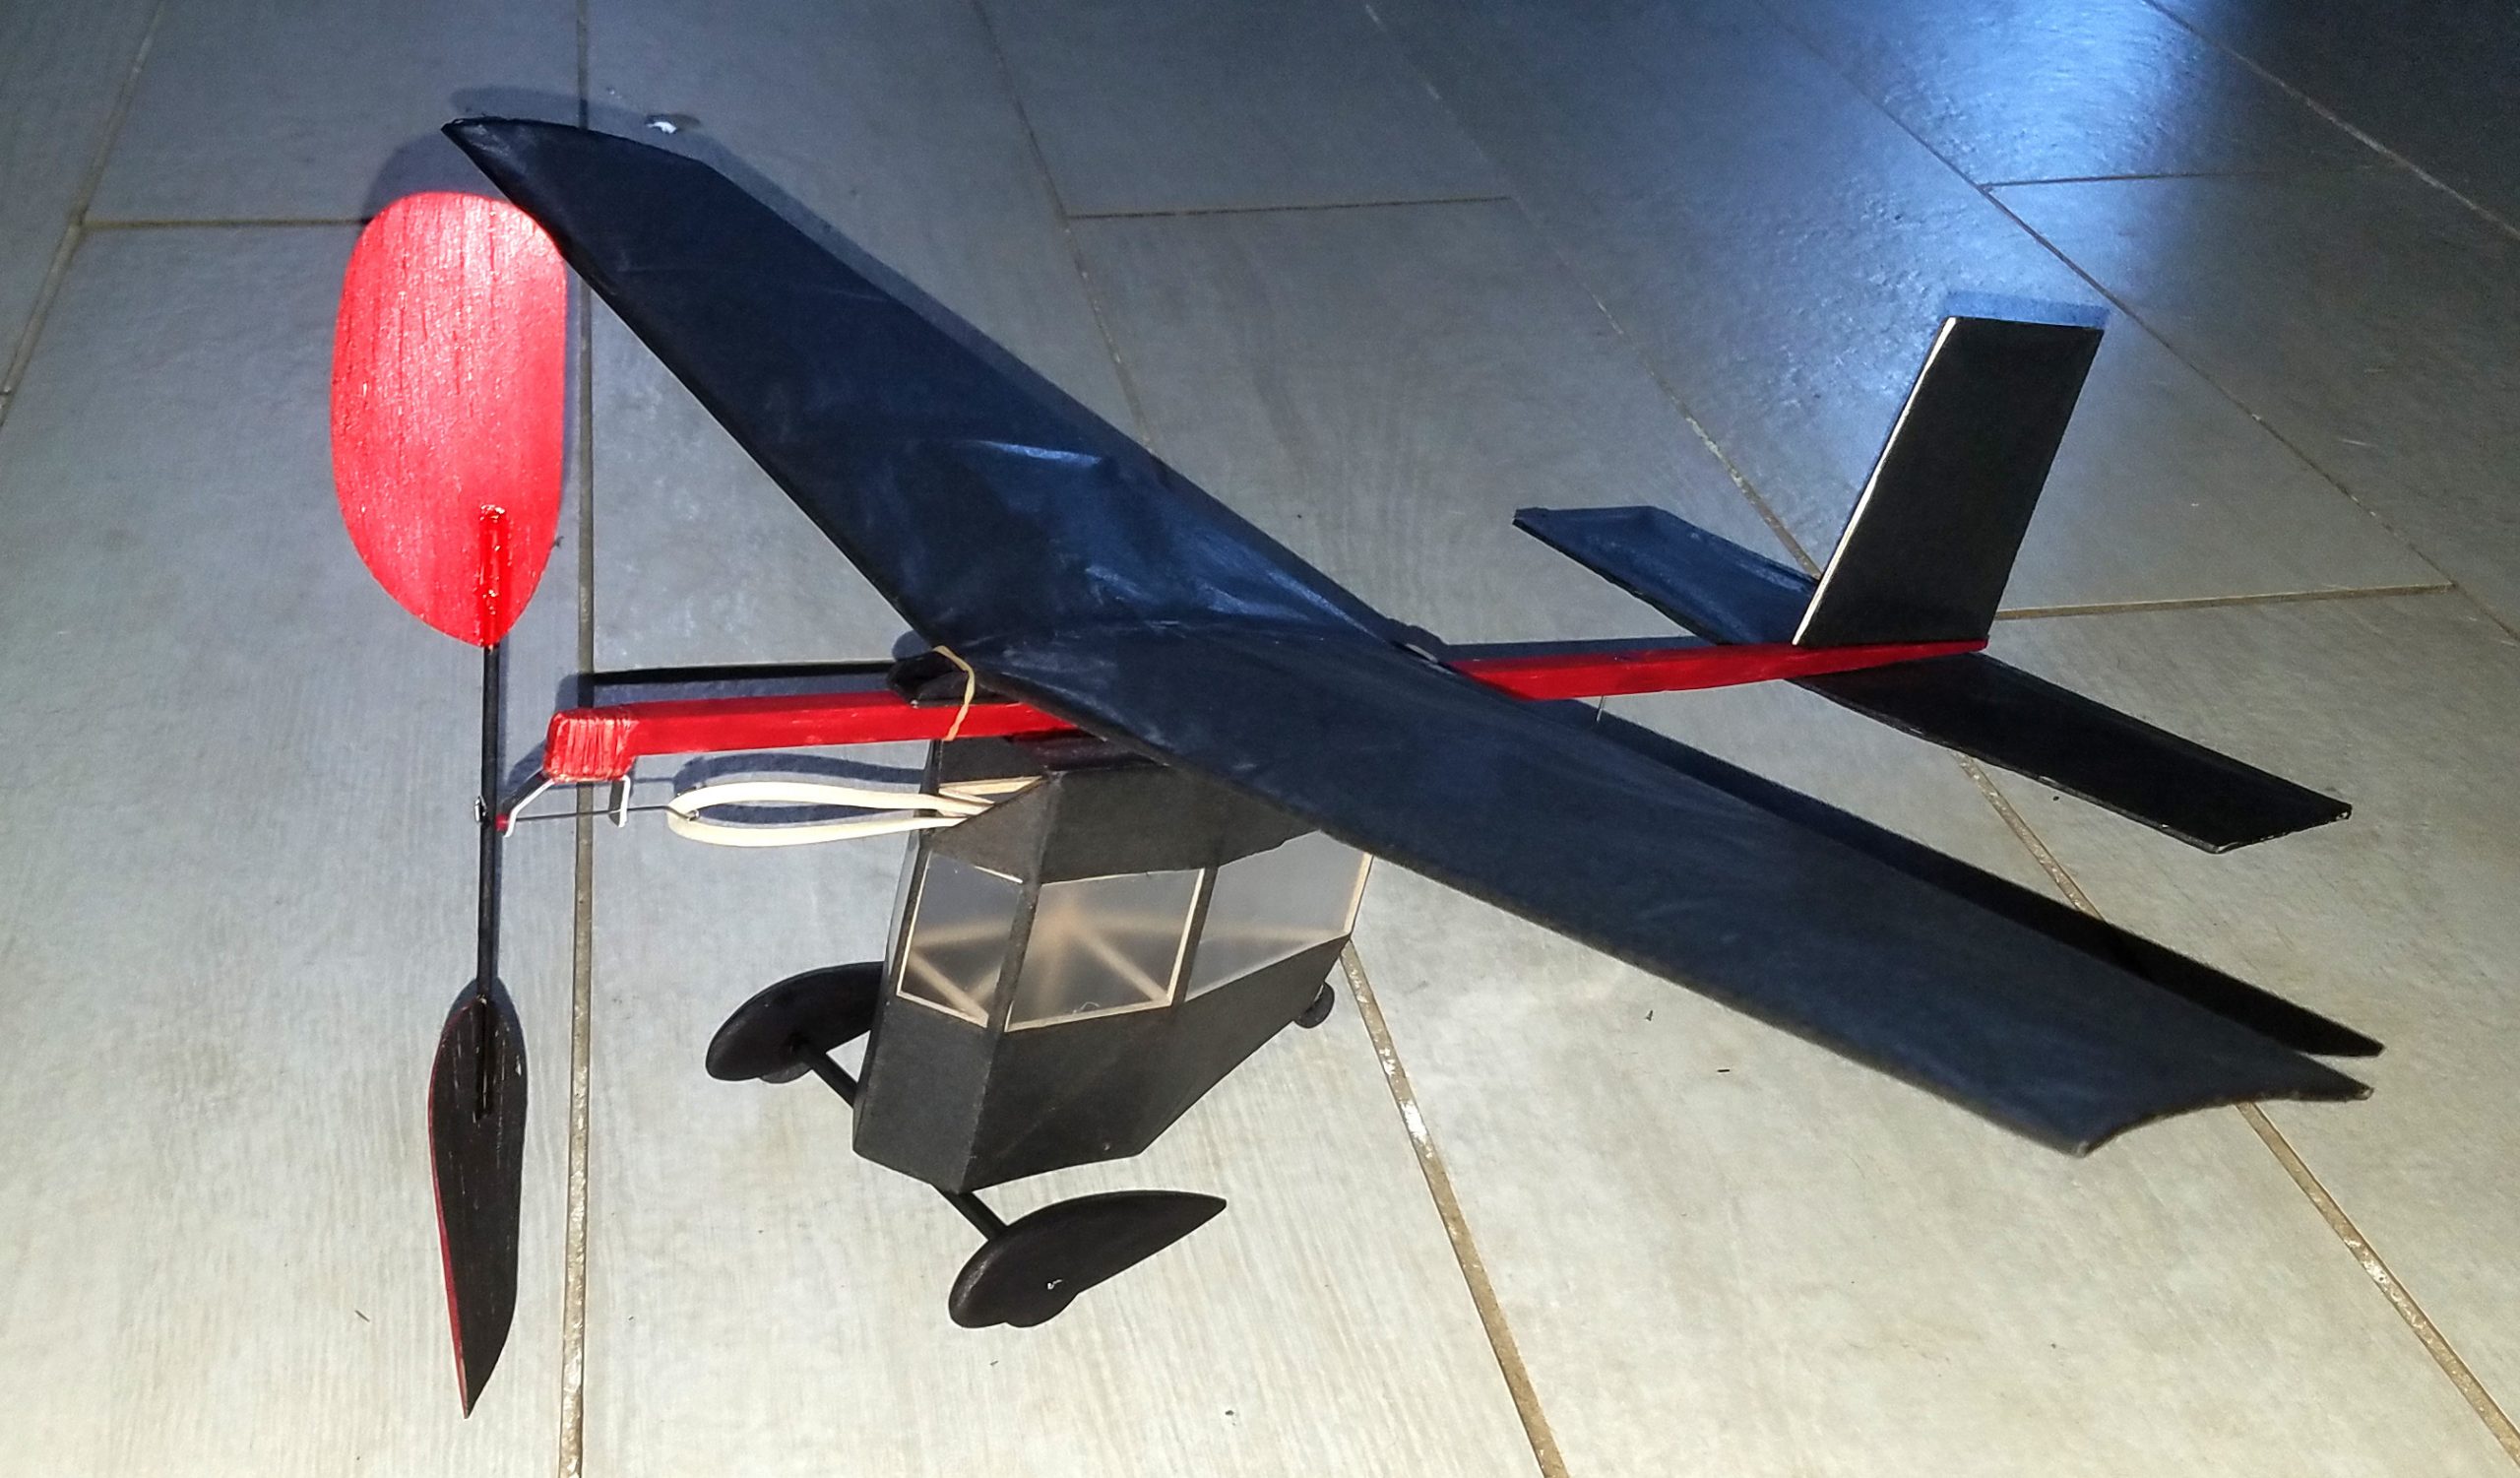
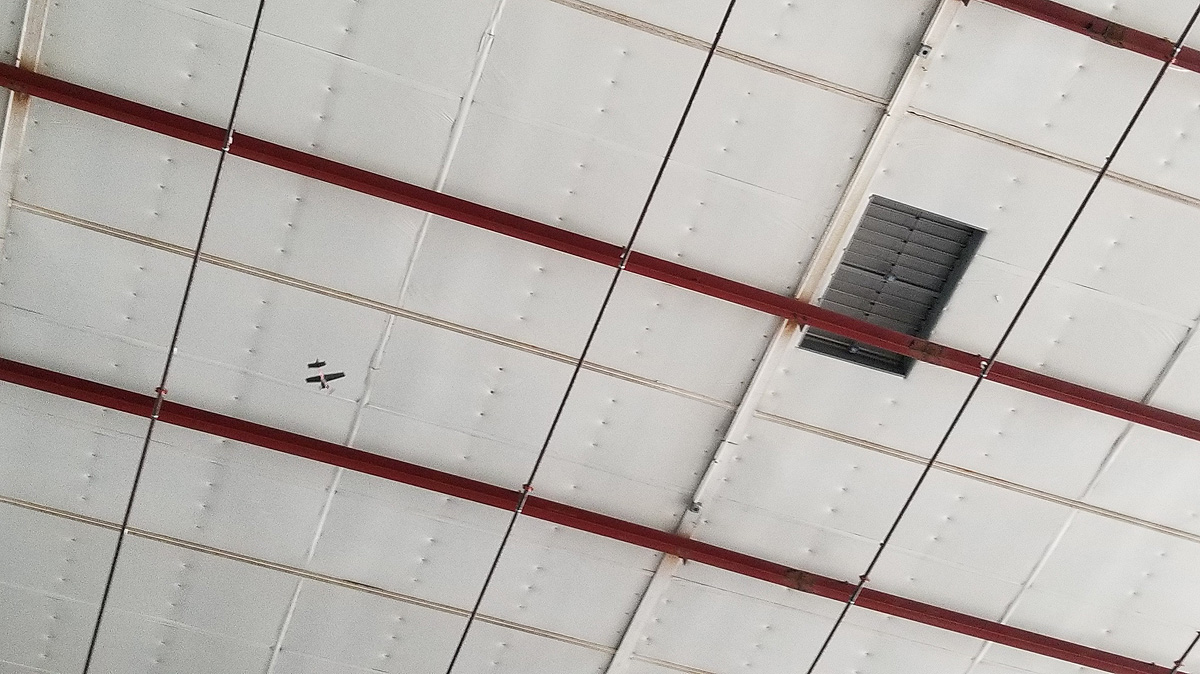
my best PF ever. Now lost to the east of the AMA Flying Field.
I knew it would flew (and flew well) on a loop of 3/32″, 1/8″, or even 3/16″! So a loop of 1/8″ would be no problem. I wound and launched the first flight and it was something around 55 seconds – not very impressive – I would have to do better on the other two flights. I wound it up again and found someone to time me. As I launched, a monster thermal pulled it right out of my hand! It stood on its tail and looked like a fluttering leaf – in reverse – it was climbing FAST. It finally settled into its circular flight pattern and just kept riding that elevator. The black wings showed up great against the white cloud cover and I was able to track it for a long, long time. I followed on my chase bike, but it didn’t really look like it was coming down. I followed it to the eastern edge of the site; I made it over to the road that is farther east; and I watched and watched until I lost sight of it. It might have come down, but I wouldn’t know. I went back, expecting a 5 minute or so time (I’d been gone 10 minutes for sure), but was told “oh, I lost it at 2:20”. Well, without binoculars, that sounded reasonable. I did end up winning the Watson Challenge, but of course, it cost me a great little airplane (I’ll build another).
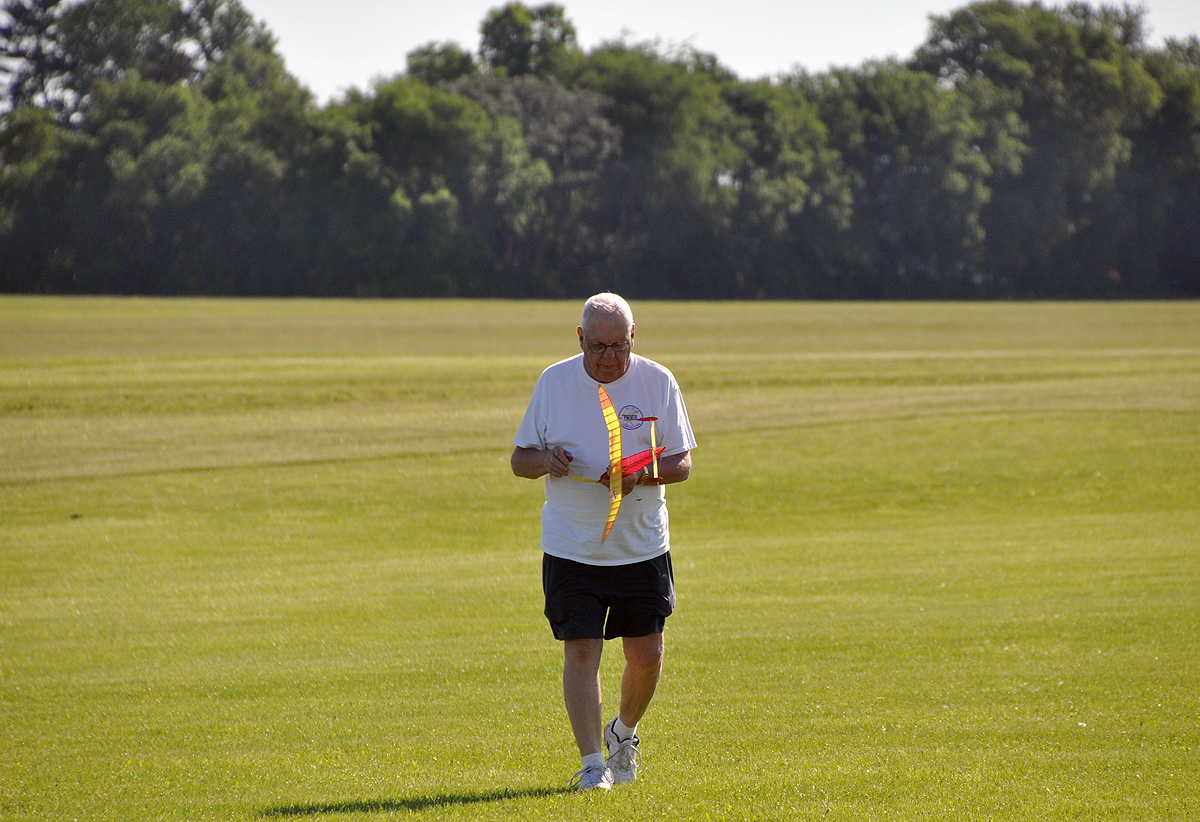
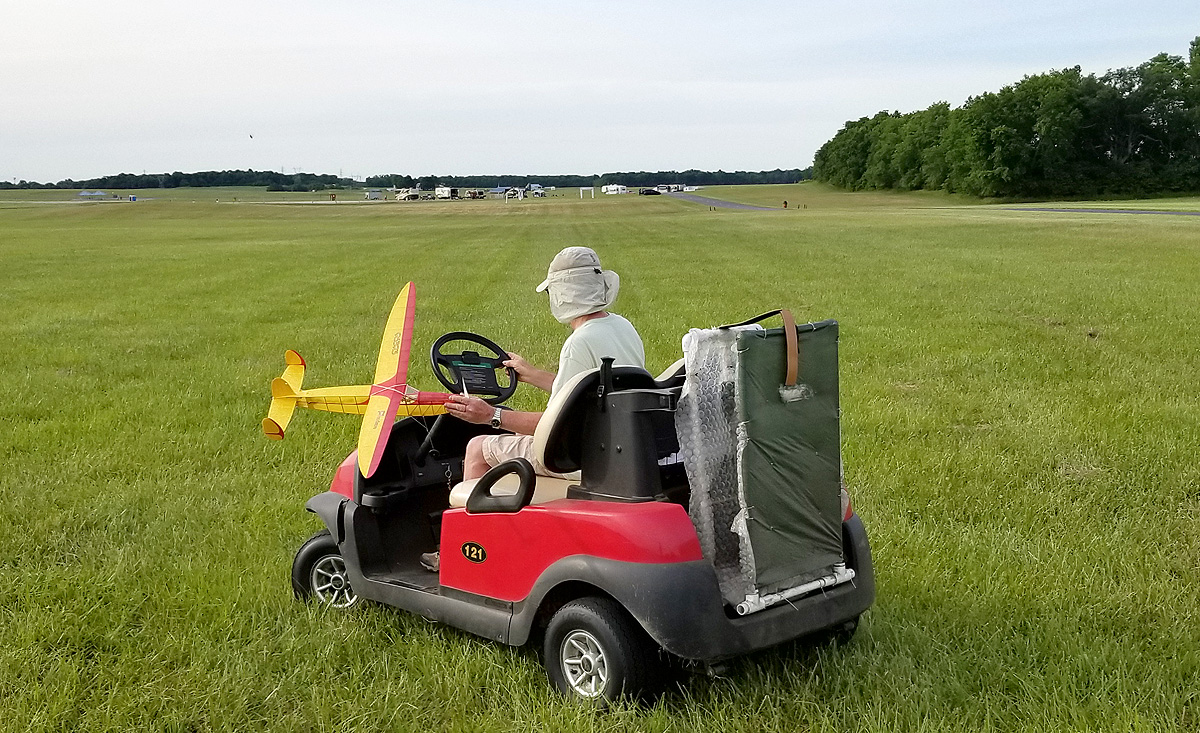
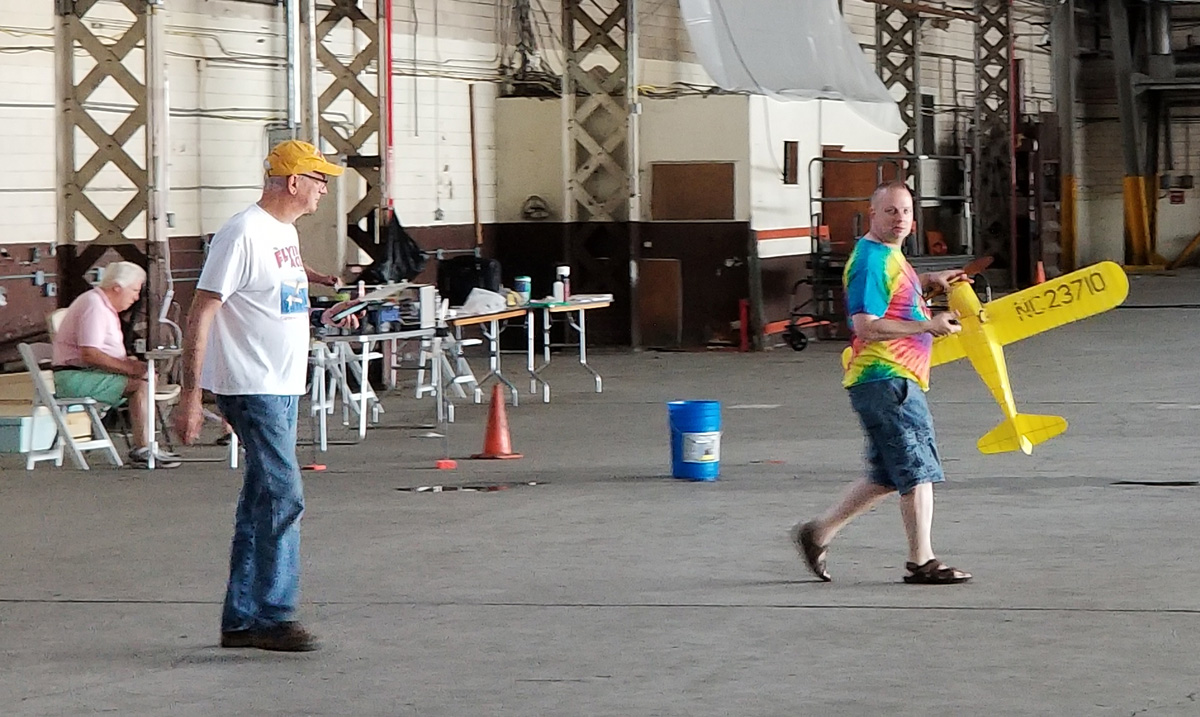
Mike Welshans returning from a flight with his 1939 Canadian 1/2 Wakefield
Marty Richey showed up (we did have about 15 total contestants over the two days). He said he had not been flying all year, as his work has been keeping him busy. He had some significant accomplishments at this meet. The first: he won WWI Dogfight with a Fokker D.vii. Not only did he win this difficult event, but that win earned him his 16th kanone – and a Blue Max (to be awarded at a national event). The second: he won WWII Combat with his beautiful P-47N, a model that he lost last year – and found again. He had re-covered it over the winter and it was ready to go. And go, it did – as in it flew away – again. It was in the final round and he had a tracker on it. However, he returned empty-handed, with a feeling he know what part of the woods it was in, but without hope he would get it back.
I won the Goodyear races. It was a contest of “old vs. new” – Dave Livesay and I had 20 year old models and Pat Murray and Winn Moore had models less than two years old. Dave and I outflew Pat in the last heat and I outlasted Dave by a good margin.
By the end of the day on Saturday, I was exhausted – the heat was really taking a toll on me. We grilled burgers that night. We found out that Chuck Markos, who had shared our AMA test during the day, was planning on sleeping in his car (in this heat!). We volunteered my extra bunk in my trailer and I felt good about providing air-conditioned comfort for Chuck.
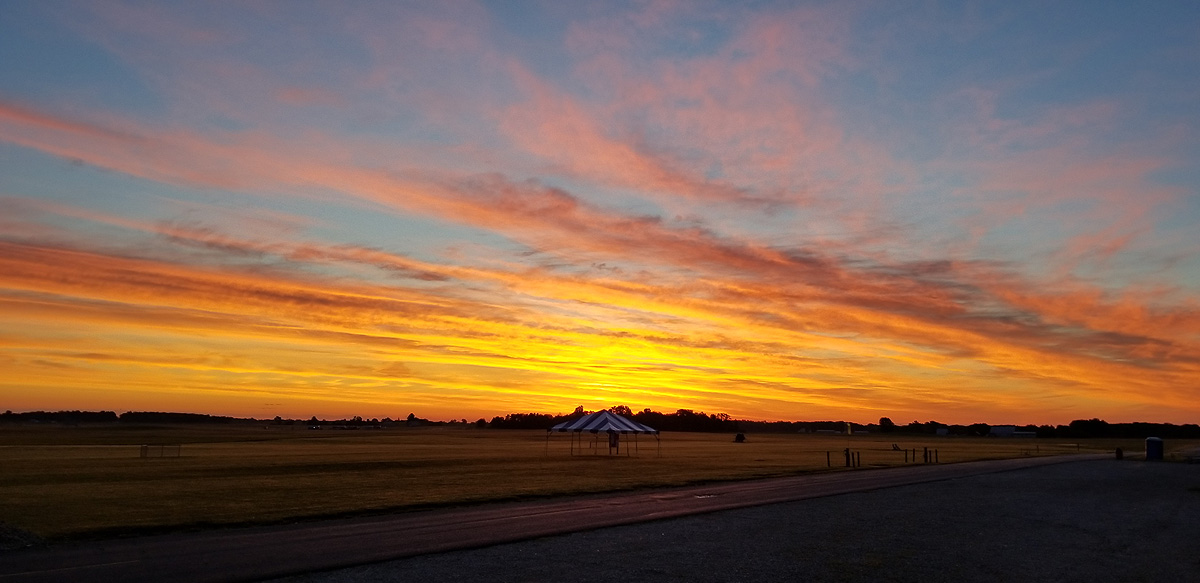
Sunrise from the south end of the AMA Flying Site (site 4)
Sunday turned out to feel more humid, but less hot, but was probably nearly the same as Saturday. Some of my struggles continued, as I couldn’t get some planes to fly and I broke a ton of motors. Sometimes I would not get a flight in in-between breaking. I’d break a motor, load a new one, and break that one. I broke so many on my Embryo, that all of the tissue around the motor peg was gone. The wood was still intact, but without the tissue providing rigidity, the tail was twisted on launch and the plane would not fly. So I gave up with 2 out of 6 flights left and with only 2 maxes. I ended up in 3rd since I couldn’t get that 3rd max.
I came 1 second short of maxing out in OT Stick with my Wanderer – that held up for the win. Ted Allebone chased that all day; first with his Casano and then with his Wanderer, but he couldn’t catch me. Winn Moore lost a Wisp old-timer in another boomer, other than that, I don’t think any other models were lost over the weekend.
I couldn’t get my new Yankee IV to ROG on an official flight, event though I had been successful twice before. I wasted so much time with broken motors and making motors and testing, that I didn’t have time to fly my scale ships. Preparation is the key to contests and I was unprepared. I did come away with 5 wins and 3 kanones (I won the Cloud Tramp ML, too). Pat Murray took 6 kanones, Winn Moore took 3, Marty Richey took 2, and Ted Allebone won OT Fuselage. Oh! Dave Niedzielski drove all the way from Alabama – he won two events!
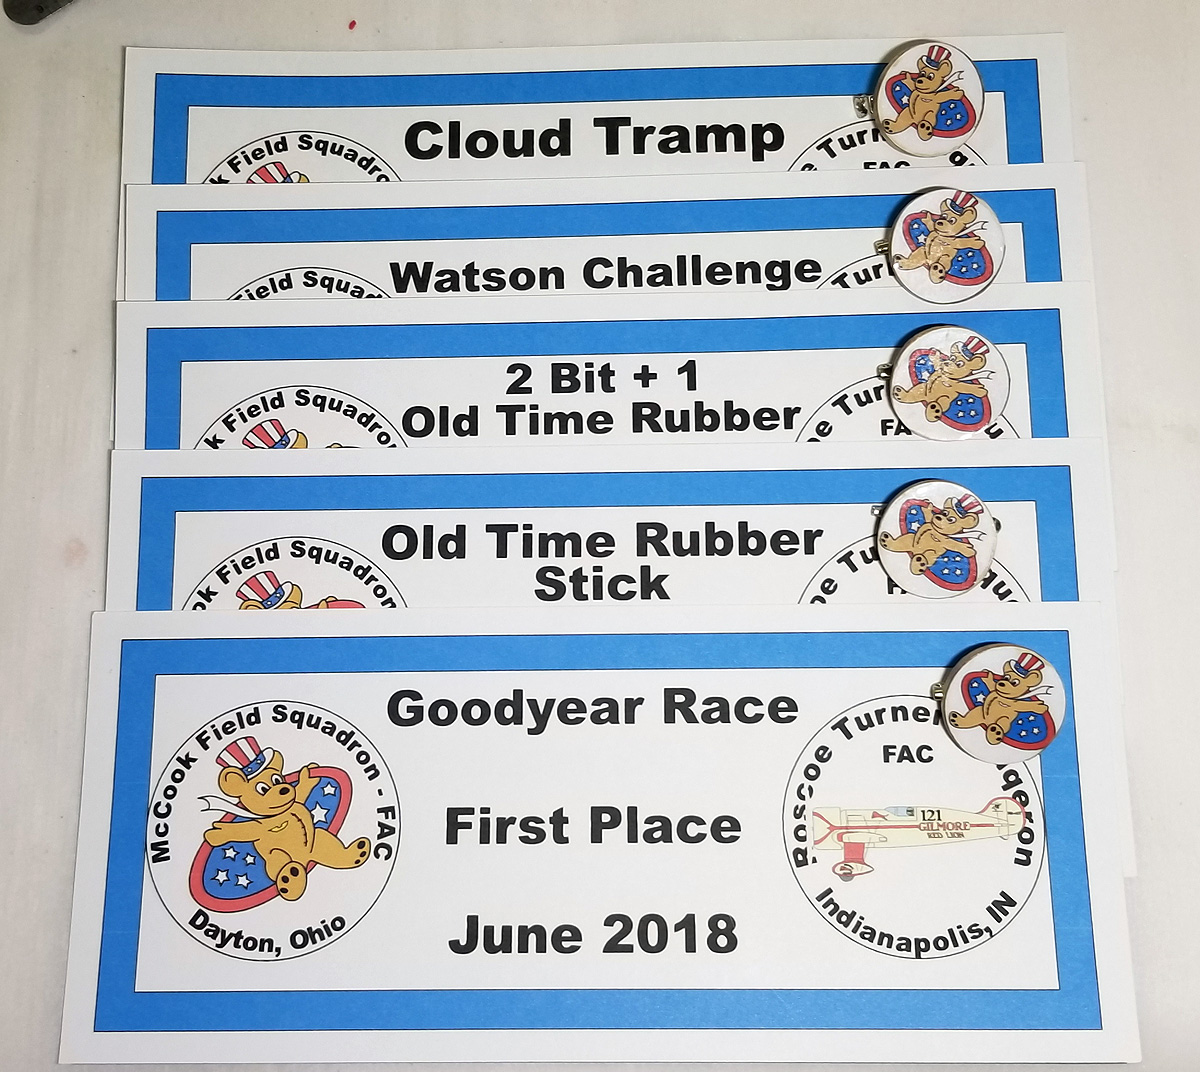
My victories. Each 1st place also received the little pins on the right – “McCookies”!
Here are the Contest Event Winners:
| EventName | Contestant | Place | ContestantCount | Model |
|---|---|---|---|---|
| Old Time Rubber Fuselage | ALLEBONE, TED | 1 | 4 | 1939 Canadian Wakefield |
| 2 Bit Plus 1 OT Rubber Fuselage | BREDEHOFT, GEORGE | 1 | 4 | King Harry |
| Goodyear/ Formula Race | BREDEHOFT, GEORGE | 1 | 4 | Falcon Special II |
| Old Time Rubber Stick | BREDEHOFT, GEORGE | 1 | 4 | Wanderer |
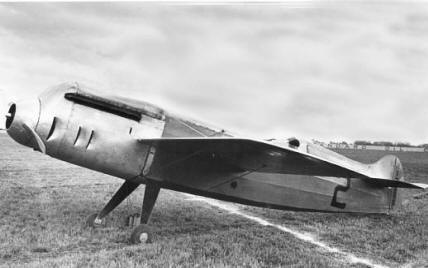
| FAC Peanut Scale | MOORE, WINN | 1 | 3 | Pegna P.C.1 |
| Jet Catapult Scale | MOORE, WINN | 1 | 5 | Miles M-100 |
| Phantom Flash | MOORE, WINN | 1 | 5 | Phantom Flash |
| FAC Rubber Scale | MURRAY, PAT | 1 | 5 | Beriev BE-12 |
| Golden Age Combined | MURRAY, PAT | 1 | 4 | Stinson SR-7 |
| Greve Race | MURRAY, PAT | 1 | 4 | Mr Smoothie |
| Jimmie Allen | MURRAY, PAT | 1 | 3 | Skokie |
| Simplified Scale | MURRAY, PAT | 1 | 4 | Vega Starliner |
| Thompson Race | MURRAY, PAT | 1 | 3 | Mr Mulligan |
| Dime Scale | NIEDZIELSKI, DAVE | 1 | 5 | Beech Staggerwing |
| Embryo Endurance | NIEDZIELSKI, DAVE | 1 | 6 | Debut |
| WW-I Combat | RICHEY, MARTY | 1 | 3 | Fokker D.vii |
| WW-II Combat | RICHEY, MARTY | 1 | 4 | P-47 |


")
 ” (pasted just as posted: typos, smilies and all) (maybe that is why I never go to RCGroups!)