People tell me “Peanuts are too hard to build and fly”. To me, Peanuts are almost like a sport class. Because of their small size, I can build them pretty quickly, they don’t require the highest level of detail, and I can pack a lot in a small space – for either storage or transportation. But when people say that, I later ask myself “what would make Peanuts easier for people?”
Maybe the answer is a simple-to-build kit. The Found Centennial is nearly ideal for a beginner’s Peanut: It’s a high-wing (for stability), there are no wing struts (no fiddly details), and it is slab-sided with few curves (for simplicity). This design – of a commercial plane – is right up there in simplicity with the common Peanuts of homebuilts, such as the Nesmith Cougar, and the ugly Fike and Lacy (never built them – they are ugly!)
So, I looked at the Founds that have been done (there are several plans, in Peanut and other sizes). One thing that always bothered me about the models out there was that they took the liberty of putting in tip dihedral with a flat center section. To me, this looked entirely out of place and non-scale. I have designed this with a mare traditional dihedral layout that keeps the right and left wing spars flat and straight across the top of the wing.
I also designed this to be built using standard material – everything is 1/16″ balsa. The laser-cut parts are from 1/16″ sheet wood, the trailing edge is 1/16″ x 1/8″ stock, and the rest of the stick wood is stock 1/16″ square, straight from SIG – nothing special or exotic. You can build this light and strong without extra effort.
Anyway, on to the build details:
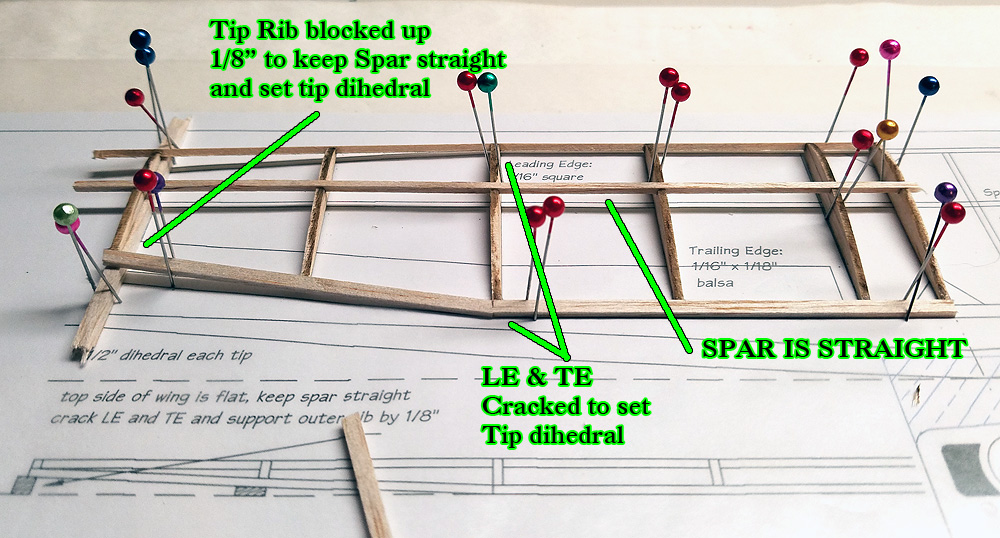
How to build those flat wing panels. Build separately. Sand root rib and test dihedral. Cover separately and then glue together, setting dihedral per instructions.
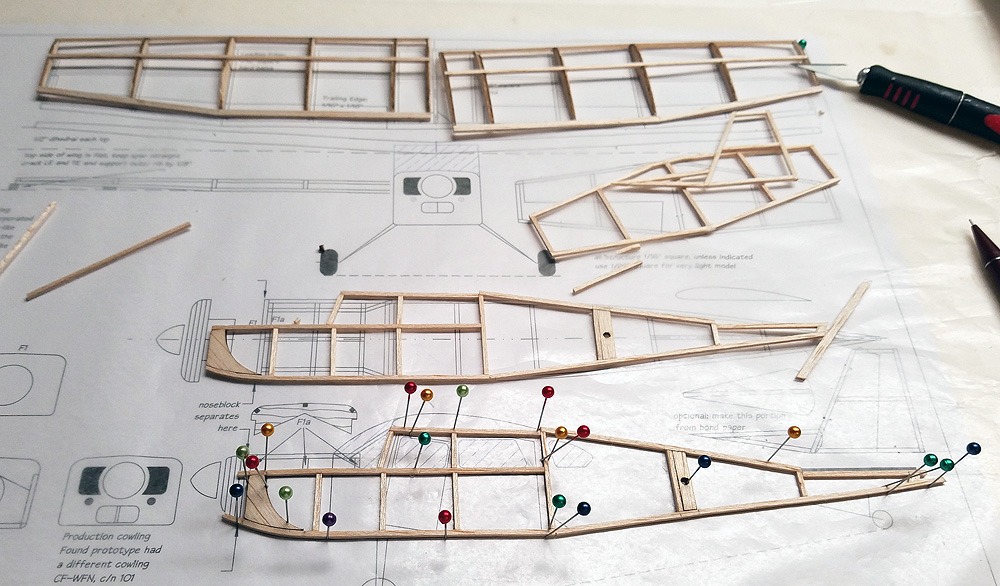
All the parts, ready to assemble the fuselage. This is designed for 1/16″ square stock – nothing special or difficult.
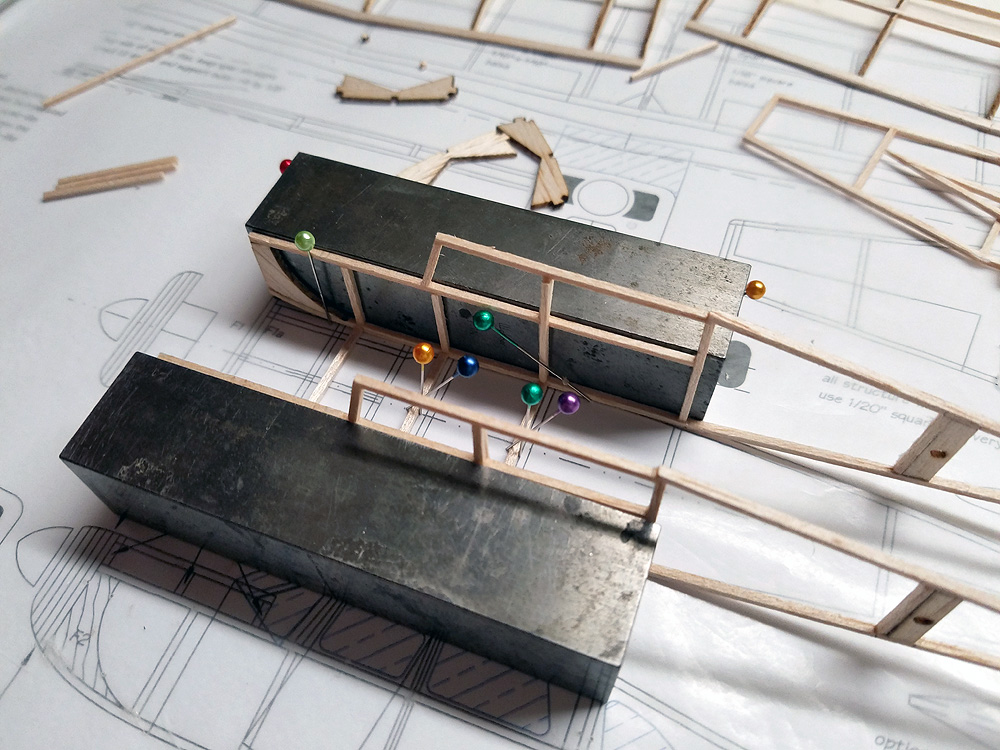
Use square blocks when assembling the fuselage. This keeps the fuselage straight.
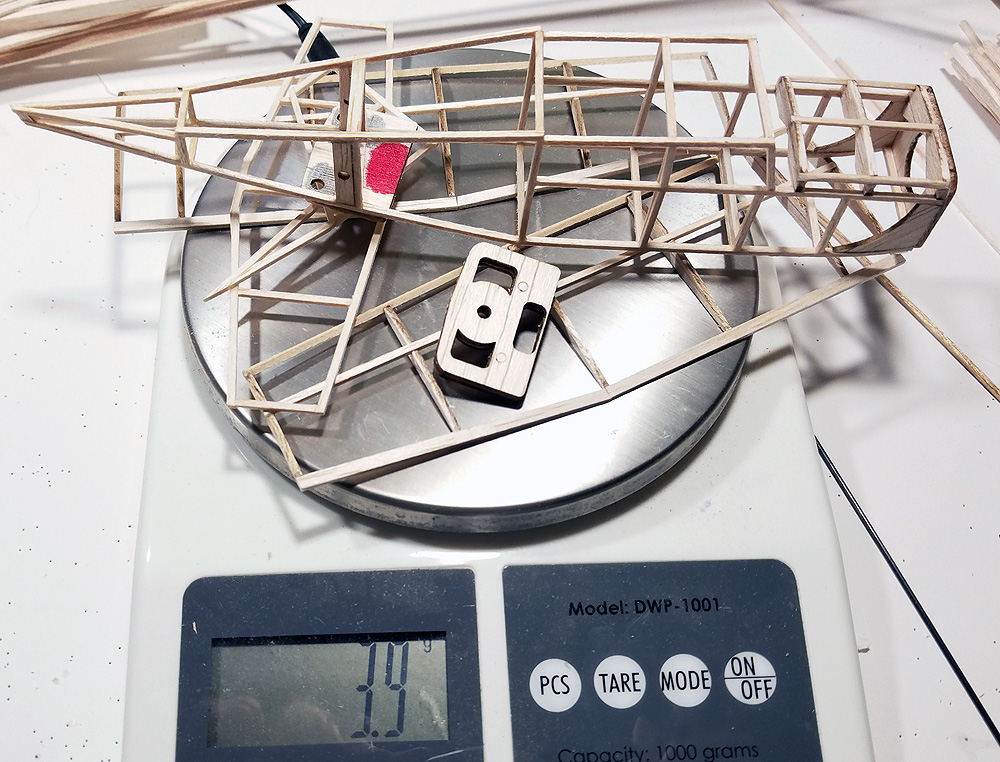
All of the parts, ready to cover, weigh only 4 grams.
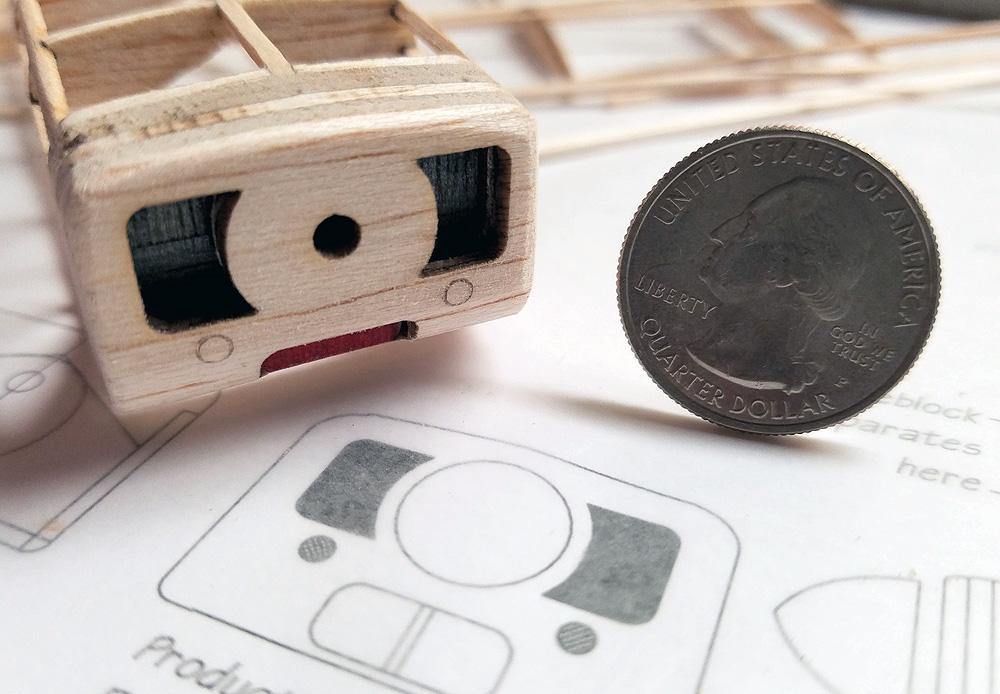
Laser cutting allows for the addition of detail that is difficult to make by hand.
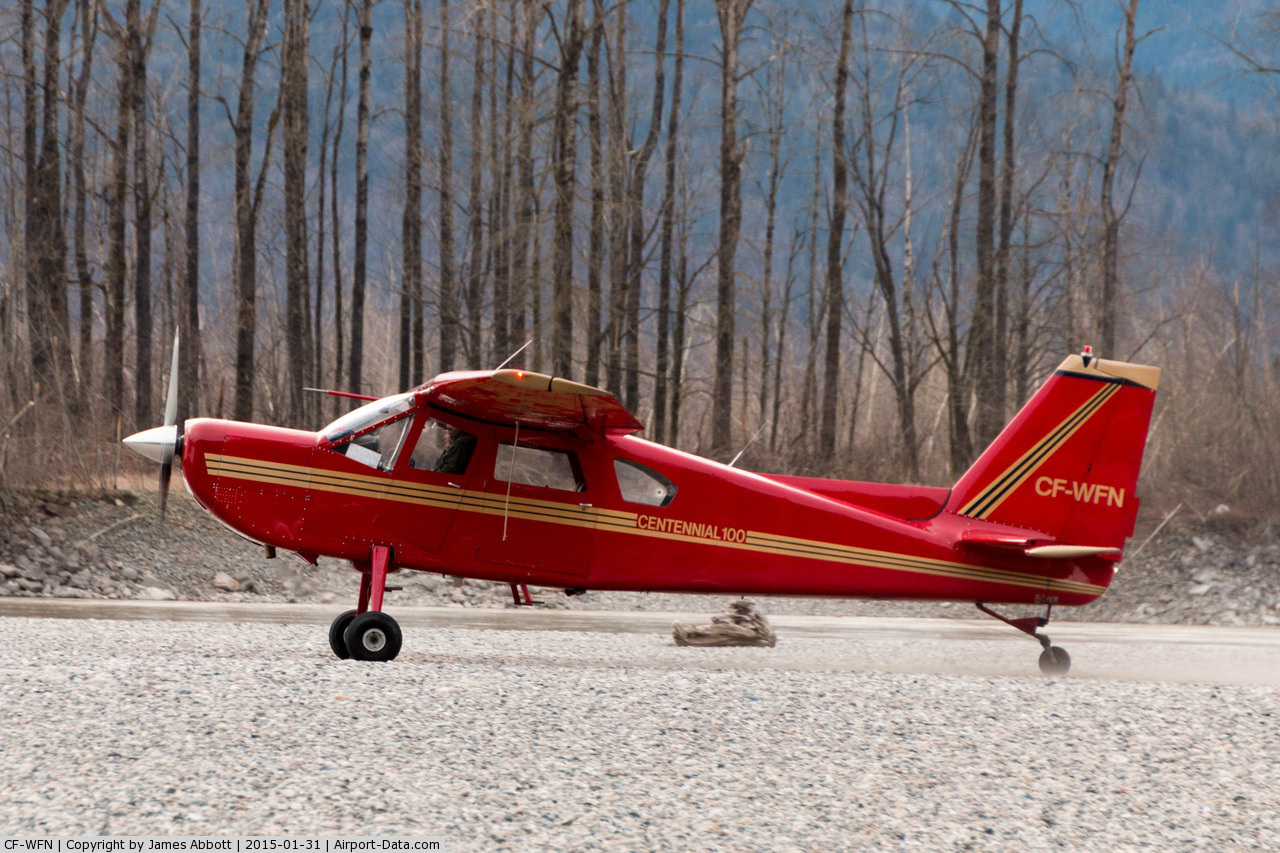
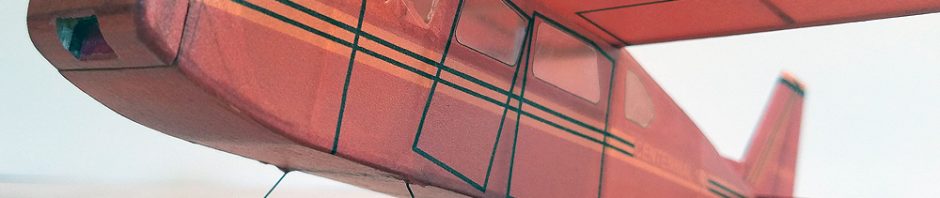
The real plane I chose to model. I created patterns for printed tissue. Gold was done with a yellow-orange color.
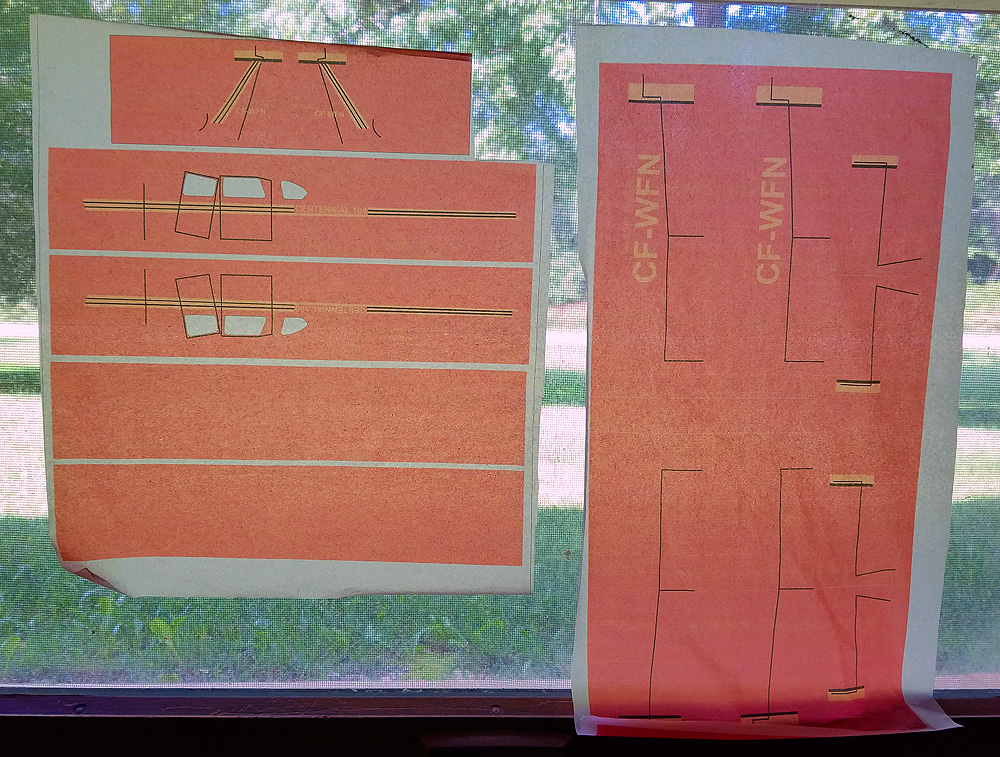
My printed tissue, hanging on a window.

The first side of the tail tissue in place.

The first side on place as one piece. Note the windows have been cut out and plastic is behind the tissue BEFORE putting the tissue on the fuselage.
All covered, but before details such as landing gear struts and wheels.
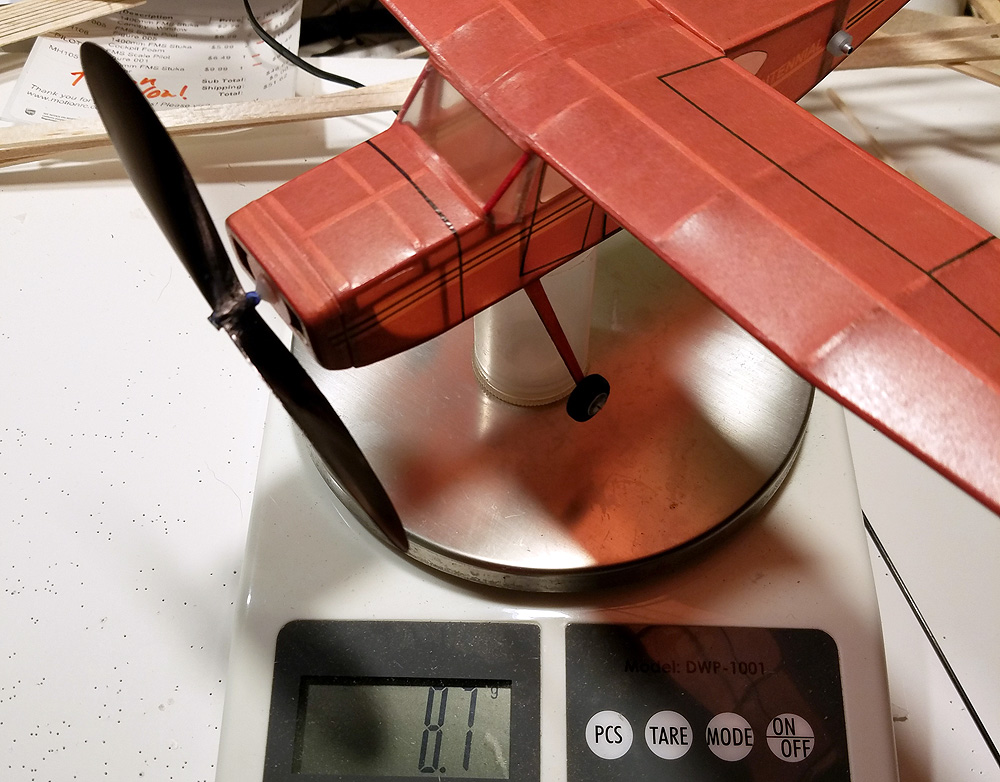
All done, excepting tiny details, weighing 9 grams without rubber.
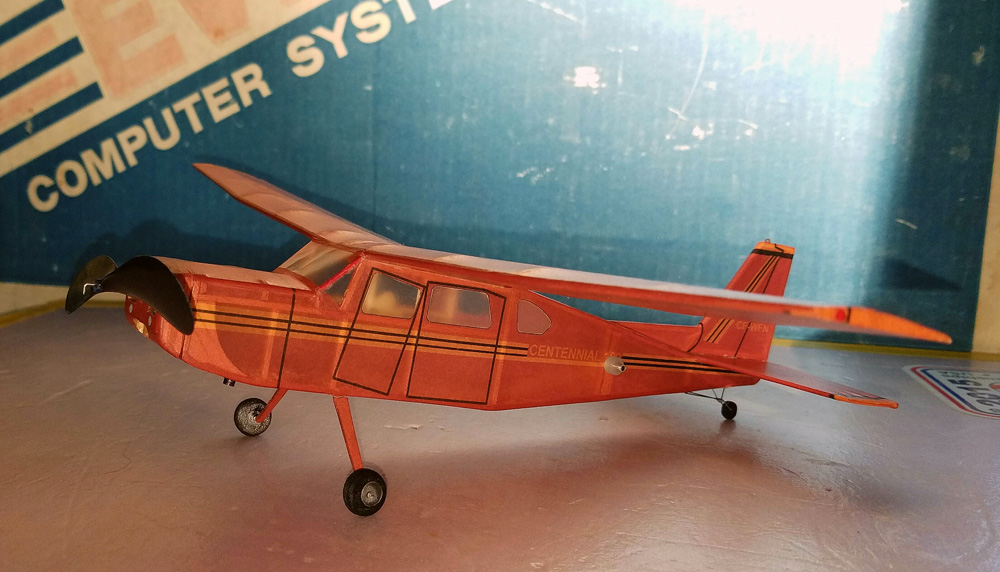
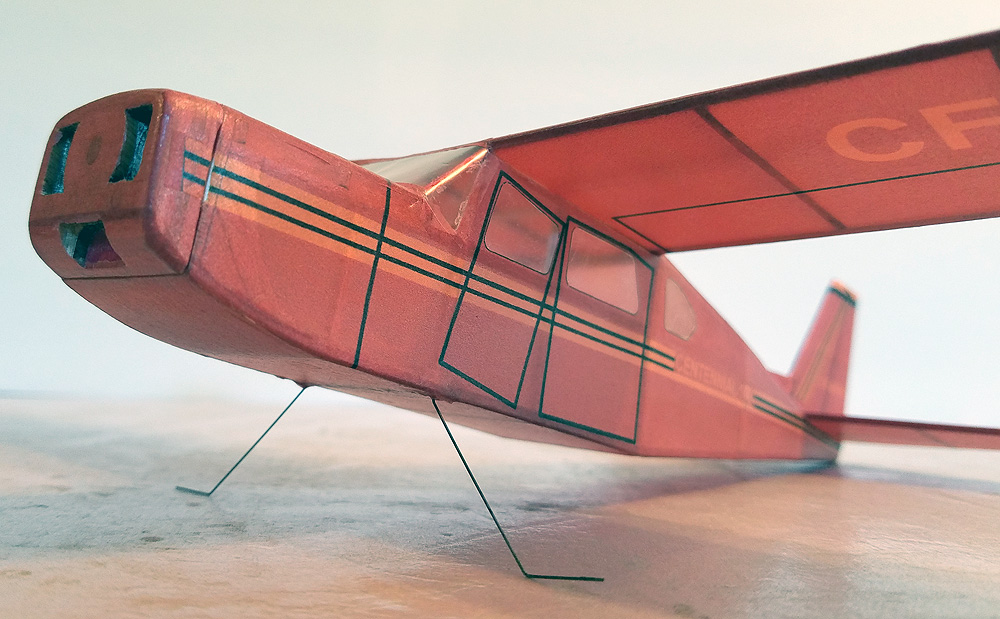
Finished and ready to fly.
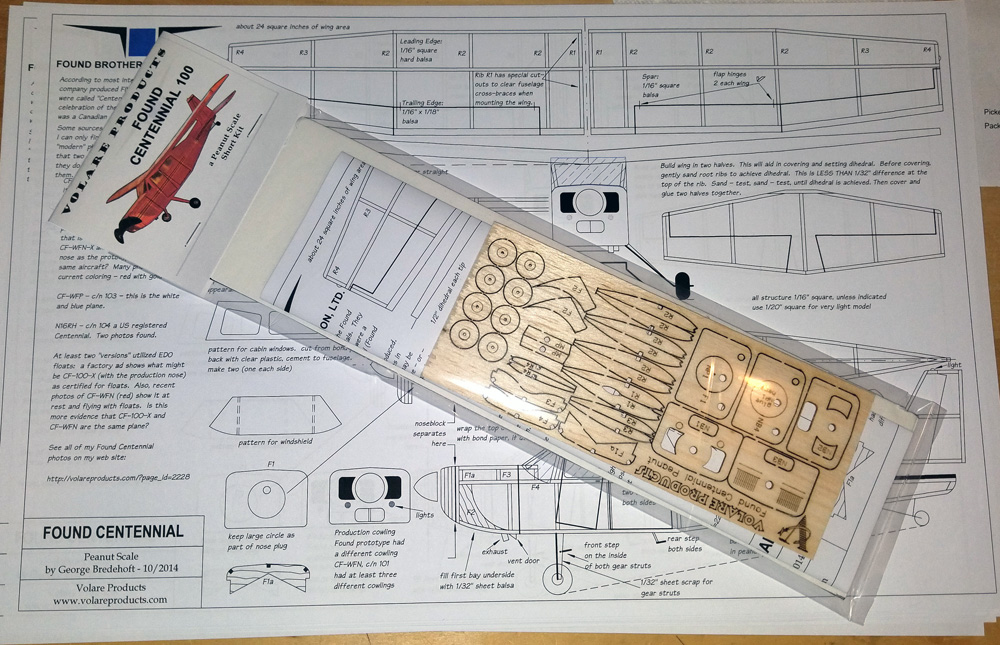
Short Kit: plan and laser cut wood.
Here is a video of a flight test we did on the newly-finished model.
Here is a gallery with all of the photos and documents I could find on the web:
https://volareproducts.com/blog/?page_id=2228
And soon, I will have another gallery that features all the printed tissue patterns for my variety of planes. These will be free for download.
So, an uncomplicated plane, with a simple kit and basic parts should be able to be built by any modeler without much problem – and it should fly well! The only caution I have is that with the nose being fairly long, any weight up front will cause the model to become nose heavy -keep everything light up front! I scraped my small prop to get it as light as I could. I used a 1/32″ prop shaft, again to keep it light. Even then I had to add tail weight. This increases the overall weight of the model and since the wing is narrow, it doesn’t have a lot of area to carry extra weight.
Lastly, you can find the Short Kit for sale here:
https://volareproducts.com/blog/BUY/index.php?main_page=product_info&cPath=60_101&products_id=839