MARCH MADNESS SALE! RARE FREE FLIGHT TOOLS!

I have a collection of rare and hard-to-find Rubber Free Flight tools for all types of Rubber Free Flight – from F1B to FAC Scale to Indoor.  I have collected them this winter from estate sales and online sales.  (Oh, two of the DTs are for FF Gas.)

Get them while you can!  On Sale HERE

https://volareproducts.com/blog/BUY/index.php?main_page=index&cPath=47_63

Posted in Customers, Events, Products | Leave a comment

JUDY UPDATE and Some Notes

I’ve been dragging my feet when it comes to covering this model. Mostly because of the fuselage. I still have to place and create the gun troughs and the color separation line is challenging me.

I finally decided to push on and start covering. Here are the flying surfaces. I created patterns for the panel lines and printed them onto the tissue. This is stock green and white Esaki. The rudder and horizontal were covered dry and the wings were covered damp. Two coats of Future were brushed on, drying between.

Note the wing center section – it is messy and even a different color. This is a slip-in wing, so the appearance is not critical. The different color – well some colors (maybe all?) of Esaki fade. and the center scrap was an older scrap of green I had laying around. It is also the same sheet that I used for the canopy frames (oops).

THINGS TO LOOK FORWARD TO –

Besides the Judy Short kit, I am trying to finish up the F-4 Phantom Jet Cat kit – this is Harrison Knapp’s design and a photo him and his plane was recently published in Gene Smith’s article in Model Aviation.

Someone emailed me and asked if I would write something on the type of glue that I use.  Because of the question, I find that I use at least seven different glues – I will write that up shortly.

I am going to photograph all the various specialty tools that I have picked up recently through estate sales and other sources.  This will be a “March Madness Sale” – look for it this week, maybe this weekend.

Us Cloudbusters like to push the limits.   I checked the calendar the other day – our OUTDOOR season will be starting soon.  In fact the next “scheduled” outdoor event is before next month’s indoor event – weather permitting.  Wow, am I behind on building!  There are THREE models (two are planned to be short kits) I want to get done no later than June.  I better get this Judy done and move on to the next!

Posted in Builds, Events, Products | Leave a comment

Preparations, Plans, and Tangential Paths

I spent much of the day testing rubber motors and preparing for the Cloudbusters monthly indoor contest this Thursday.  I was replacing a missing bobbin in the back of my Peanut Pegna P.C.1.  I took the motor out, replaced the bobbin and reinstalled the motor.  I gave the long motor 3-400 winds so that the braiding would shorten it up when it unwound.   All wsa good until half way through the unwind when the sound of rubber slapping the fuselage told me that the motor had broken.

No Big Deal – I made a new one, and replaced the same way I had the first.  During the winder-prop exchange, the lightly wound motor slipped through my fingers and went to the back of the fuselage.  For a micro-second, all was well – until my left hand instinctively tried to grab the motor.  Said left hand was holding the nose of the fuselage at the time.  The rubber did NO damage; the left thumb went through the nose:

I was all thumbs

~Sigh~  This poor plane – it is a workhorse.  I have had this model for at least 24 years; its first kanone was recorded in 1993.  It has had major rebuilds two times.  I have come to depend on it to strike terror into the hearts of Peanut competitors in the tri-state area.  Oh, and it’s a four-time AMA Nats winner in Peanut!

There was only one thing to do – “we can rebuild it; we have the technology” (bonus points if you remember the source of that quote).  So, I got to work.  Here’s the new structure:

new sticks

Now one thing about building this model is there is next to no documentation.  However, my quick and easy black marker is a poor representation of a copper/bronze surface radiator – and scale judges have commented just that.  So, I decided to put in a little more effort this time.  I had some party store gold tissue in the workshop, so I dug that out.  I also dug out a small bottle of black india ink and a paper towel.  I put a few drops on the folded towel and, with the gold tissue flat and smooth on my bench, I wiped over the tissue.  Then quickly wiped it off.  The results are definitely not bad (still not perfectly scale in detail)!

bronze?

Anyway, after it’s third major repair and 4th covering job, it is ready for Pontiac on Thursday!  There probably another one of these in my future, but not just yet, this one has been too good for me to give it up.


Posted in Builds, Events | 2 Comments

Vacu-forming Vexations

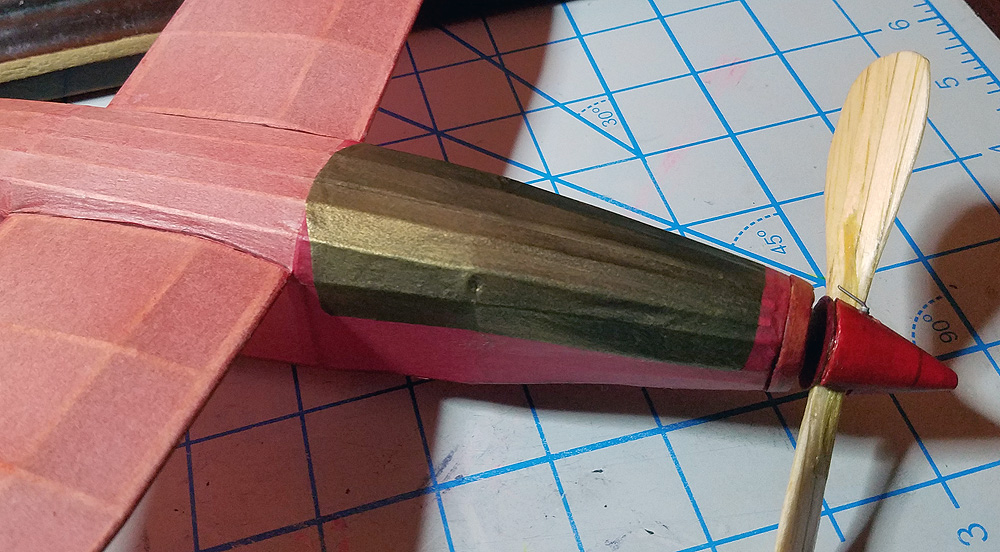
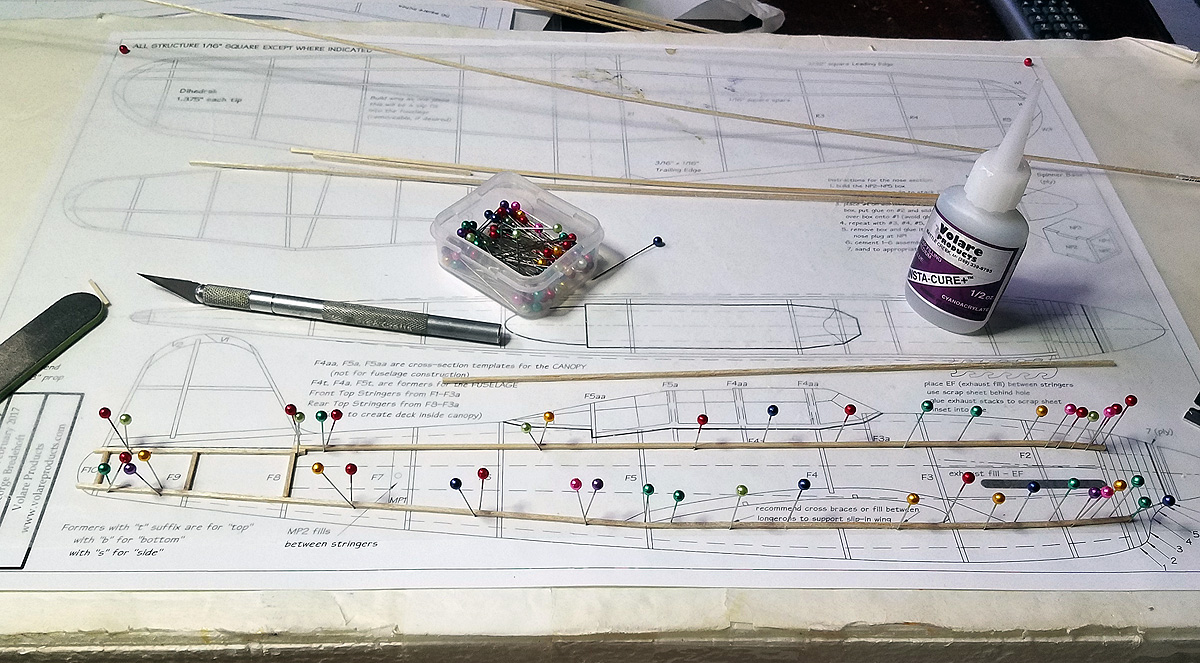
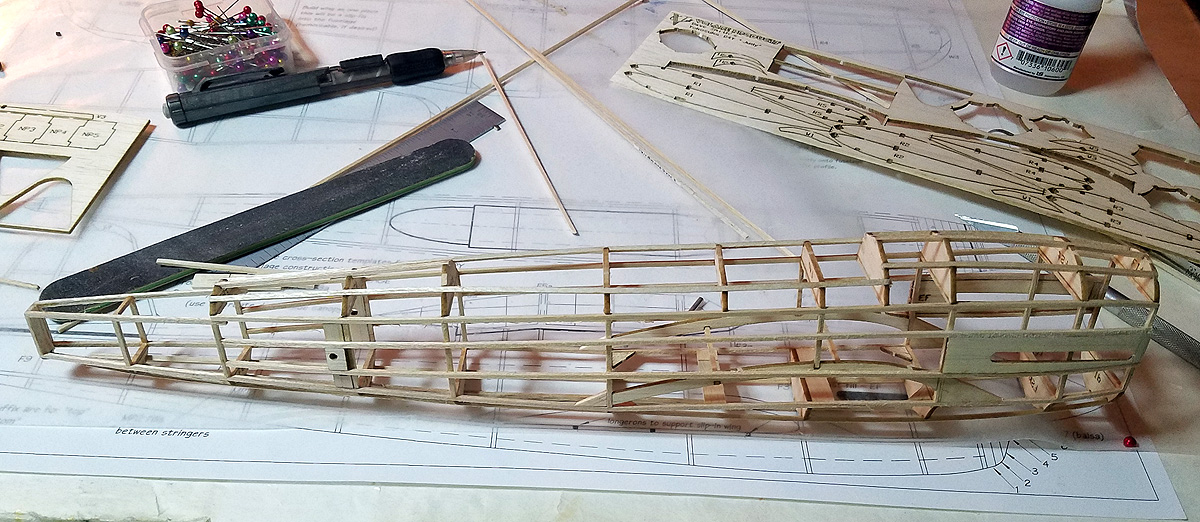
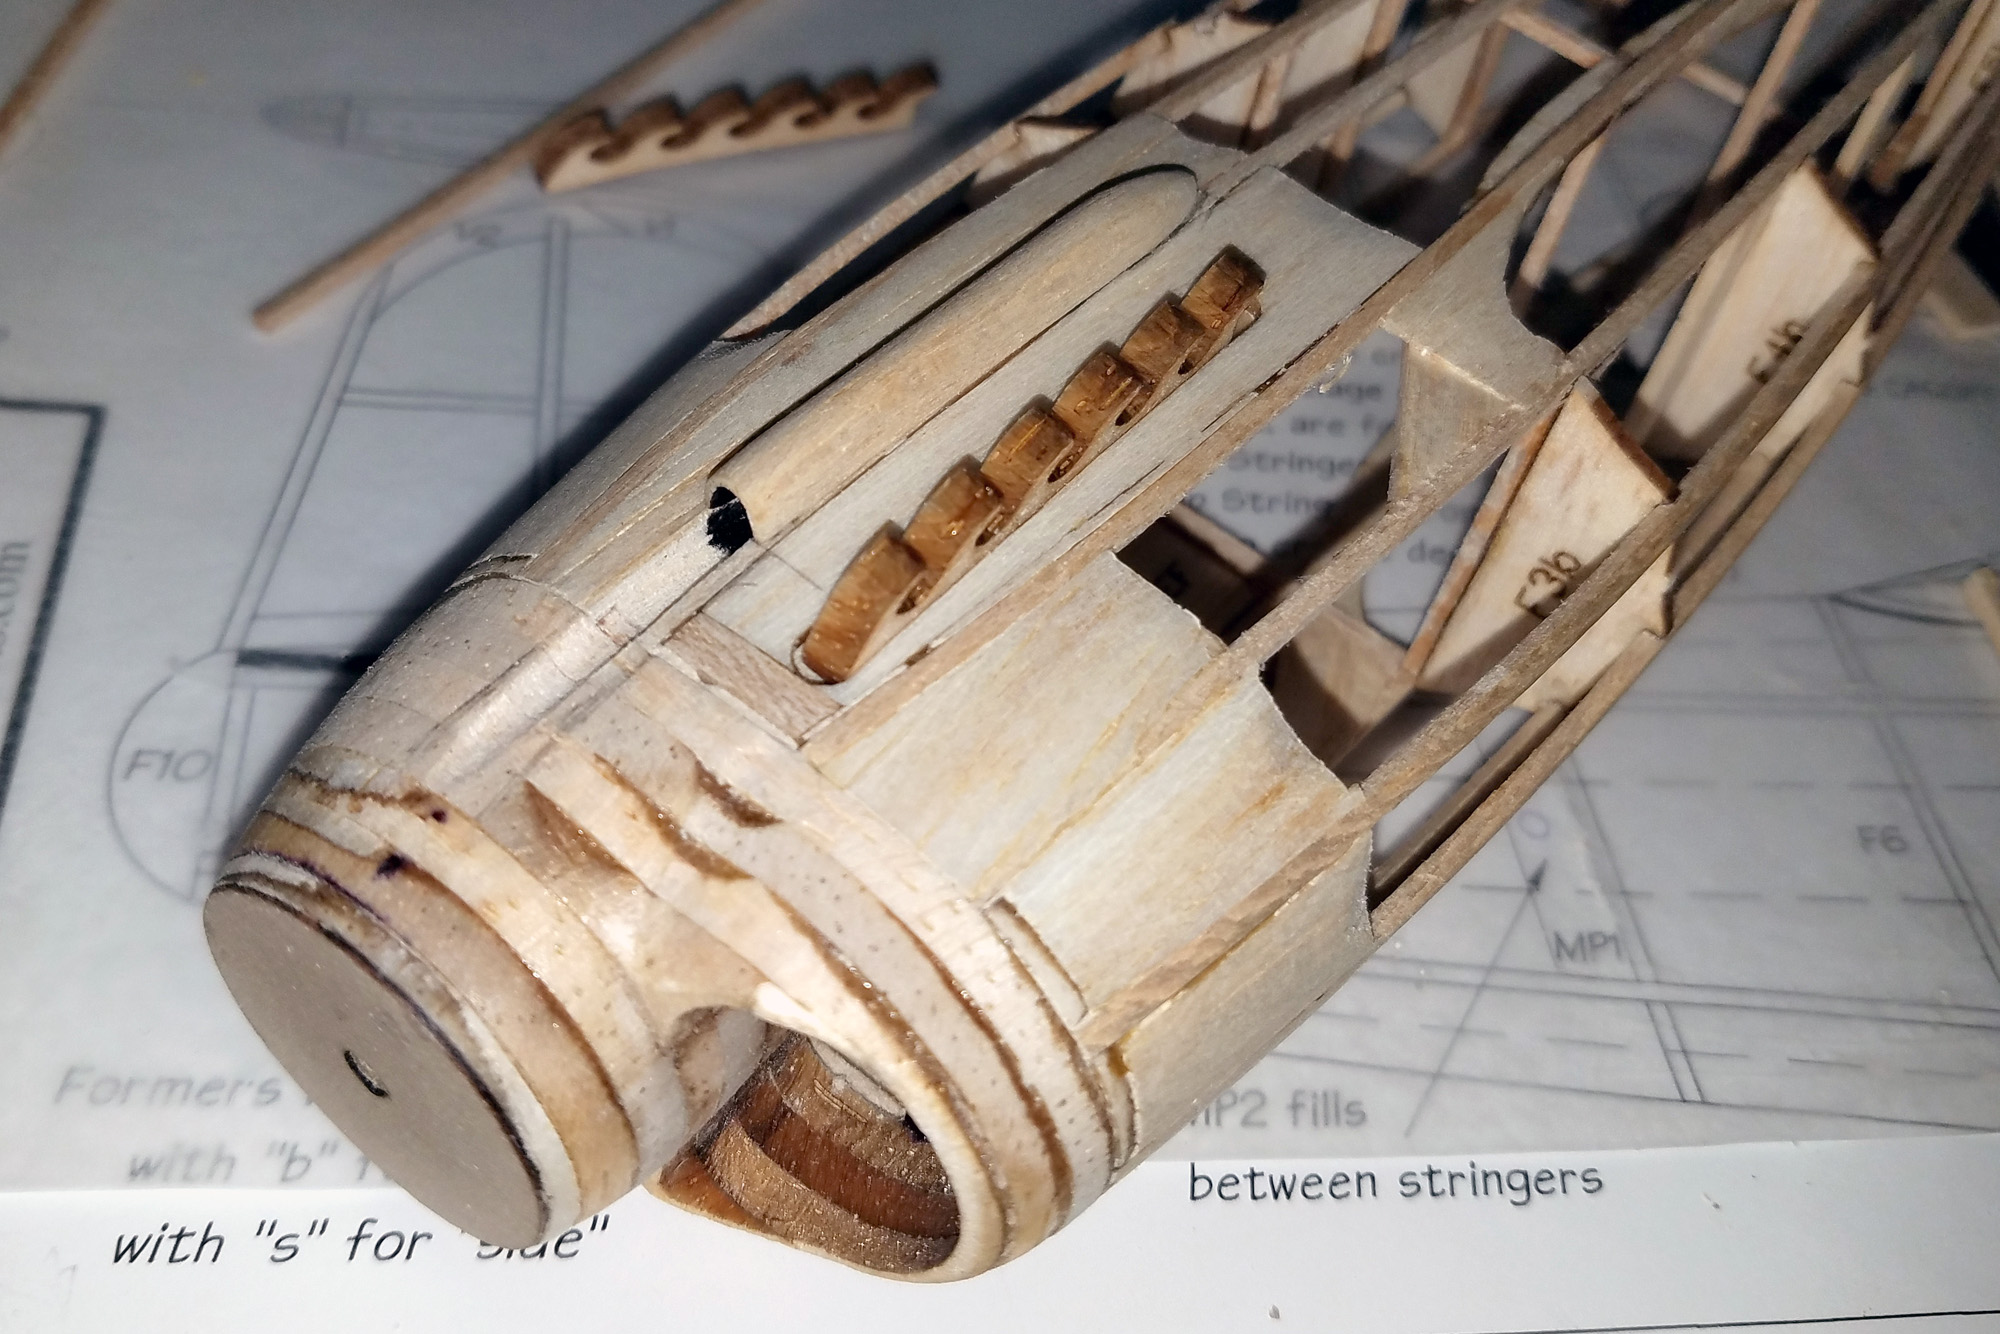
I framed up the Judy in “record time” – about three days from sticks to frame.  Since then, time has been dragging on that model.  I’ve been trying to figure out how to color it, how to make the canopy, and how to make the spinner.

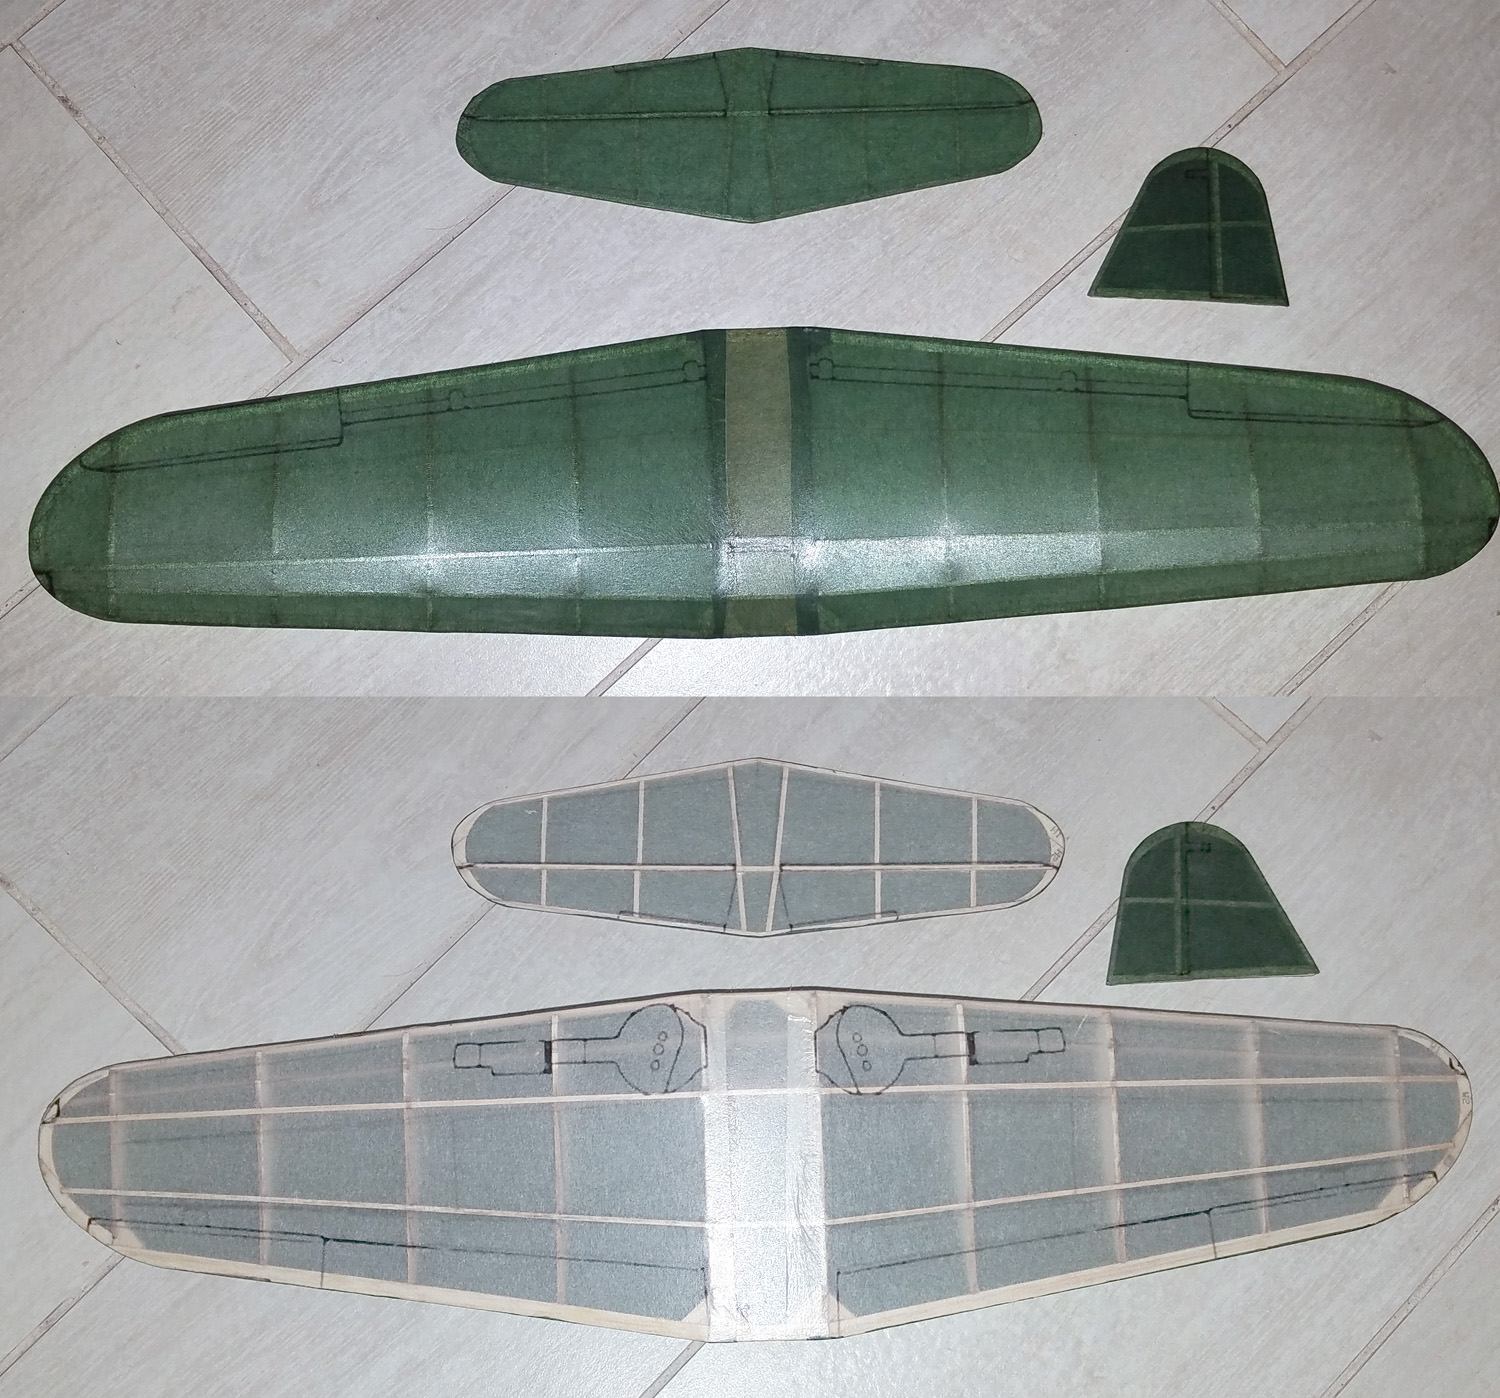
I am probably just going to go with green and white tissue for the colors – differences in shading is about the only difference  between the Esaki Green and White and WWII Japanese Green and Gray.  Here is an example of what I mean; just basic green and white:

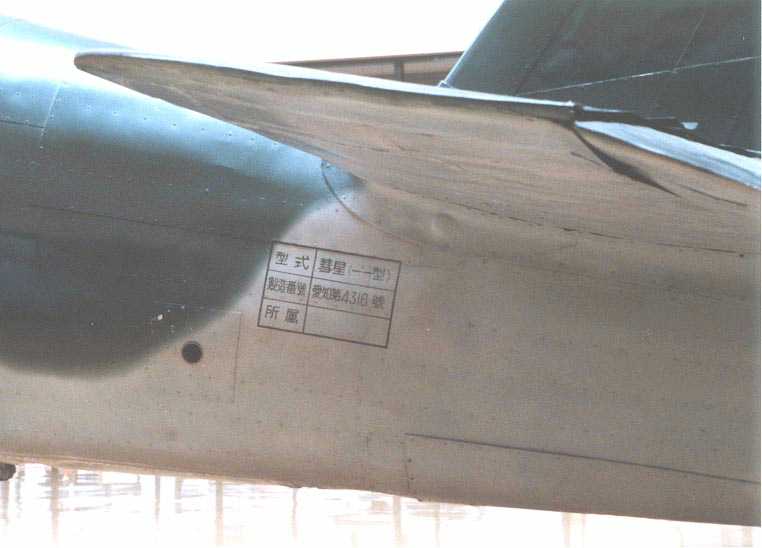
Full-size Yokosuka D4Y in Japan. (Is that a full-scale motor peg location???)

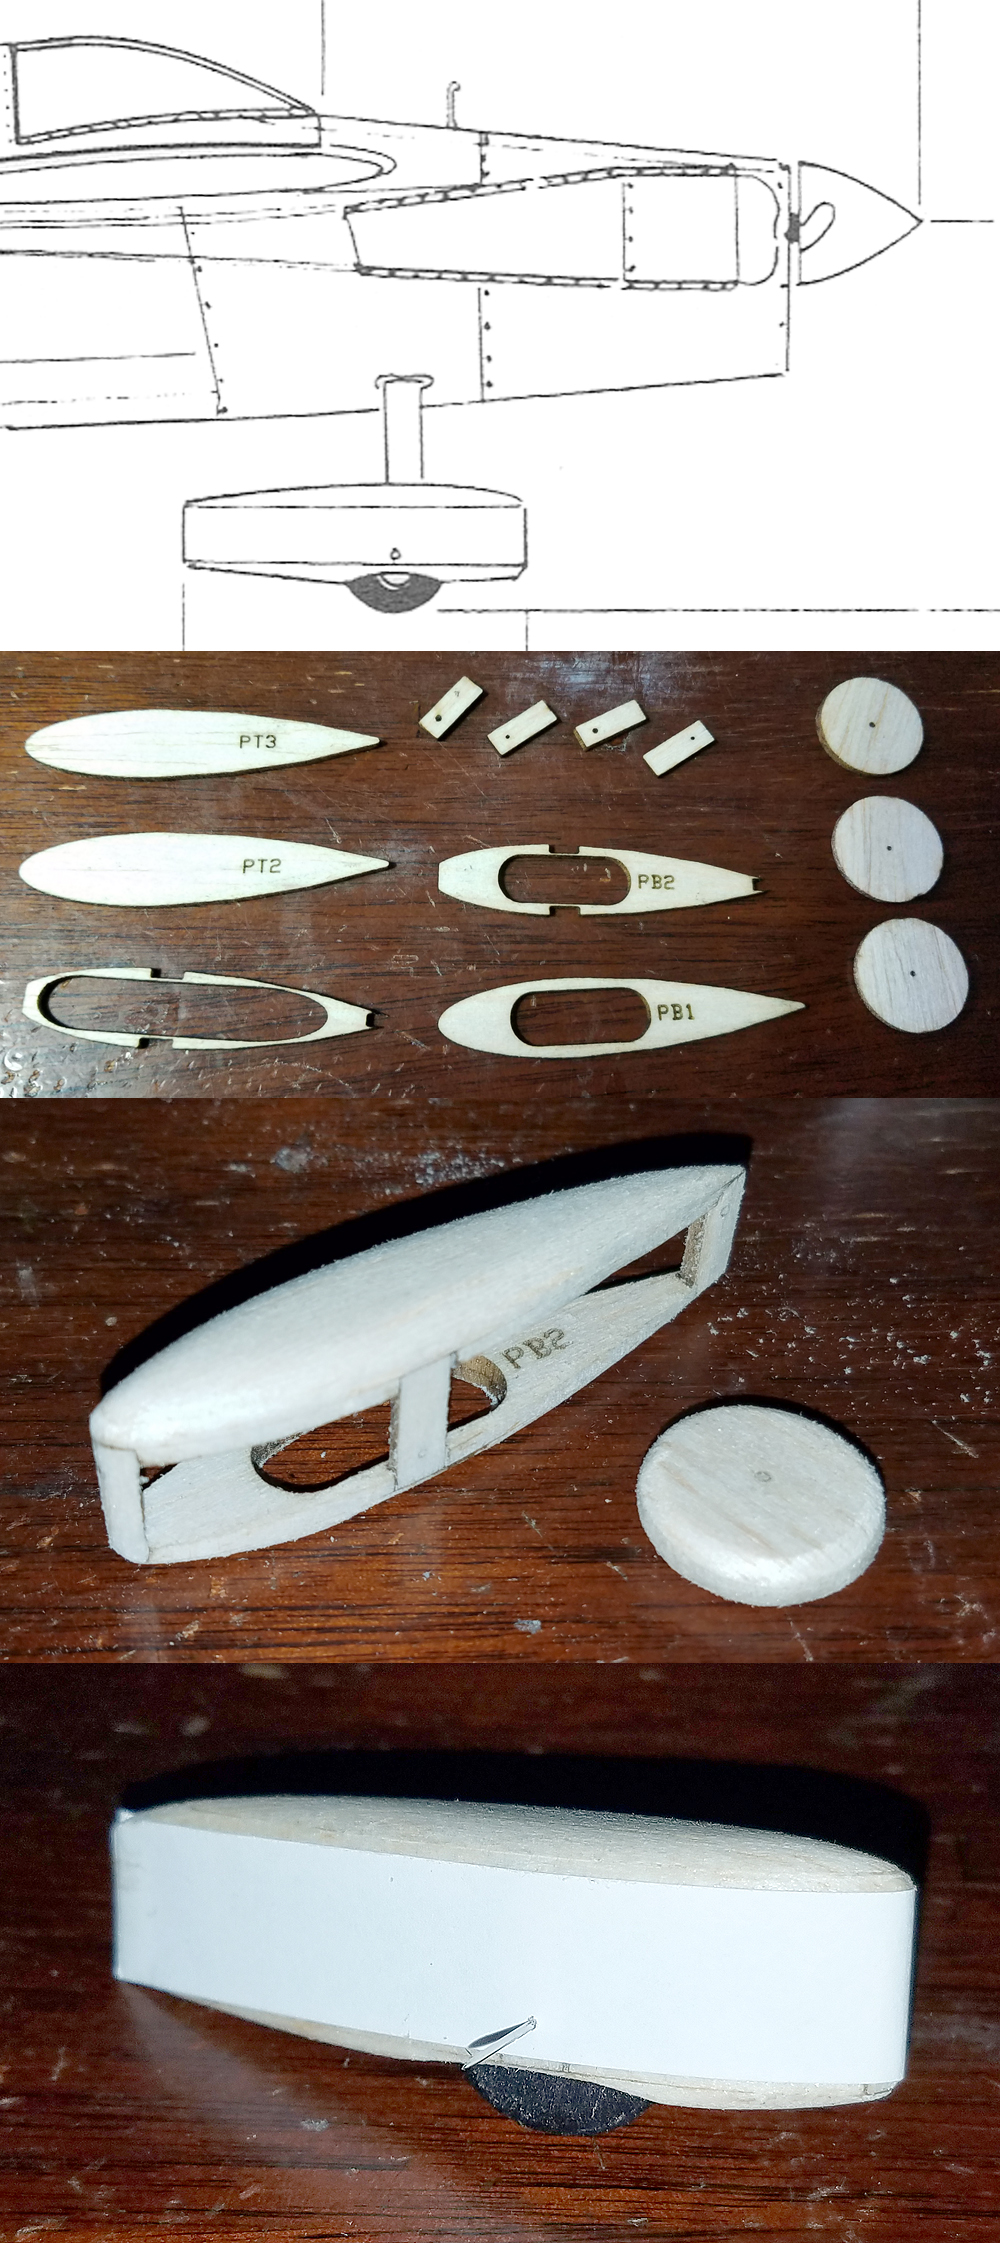
Before I start covering, I have to figure just what is and isn’t going to be covered in the canopy area.  That means making the canopy.  In the short kit, I will be providing templates for the canopy cross section at the major stations.  I used those to create not one, but three canopy sections.

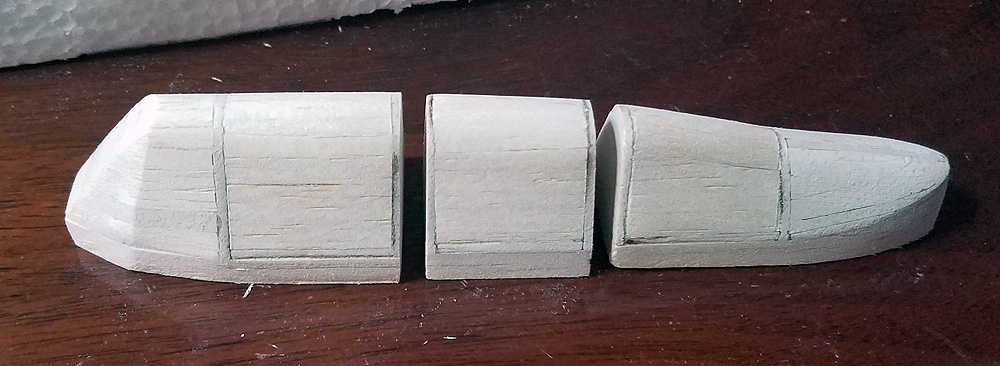
I did this for two reasons:  I wanted to show the canopy somewhat like the original: 1) it is in sections that slide fore and aft over each other and, 2) it will fit in my vacu-former.

I’ve never been much of a vacu-forming modeler.  To me, it is a lot of work to create a blank, make it presentable, and then pull a canopy.  For me, the process sucks – pun intended.

I was looking around my shop the other day and noted that I have misplaced the canopy for my 24″ Comper Swift (yes, I am modeling a version with a canopy).  That one had caused me much grief because the plug looked good, but when I pulled it, the plastic looked terrible. I tried to fix it, smoothing the plug with CA, with clear paint, and such, only to have those either stick to the plastic and pull away or de-gas and cause bubbling in the plastic.  I had done three or four to get the “good enough” version and now it was missing.  I can’t understand where it might have gone, but others might understand if they saw the terribly messy condition of my workbench.

the now-missing “good enough” canopy

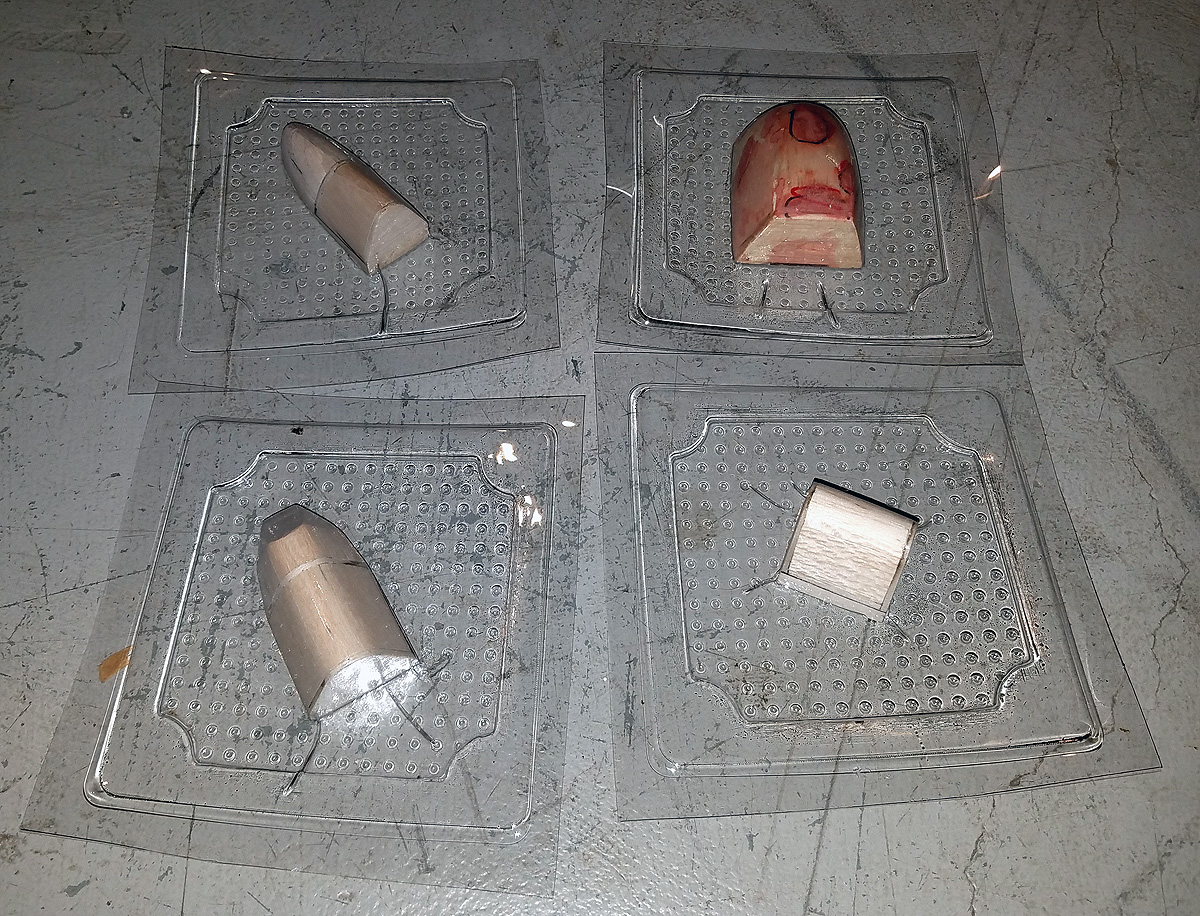
So, now I had four canopies to pull.  What a fun time for me.  And right I was!  It took me the majority of my free time yesterday to get four pieces that are “good enough”, although now “good enough” is a factor better than it was.

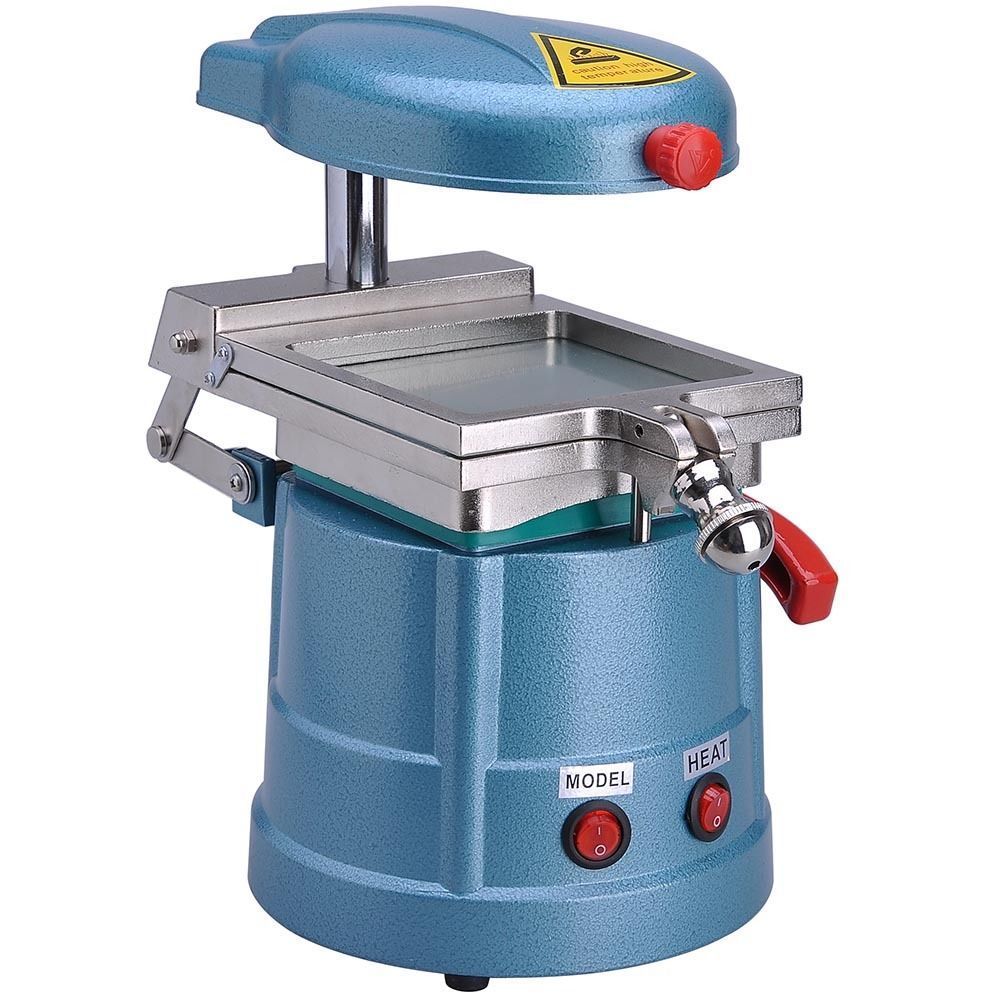
I had to pull FIVE Comper canopies before I fixed all my issues.  Firstly, you have to know that I tried to simplify my process about a year ago.  I had been using one of Chris Boehm’s vacu-formers and that worked satisfactorily, except that I had to set up a vacuum, tape the box to my counter next to my stove and heat the plastic over a gas range – all a little bit work-intensive and fiddly.  So I decided to buy a Chinese dental vacu-former after reading some mailgroup comments about one by Dave Gee (of Black Sheep Squadron and AMA Model Aviation fame).  For about $80+, I got a compact all-in-one setup that has about a 4.5″ square working area – Simple.

Except…the vacuum will pull your teeth out (again – pun intended).  The heater works well, and the mechanism works well and it will pull that plastic (when heated sufficiently) right down so tightly that a) it is hard to get the plastic off the plug and b) the plastic shows every dimple and open grain and whatever defect and c) the combo of the hot plastic and the tight pull adheres to anything on the surface – balsa dust, or filling material, or whatever.

they look good, right?

So my pulls yesterday were failures.  I spent much of the day finely sanding and filling the Comper plug again and again.  I started trying release agents, but I was fearful of the gassing I had experienced before.  I went with a light oil on the surface (fail); I went with candle wax on the surface (fail).  I finally decided to use the obvious – the Dow 33 industrial grease I use for rubber lube.  I put it on rather generously and pulled – and discovered that I left too much grease on.  I wiped the plug down, leaving it slippery but not overly greasy – SUCCESS!

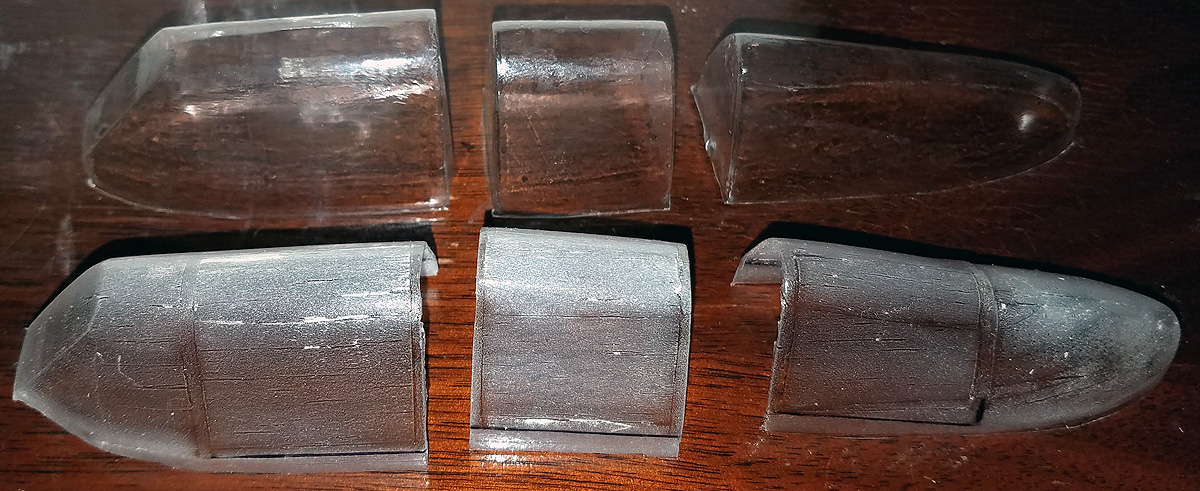
the set from the above photo in the front and the rear set is the good set.  Notice the grain pattern and all the dust in the front set – bad, bad, bad.

So, now I am on my way again.  Now I am venturing into another area – canopy frames.  I am using something new to me:  Transfer Tape.  This is a ultra-thin double-sided tape; about 0.002″ thick.  I stick one side on the back of tissue, and then use a sharp x-acto blade to cut narrow strips, peel the back off the tape and stick it to the canopy.  I know Paul Boyanowski has used this stuff and I know Winn Moore has and I asked Winn what I needed.  I am using 3M ATG 924 tape.  Here’s how that is proceeding.

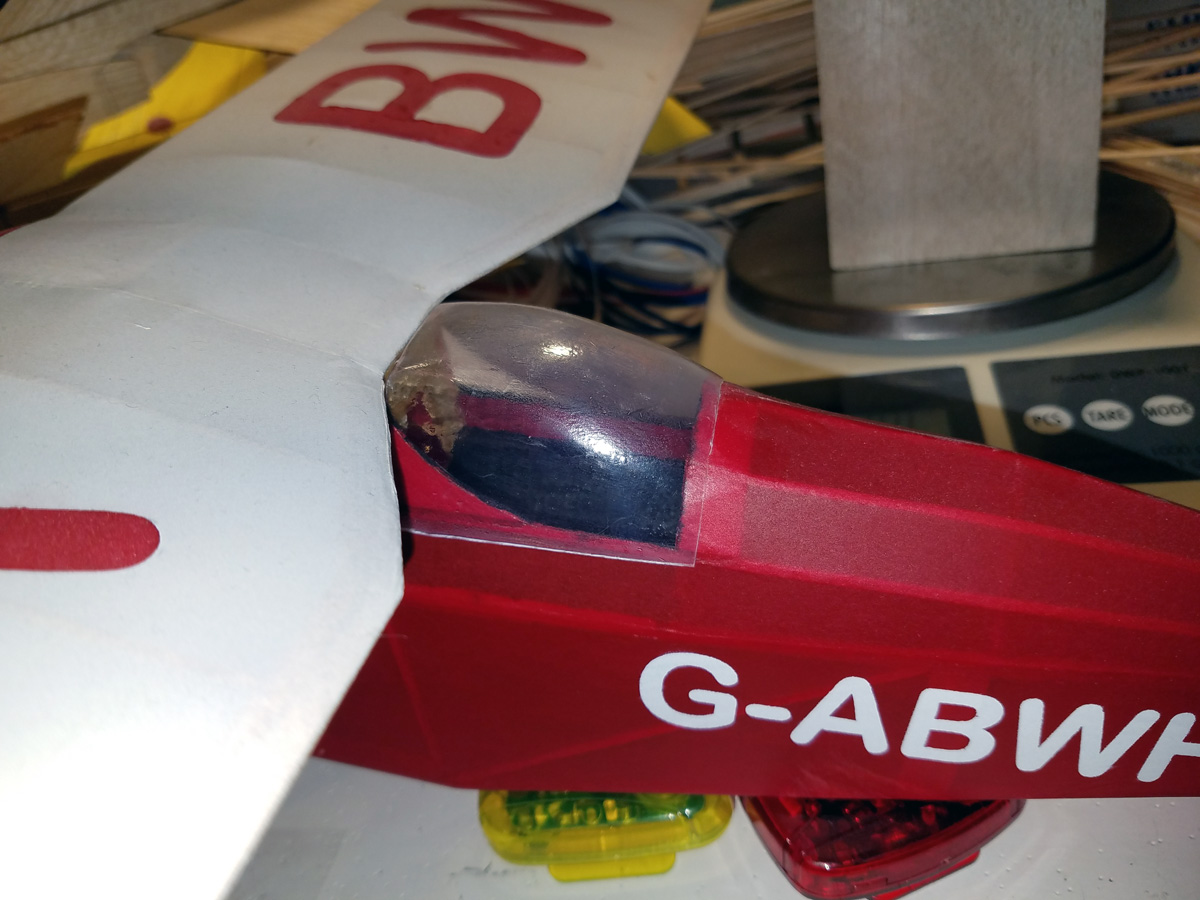
starting to look good!

Did you know that some AMA/NFFS/Duration-type Free Flighters says that us FAC-Scale modelers are nuts?  They might have a point – scale details take time (and might cause mental-stability issues!)

P.S. No, I will not be providing canopies for the Judy!


Posted in Builds, Products | 4 Comments

Calculating Safe Torque

If you are winding to torque, or considering winding to torque, you should know how far you can push your rubber motor.  Don DeLoach has long been an advocate of winding to torque, even going as far as not to even count turns.  The best indoor flyers also wind to torque.  I created a Web-based Calculator; find the link below, after reading more background.

Awhile back, Don wrote an article for the FAC News where he pulled back the curtain and let us all see what “tricks” he uses.  In that article, he included a table of torque values that he had created from his observations.  The smart modeler who wants to wind to torque would be well-advised to copy that table and keep it in your field notebook.

I decided to create another Web Tool Calculator – I call this one “SafeTorque Calc” to calculate the safe level of torque for any motor based on the rubber width and number of strands.  It uses Don’s data as the basis for calculation.  Don’s table showed Max (breaking) torque, 85% torque, 75% torque.  I am using the 75% values to generate the calculator.   It will even calculate the safe torque of a motor made up of loops of two different widths.

You can find the Calculator in the menu at the top of the page, or in the list at the right of the page (or just click HERE).  Please read the notes at the bottom of that page.

You can find Don’s article in the PFFT Archive under How-Tos at the top of the page or just click HERE.


Posted in Products | 1 Comment

Yokosuka D4Y “Judy” Progress

The Flying Aces Club WWII Combat event is one that I like to participate in, but I am rarely competitive (except maybe at the local level).  This is certainly due to the fact that I have almost never built a combat plane in a size larger than Peanut.

When searching for subjects, I look at proportions – and the engine.  I dislike radial engines; they are hard to model and lead to short-nosed planes.  I much prefer “inline” engines, or the water-cooled V-style engines.  The Yokosuka D4Y Has great proportions and a beautifully smooth nose.  There is an old plan out there from the early 90s by Dave Smith for the Judy.  I was able to contact Dave and he agreed to let me kit his plan.

I started working on converting his pencil-drawn plan to a digital CAD plan and it takes a long time.  Every former is different and the nose scoop gave me nightmares.  I estimate that I have roughly 200 hours in the drawing alone.  But about two weeks ago, I cut the first prototype kit and sent it off to Dave.  A few days ago, I started building my own prototype.

I must say, this is going quite well.  I found a couple formers that need to be redrawn to fit the fuselage lines better, and I found the tip rib needed to be 1/16″ longer.  Other than that, this is turning into a beautiful model.  I am now at the point where all the “fast” building ends and the slow detail work begins.

All of the basic structure is 1/16″ square.  Dave’s original plan called for 1/20″ square, but I increased this for ease of construction.  This bare frame is just under 15 grams right now.   The 18″ span wing has about 57 square inches of area, so if I can keep the finished weight under 30 grams, this might be a floater.  That might not be possible, but we can hope!

It is my plan to have this short kit available this spring; in a month or two (as soon as this one flies!)

Here are some photos:

Starting the fuselage

5 hours later, the basic fuselage is complete

Nose Detail

all structure built and assembled

Starting to complete the plan details

Posted in Builds, Products | 2 Comments

Another Proof of Concept

Here is another test I did today.  I’ve been wondering how to build these wheel pants for the Baby Cyclone Peanut Goodyear Racer that I want to have ready for spring.  Somehow, I had a flash of inspiration this afternoon and cut out the parts and slapped this together.  I think this will work.

The covering in the last image is bond paper.  The total weight of the assembly as shown (with full sized pin) is 0.8 grams.

Posted in Builds, Products | 3 Comments

Peanut Turbo Goose Build

I have pretty much finished my latest build – a Grumman/McKinnin Turbo Goose in Peanut Scale.  I built this for myself, not for production.  I have been kicking this one around for about 15 years.  I actually started a fuselage back in about 2002, but then set it aside.

It is 11.6g right now, but is missing the rear motor peg and it will probably need some tail weight.  Still, I think that is a good weight.

I am going to try 0.050″ motors to start with.  I did a build write-up on Hip Pocket, if you want to take a look over there for some narrative.  Here is a gallery with all my build photos:

Peanut – Turbo Goose

–george

Posted in Builds | 1 Comment

January New Product and Product Updates

It’s been awhile since I posted; about 3 weeks and it seems like forever.  We (the family) went to Costa Rica for a week and I am still trying to catch up on backorders and get back into the swing of operating this business.

A new product that we have just put into Production is a a direct copy of the famous Spring Winder developed by Kevork Fags years ago.  Don DeLoach was generous enough to provide his original to me so that we could copy it and make this wonderful tool available once again to all modelers.   To be clear, with this tool, you can wind springs (for DTs) in about 2 minutes.

It comes complete with a four-page, fully illustrated instruction manual for $35.

(springs not included)

Product Updates:

GOOD NEWS – GIZMO GEEZER

Finally, I am happy to announce that Gizmo Geezer has overcome his injection mold issues and I have a new supply of Gizmo Geezer Nose Buttons!  Order away – even more are on the way.

GOOD NEWS – CZECH PROPS

While I was away, I received a shipment of CZECH props – they are back in stock.

GOOD NEWS – COFFEE

We brought back three new products to add to our coffee line.  You can get it from my site or go to the boys’ coffee web site:  http://cafe-rica.com/

POSSIBLY GOOD NEWS – IKARA PROPS

I have an order in with Ikara for the gray 6″ outdoor props, an assortment of indoor props, and DT buttons.  They have assured me the order will be filled…sometime.

POSSIBLY BAD NEWS – ESAKI TISSUE

I have taken the extreme measure of disabling the purchase of Esaki Tissue on my web site.  Believe me, this is a problem for my business – I have sold literally thousands and thousands of sheets of Esaki.  Here’s the story:

Esaki has always been problematic to purchase for a variety of reasons.  Sometime in the last year, rumor has it (reported to me by a modeler in Japan) that the company experienced an online attack or hack of its website.  As a result, they took down the web site to protect themselves – and they closed their email accounts.

That makes it extremely difficult to order tissue for the US when you don’t speak Japanese.  Since I have made it through my busy time of the holidays and the vacation, I will now expend efforts to contact the company by other means to attempt to procure their tissue again.  In the mean time, rather than eliminating some colors from my store and inciting panic on the other colors, I have turned it all off for the time being.  Understand that I DO HAVE several hundred sheets of most colors, but some are down to less than 200.

Also, I have started to investigate Chinese sources.  Last fall, I ordered a sample from a paper manufacturer in China.  I received 13 gram-per-square-meter (comparable to Esaki) samples in a variety of wonderful colors.  This was equivalent to Esaki in appearance (a smooth polished side and a dull side) and grain (it has grain direction similar to Esaki), but did not have the wet strength that we have come to enjoy.  It wasn’t “bad” just not “good” – I believe it was better than most drug store tissue papers.  I can get all I want at a very reasonable price, but I want to exhaust all possibilities of continuing with Esaki before I order the Chinese tissue.

Here is a wing I covered with the Chinese tissue.  These are two of the sample colors I was sent with nothing added to them.  I covered one side of the wing (top and bottom) with dry tissue and the other side with misted/damp tissue.  It turned out pretty good.

I only mention the Chinese tissue to help keep the level of panic low – there ARE alternatives to Esaki.  In fact, if any of you have any information on lightweight tissue that has wet strength like Esaki, please let me know.

More to come…


Posted in Products | 1 Comment

Customer Photos!

I little bit ago, I asked for customers to share photos of their builds from Volare Products and I have received a couple of photos!  Here they are.

David Krammes from Pennsylvania sent these beautiful photos of three of his Volare Products models:

  Jimmie Allen Special

Chambermaid Dimer

Stout 2-AT

Also, occasionally I send out prototype kits to build and test for future Production.  I sent out two kits for the Flying Aces Moth in the last half of the year.  To date, these models have not yet been flown, but they have been built!  One from John Jackson in Michigan and the other from Roy Courtney in North Carolina.  Once these prove themselves by flying, the short kit will be available for sale.

Thanks to these three for sending in photos.  I look forward to seeing and sharing other photos.

Posted in Builds, Customers, Products | Leave a comment