This Week in 2017 – Stuff

People might not believe me, but things seem to be slow this week.  I’ve been working on a couple of “tribute” plans and models; one is for a local legend and I will reveal it after Sunday (when I reveal it to him) and the other is for a modeler of great renown that passed away many years ago.  I will probably donate the plans to a newsletter or two and offer up short kits of the models.

I do most of my drawing in the morning – consider it part of my wake-up process, along with the mandatory cup of coffee.  I get in a good hour or two, maybe more, before I start in on more active things, like packing orders, cutting kits, or washing dishes.

One of the things that I have started to do is listen to a “podcast”.  This isn’t an intentional advertisement, but, if you’re like me and love the Golden Age of aviation and racing, you always liked the movie “The Rocketeer“.  Well, a couple of guys are dissecting the movie minute-by-minute and each minute is a new day’s episode.  They really go in depth with the subject, not only about the movie, but the music, key personnel – and the airplanes.  Good stuff; check it out here: http://www.rocketeerminute.com/

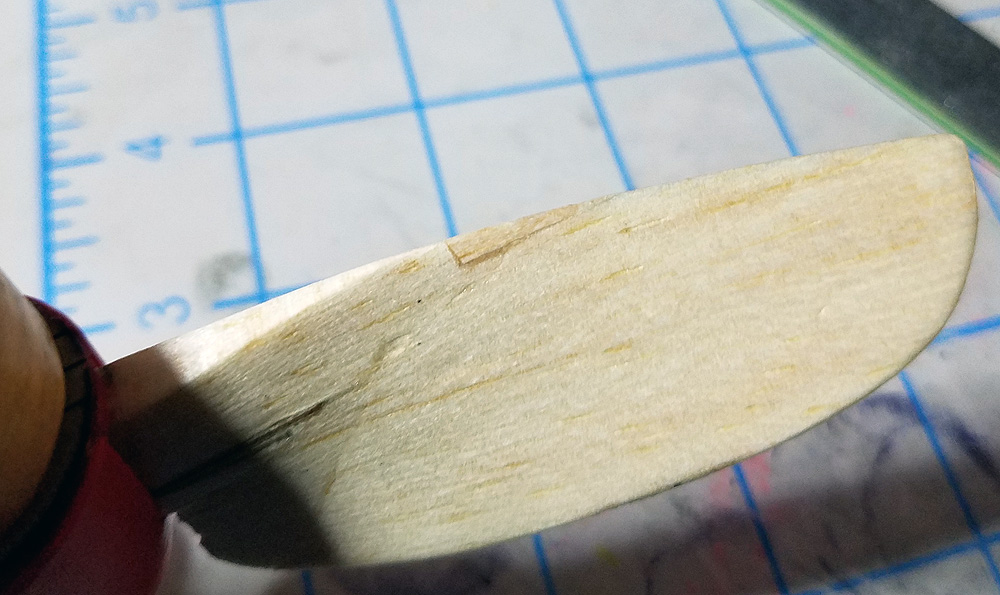
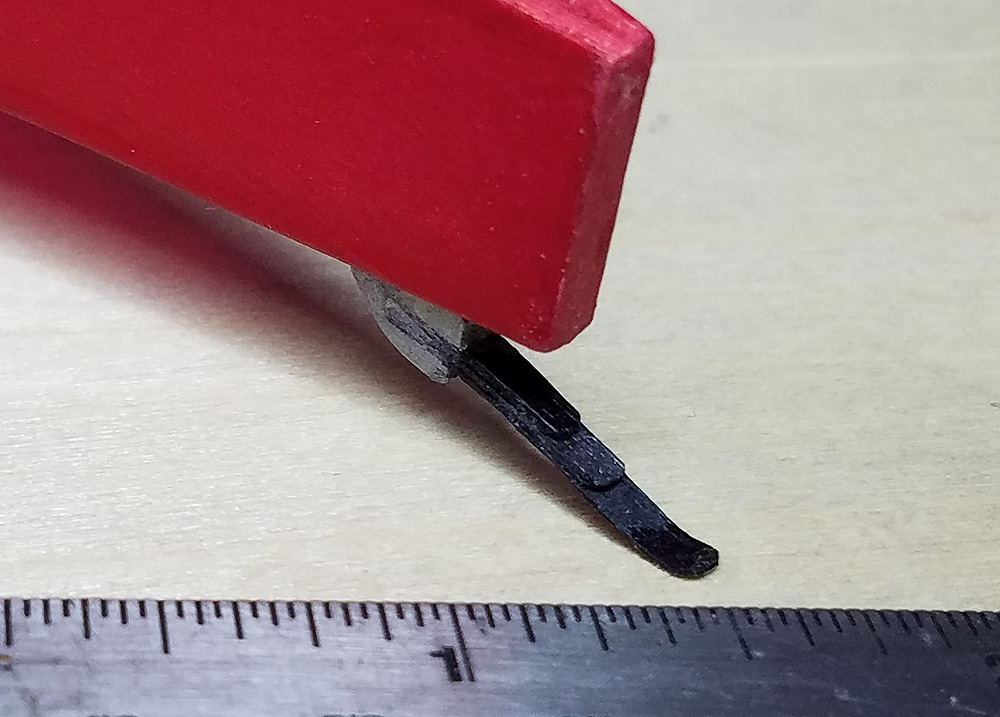
My place is a mess.  I don’t mean my house (although my wife would disagree), I mean my work areas, building areas, work shop, business shop – a terrible mess.  I love (hate?) seeing photos of guys building where they have the immaculate work bench.  I marvel at their abilities – not so much their building techniques, but how in the world to they keep it clean?  I get focused on the “build”, the subject at hand, and everything else is secondary.  My bench (pick one) is covered with parts and scraps – wood, tissue, whatever – from several builds.  And as soon as the current build is done, my mind switches to “what’s next?”  I don’t have time to be bothered by clean up.

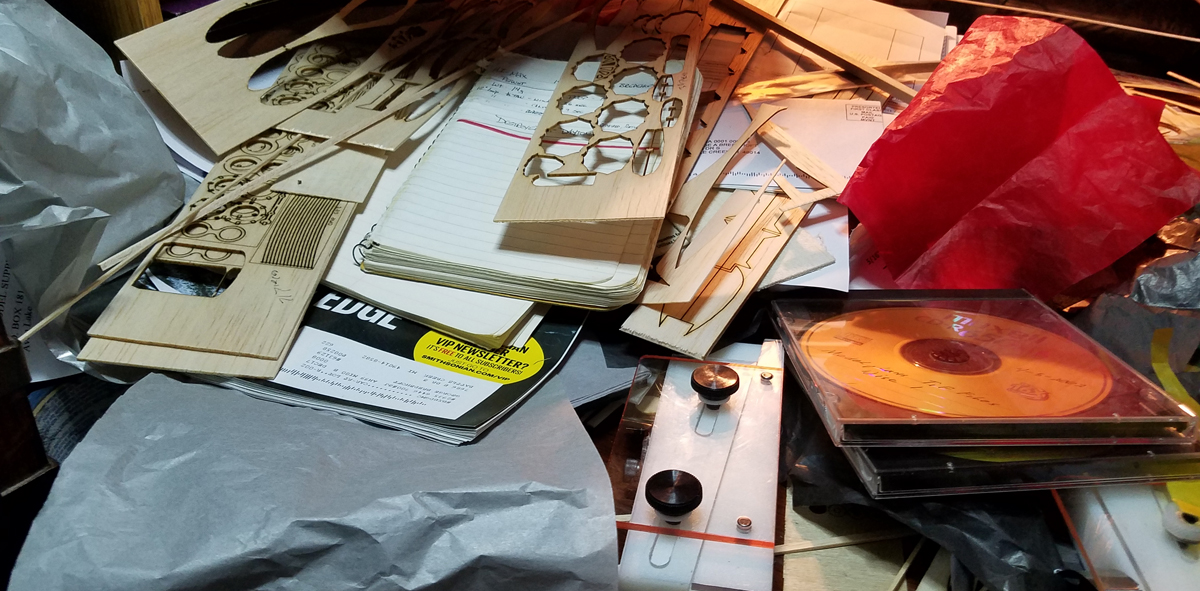
yes, I need this stuff – or it wouldn’t be there!

Why do I even mention this?  Well, it is incumbent upon all of us modelers to think about our “messes” and what will become of those messes when we are no longer around.  Because whoever is left with our hobby materials and supplies will certainly have a lesser estimate of their value.

I helped with the clean-up of the late Stu Weckerly’s hobby room yesterday.  Stu had moved to an apartment about 10 years ago, so I am sure that he got rid of a lot of stuff himself.  His room was filled with stuff, but in hind-sight, was probably minimalist in what was present.  That’s not to say that we didn’t have a big task in cleaning it out, but it could have been much, much worse.

But the fact remains – we were ruthless.  We trashed a lot of things – things I wouldn’t trash off my own bench.  But that is probably because I am still using them.  But all paints, glues, pins, balsa scraps, and so much more got tossed in the trash.  Even many of his models (the ones that were under repair or missing parts) were unceremoniously shoved into a garbage bag.  I did take home a LOT of stuff, but I will be reviewing it all again and getting rid of what I just cannot keep.  I did take a large stack of airplane books that probably would have gone into the trash.  I don’t know where I am going to keep them, but I couldn’t stand to see them tossed.

So, don’t just “use the good wood“, but make these decisions yourself, or at least as many as you can.  No one thinks they are going to pass on; everyone thinks there is tomorrow and the next model, but that is obviously not true.  Help those that help you – your survivors will not know what is what, or have the sentiments that you do regarding certain items.  Save your loved ones from making as many of these decisions as possible while they are grieving (they will be grieving when you’re gone, right?)  And some of us know in our hearts that we have more of a problem and mess than others.  So get busy and make a plan and put it into action.

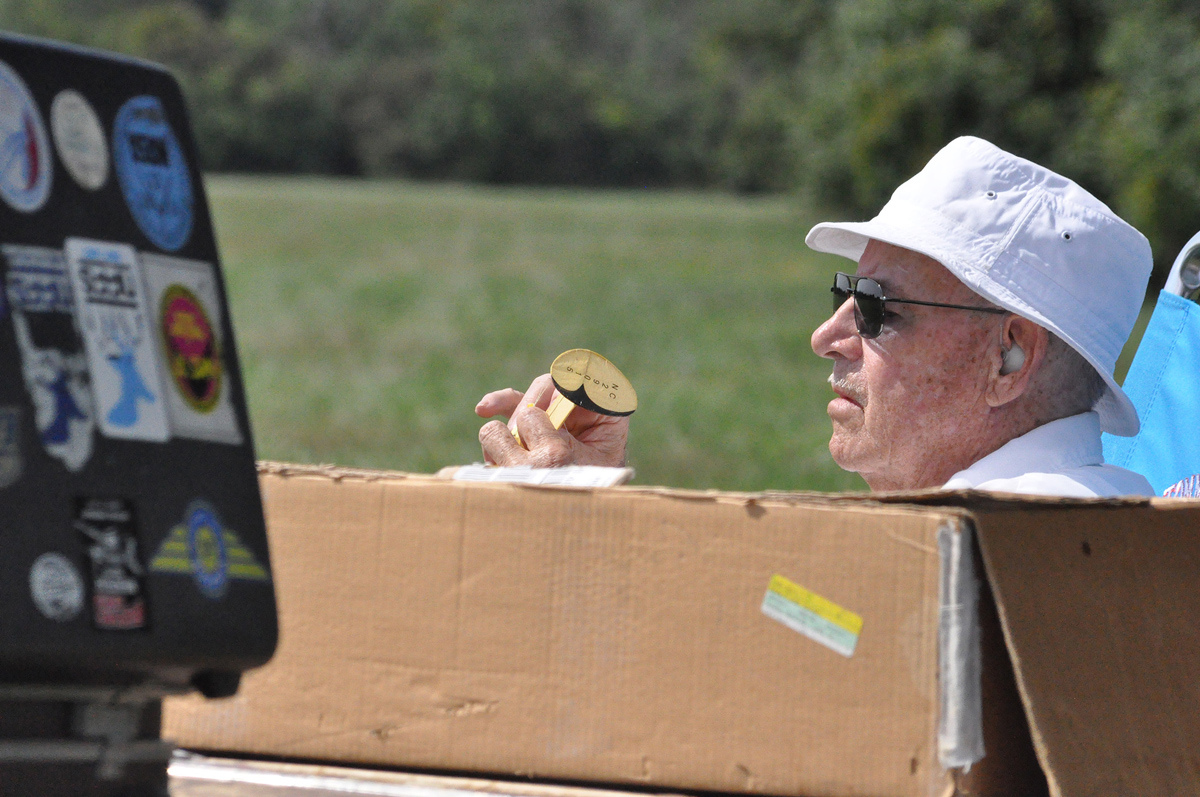
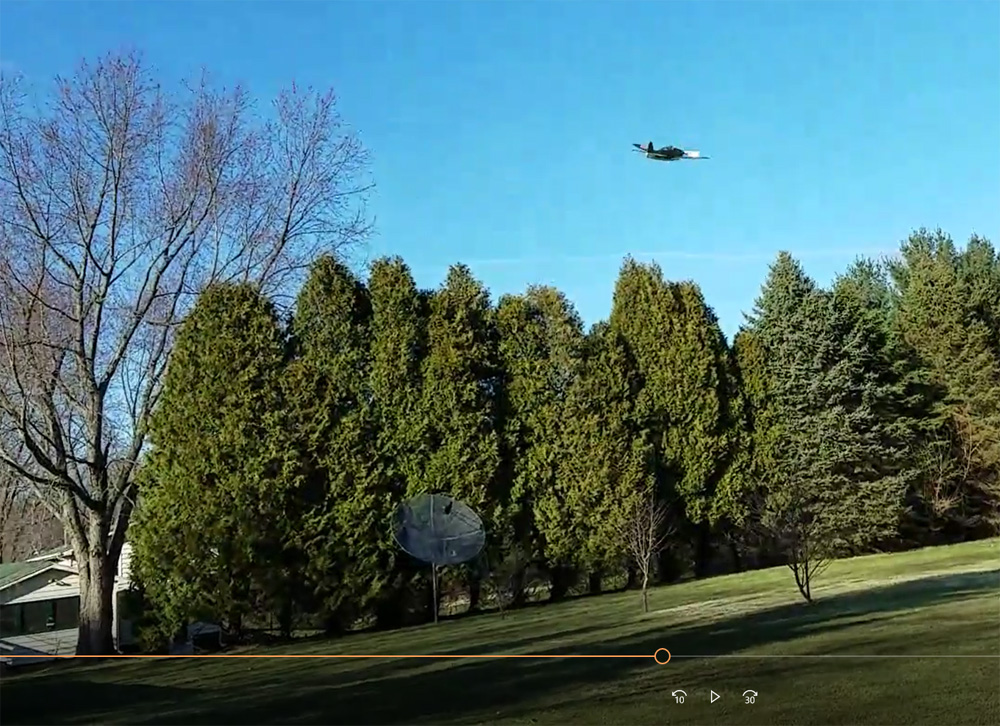
One last parting comment – here is a video that came home with me yesterday.  It is Stu flying indoors.  Thanks, Stu, for being a modeling friend.


Posted in Uncategorized | 2 Comments

Stu Weckerly, Current FAC Kanone Leader, Gone West at 91 Years

Today, the Cloudbusters got word that Stu Weckerly passed away on the 18th of April.  To my knowledge, there was no obituary.  Stu was a quiet man and he lived alone, without family, so details are scarce.  Here are some of the personal details that we do know.

Stuart Paul Weckerly
01 January 1926 – 18 April 2017 – 91 years old
Was in the Army in WWII, went to Europe, but was too late to see any action.
Purdue University BSEE 1950 (knew Neil Armstrong)
In 2000, Retired from Ford after 29 years

I don’t remember when I first met Stu – I am sure it was while competing in the Cleveland FAC contests in the early ’90s.  He and Dave Livesay and Paul Boyanowski were Cloudbuster regulars at the Cleveland events.  At some point he recognized my last name and asked if George Bredehoft was my father.  I responded that was my grandfather.  It seems Stu and my grandfather’s family went to the same church in Toledo in the ’40s.  He remembered my grandfather and my aunt Edith.  My dad, who was in grade school at the time remembers someone named “Weckerly” giving a talk on model airplanes at church (I am sure that Stu was a life-long modeler).  So Stu and I became friends.  He always had a friendly word for me and Jack and my wife, Patricia, too.

It was always a pleasure to see Stu at the flying field.  In the ’90s, he was a dedicated modeler and his planes flew and he won.  I particularly remember his Jumbo Found Centennial on floats, a red and orange Waco cabin on floats, his Yokosuka Judy combat plane, his Stout 2-AT, a General Aircraft Skyfarer, and a Buster Goodyear Racer.  His planes all flew well and he often won, probably because he was a master at building lightly.

By the time I returned to the hobby in 2012, Stu was an old man and had slowed down a great deal.  He would still show up, with the same rickety folding table and briefcase full of equipment and notes, but he flew fewer and fewer events.  Eventually, his appearances became fewer and fewer.  As far as I can remember, the last contest he attended was one year ago, in April 2016.  He didn’t fly, just sat and watched all the rest of us Cloudbusters flying our models.

Here are some modeling highlights:
– 1948 2nd Plymouth Motor Corp. International Invitational Model Airplane Contest (540 world participants) – 2nd in Class D FF Gas
– 411 total FAC Kanones
– last kanone 20 Sept 2015
– last contest 17 April 2016 from the contest report: “As Ralph Keunz and Stu Weckerly sat and watched the fun, Ralph was overheard saying “this is just a perfect day”.

DCF 1.0

Posted in Uncategorized | Leave a comment

Building and Repairing; a Slow Week

It feels like it has been a slow week, with little “news” to share.  I’ve been busy; the weather is getting warmer and I am doing more things outside.  I worked on both my Studebaker and my truck.  Of course, packing orders takes up a good deal of time nearly every day.

I put together a new JetCat – a 25% larger T-37 Tweet.  This gives the model an 18″ wingspan.  I tried to make it lighter, also.  You can see the built-up wing construction in this photo.  The fuselage is of lighter construction, too.  We will see Sunday if this has potential.

I did get the fuselage and tail section to my “mystery model” framed up.  The wings will be a challenge.  My plan is to “debut” this model at Geneseo in July, although I will probably have it for test flying in Muncie in June – I want a bigger field than our local field for testing.  (You may have seen this photo earlier this week.)

I repaired my wing on my Elmendorf Special.  You might recall me writing about how I flew it at full torque without test flying it and the thrust settings were off – it torque-rolled in to the left and sheared the left wing off.  It was a simple fix.  I forgot to take in process photos, so you get a belly shot of the finished repair.  As with all repairs, the plane is getting heavier.  This plane is starting its second year of competition – it is getting beat up.  I have already started thinking about its replacement for next year.

Also, the prop broke at the field and I did a field repair.  That left a chip in the trailing edge of the prop.  I am 100% sure that this notch had no effect on performance, but it bothered me, so I fixed it.  Here is a series of shots of that simple repair.  Maybe they will help someone fix something else sometime.

The offending nick in the trailing edge of the blade.  You can see the repaired glue seam, starting at the notch and curving downward to the left to the leading edge near the hub.

A little gentle knife work and sanding and we have nice clean edges to repair.

A piece of 3/32″ square scrap filling the notch.  Just make sure the piece exceeds all edges of the repair, so that you have stuff to carve/sand away.

All carved, sanded and sealed – ready to fly again!

Posted in Builds, Products | Leave a comment

New Plane – Nearly Gone!

Today, I finished my Durham Mystery for my small field Embryo.  I am not sure why I want this for a small field, since my last one flew away straight up off that same small field.

Anyway, I took it outside before I installed the prop to test the glide.  It was kinda windy, but not terribly.  I used clay and loaded it up and went back inside to put the prop on when it would almost hover in the wind.  It was just a tad stall-y, but that’s ok with me to start.

I weighed the nose block with the clay and proceeded with the installation.  I used the 6″ Superior Prop that I took off the Martin MO-1 Dimer and then adjusted the clay so the total weight was just a little higher than the noseblock/clay value.

I cut 22″ of 1/8 Rubber, tied a simple knot, got my winder and went outside.  I wound in 100 turns and it did ok; not spectacular – but it was only 100 winds.  I went to the back yard since the area is bigger.  I wound it 200 winds just for another test flight.  I thought maybe it would be cool to get a 200-wind video after this test.

Some of you may remember my back yard.  Here is a snap from my Judy video.

You will notice the trees – I estimate those are about 40 feet tall.  They are probably more since they are a LOT taller than my 35′ pole.  The wind was blowing in the same direction this photo is pointing – slightly east of due north – maybe due magnetic north.

I was a few steps closer to the trees than this photo.  I turned and faced the wind and gave the little plane a soft toss into the wind.  That plane shot right up!  By the time it did 1.5 circles to the left, it was maybe 20 feet higher than the trees and flying north over them!  I ran around the left end of the the line hoping to catch the tail end of the flight (only 200 turns, remember).  There’s a fairly open area with a treeline to the right.  That yard goes about 200 feet to the road you can just barely see under the satellite antenna.

I got around the corner, looked up and around – nothing.  No sign of my new plane.  I went inside and got my boots on (it’s been very wet here and there is standing water in the front near the road).  I walked to the eastern trees and walked that line looking up – nothing.  I had a feeling I should keep going north.  I walked along the road – looking across and across the small creek that runs parallel.  There is was.  I made it down the bank, across the water, up the bank – twice and I didn’t get wet and the plane wasn’t damaged.  A DT will be installed and maybe I can keep this little plane – and win a kanone or two!

Posted in Builds, Products | Leave a comment

Lessons Learned – Mass Launch Fun

Maybe the title for this should be “So You THINK You Can Fly”…

This will be a cautionary tale of mistakes I made yesterday that caused me to be less than competitive.  I will also include two examples that can show how YOU can win a local mass launch.

Lesson One

When time rolled around for the WWII Combat mass launch yesterday, I pulled out my Guillows #905 P-51 Mustang (more on this model in a bit).  It hadn’t been flown since the fall, but the surfaces were straight.  But it was missing a motor.  I quickly made one out of 3/16″ rubber.  I tied the knot, lubed it up, and installed it.  As I was loading it, I told Jack, “you know, I forgot to tie the ‘new’ knot and went with the ‘old’ knot.  Now my words cannot describe the knots.  Just let it be known that my old style is what I had been doing for 20 years, but they occasionally come untied.  Last year, Winn Moore showed us a new knot that locks on itself so it will not come untied.

We had six flyers in WWII.  I made it through the first round easily.  And I outflew everyone in the second round.  It was down to me, Jack with his Wildcat, and Winn with his Tony for the finals.  I was confident.  Jack broke his motor winding.  That left me and Winn.  As I was winding – my motor broke!  Inspection revealed it hadn’t but that it had come untied.

I failed myself in that I knew that I had not done the proper knot before I loaded the motor.

Lesson Two

When I have a new plane I test fly, test fly, test fly, gradually working up to full power.  Everyone does this (right?)  But what about your small modifications on your existing planes?

Over the winter, I needed to replace the lost spinner on my Elmendorf Special.  I went from a balsa to a vacuformed spinner.  and I needed to add a backing plate to the prop.  Well, I wasn’t happy with the old prop, so I made a new one.  It was the same diameter but a different blade shape.  I was trying to optimize performance.

I gave the plane a few low-to-mid power test flights to get it retrimmed and I was satisfied and ready for the races.  I would the motor up to a base-line performance torque; somewhere between 2 and 2.5 in-oz on a loop of 3/16″ rubber.  Max safe torque would be 3+ in-oz, so I had a ways to go before that.  No worries (first rule of mass launch – just fly safe in the first round – someone will always screw up).  Unfortunately, I hadn’t tested at that torque – my plane streaked away and to the left – hard.  It made about 1/4 circuit and hit the ground with the left wing and nose.  I believe the only damage is detached wings and broken center section and associated belly tissue (I think it can be fixed).

Again, I failed myself by not following the practice of test, test, test – my different prop reacted differently to the torque and I nearly destroyed my plane.

For You – How to Win a Mass Launch

As illustrated above, mass launches are unpredictable – mostly due to the lack of human preparation.  I could write pages and pages about how people fail themselves and their models in a mass launch.  It will always happen.  We even joked before the first one that anyone can win a mass launch and I quipped how I have won them with planes that cannot fly an “official” 20-second flight.

But this is about how to win.  You need to build a good model and you need to test, test, test until you know what to expect out of the model.  You need to prepare yourself -don’t do anything different in the mass launch than what you would do in a solo flight.  If your model likes a certain power and a certain launch attitude – do that, don’t change just because of the pressure.

What you need is a consistent flyer.  In local contests and on small fields, if your plane has repeatable performance in the 1-minute range – you WILL win some over the season.  You might not win every contest, but you can rely on people – even the better flyers – to eliminate themselves.  Fellow Cloudbuster, Ron Joyal, has been flying for maybe 4 years.  But he has been learning and he will fly and fly and fly a certain model; testing and trimming.  He and his Mr Mulligan are not the best racers on our Cloudbuster field, but he has won twice in the last 3 or 4 outdoor contests because he has the most predictable performance and “some of us” can’t follow our own rules  Well done, Ron.

For You – A Good Local Mass Launch Fighter

I wrote about this plane before – the Guillows Kit #905 P-51 Mustang.  If you are just getting started in WWII and think Scale Planes are difficult – or if you are just looking for a simple and good flying fighter for your local contests, you really owe it to yourself to give this kit a try.  Mine has turned out to be a fine flyer – very easy to fly with very good characteristics.  It won’t compete at the national level, but it is my go-to local fighter.  It builds quick, it is durable, and I am not afraid to break it or lose it on our small field.

I did do some minor modifications to the kit.  Here they are:

1: The Wing:  I built it to plan, but I added 3/32″ square along the leading edge.  I am pretty sure I just cut off the rib tips and laid the square on top of the recommended leading edge.  This allowed me to sand in a rounded “entry point” too the airfoil.  I don’t know how this affects low-speed aerodynamics, I just know it makes me feel better.

2: The Horizontal Stabilizer:  I added about 1/2″ to each tip of the stab:  I just moved the provided tips out wider and built per instructions.  I read somewhere that a greater span has more effect than a deeper chord.  Again, I don’t know if this has made mine more stable than built-to plan, but mine flies well.

3: The Nose: You will have to add and/or replace wood at the nose.  make is a little stronger and make a removable nose plug.  In addition, replace the nose bearing and the prop (and the rubber).  I used a Gizmo Geezer nose button because it is adjustable.  I swapped in a 7″ Chinese prop and a long loop of 3/16″ rubber.  I also added a Nason Clutch to the prop; that is hiding under the spinner.

Of course, as detail above in the sad, cautionary tales, you need to test your plane a lot.  start at extremely low power to adjust your glide and CG.  The work gradually increase the power to get your flight pattern, using only thrust adjustments.  You will be rewarded!


Posted in Uncategorized | 3 Comments

CUSTOMER APPRECIATION – 10% OFF – THREE NEW KITS!!!

Today I start our Annual Customer Appreciation Sale.  Today completes our 5th year in business and tomorrow (01 April) starts year number 6.  To celebrate, you can use the following coupon code to gain 10% off your entire order.  There are a couple of caveats associated:  it can used only once per customer and the coupon will expire on 15 April.

Here is the code:  6thYEAR

Also, I am releasing THREE NEW KITS:

The Yokosuka D4Y “Judy” Short Kit from the Dave Smith plan – 18″ wingspan for WWII Combat and FAC Scale.  You get a plan and four laser cut sheets for $10.  Thank you to Dave for letting me his design.

The F-4 Phantom II by Harrison Knapp for Jet Cat.  The Full Kit comes with a 2-page plan, a 3-view for laying out panel lines, an FAC-Legal catapult, and SEVEN laser cut sheets.  This kit takes more time to cut than any other kit I currently make – over 20 minutes of cutting per kit – a bargain at $20.  Thank you to Harrison for letting me kit his design.

The classic Flying Aces Moth for FAC OT Fuselage or 2Bit + 1.  This is one of the most popular sport designs of all time.  The original Flying Aces magazine published the plans TWICE in the 1930s.  The Short Kit comes with 2-page plans and two sheets of laser cut parts.  Thanks to John Jackson and Roy Courtney for building the prototypes.

Don’t let the low inventory numbers scare you away – I am running the laser cutter about every day to fill customer orders.  As I say on the site – if stocks are low, order anyway, as I make many of these kits on demand.

Again,  thank you to all of you – my customers.  Without you, I wouldn’t be running this outfit and creating all of these different models.  So take advantage of the 10% off sale!

Designer Harrison Knapp and me at Muncie last September

Posted in Customers, Events, Products | 2 Comments

More Model Progress – Photos

Just a few photos of what has been going on this week.  Two mental hurdles next on the horizon:  Insignia for the Judy and Wing struts for the Comper Swift.

turning the Judy spinner plug in the drill press

styrene spinner, (left) and plug (right)

Judy prop and spinner test fit

Judy prop detail. Spinner backing plate, Superior Prop, ply reinforcement spine, Nason clutch

Judy and Goose waiting for snow to go away

leaf spring skid on the 24″ Comper Swift

Comper Swift canopy and frame

Laying out the parts for the Baby Cyclone Peanut

Posted in Builds, Products | 2 Comments

MARCH MADNESS SALE! RARE FREE FLIGHT TOOLS!

I have a collection of rare and hard-to-find Rubber Free Flight tools for all types of Rubber Free Flight – from F1B to FAC Scale to Indoor.  I have collected them this winter from estate sales and online sales.  (Oh, two of the DTs are for FF Gas.)

Get them while you can!  On Sale HERE

https://volareproducts.com/blog/BUY/index.php?main_page=index&cPath=47_63

Posted in Customers, Events, Products | Leave a comment

JUDY UPDATE and Some Notes

I’ve been dragging my feet when it comes to covering this model. Mostly because of the fuselage. I still have to place and create the gun troughs and the color separation line is challenging me.

I finally decided to push on and start covering. Here are the flying surfaces. I created patterns for the panel lines and printed them onto the tissue. This is stock green and white Esaki. The rudder and horizontal were covered dry and the wings were covered damp. Two coats of Future were brushed on, drying between.

Note the wing center section – it is messy and even a different color. This is a slip-in wing, so the appearance is not critical. The different color – well some colors (maybe all?) of Esaki fade. and the center scrap was an older scrap of green I had laying around. It is also the same sheet that I used for the canopy frames (oops).

THINGS TO LOOK FORWARD TO –

Besides the Judy Short kit, I am trying to finish up the F-4 Phantom Jet Cat kit – this is Harrison Knapp’s design and a photo him and his plane was recently published in Gene Smith’s article in Model Aviation.

Someone emailed me and asked if I would write something on the type of glue that I use.  Because of the question, I find that I use at least seven different glues – I will write that up shortly.

I am going to photograph all the various specialty tools that I have picked up recently through estate sales and other sources.  This will be a “March Madness Sale” – look for it this week, maybe this weekend.

Us Cloudbusters like to push the limits.   I checked the calendar the other day – our OUTDOOR season will be starting soon.  In fact the next “scheduled” outdoor event is before next month’s indoor event – weather permitting.  Wow, am I behind on building!  There are THREE models (two are planned to be short kits) I want to get done no later than June.  I better get this Judy done and move on to the next!

Posted in Builds, Events, Products | Leave a comment

Preparations, Plans, and Tangential Paths

I spent much of the day testing rubber motors and preparing for the Cloudbusters monthly indoor contest this Thursday.  I was replacing a missing bobbin in the back of my Peanut Pegna P.C.1.  I took the motor out, replaced the bobbin and reinstalled the motor.  I gave the long motor 3-400 winds so that the braiding would shorten it up when it unwound.   All wsa good until half way through the unwind when the sound of rubber slapping the fuselage told me that the motor had broken.

No Big Deal – I made a new one, and replaced the same way I had the first.  During the winder-prop exchange, the lightly wound motor slipped through my fingers and went to the back of the fuselage.  For a micro-second, all was well – until my left hand instinctively tried to grab the motor.  Said left hand was holding the nose of the fuselage at the time.  The rubber did NO damage; the left thumb went through the nose:

I was all thumbs

~Sigh~  This poor plane – it is a workhorse.  I have had this model for at least 24 years; its first kanone was recorded in 1993.  It has had major rebuilds two times.  I have come to depend on it to strike terror into the hearts of Peanut competitors in the tri-state area.  Oh, and it’s a four-time AMA Nats winner in Peanut!

There was only one thing to do – “we can rebuild it; we have the technology” (bonus points if you remember the source of that quote).  So, I got to work.  Here’s the new structure:

new sticks

Now one thing about building this model is there is next to no documentation.  However, my quick and easy black marker is a poor representation of a copper/bronze surface radiator – and scale judges have commented just that.  So, I decided to put in a little more effort this time.  I had some party store gold tissue in the workshop, so I dug that out.  I also dug out a small bottle of black india ink and a paper towel.  I put a few drops on the folded towel and, with the gold tissue flat and smooth on my bench, I wiped over the tissue.  Then quickly wiped it off.  The results are definitely not bad (still not perfectly scale in detail)!

bronze?

Anyway, after it’s third major repair and 4th covering job, it is ready for Pontiac on Thursday!  There probably another one of these in my future, but not just yet, this one has been too good for me to give it up.


Posted in Builds, Events | 2 Comments