A Story of Woe – Postage

I often feel guilty about the rates I charge for postage.  Often I don’t worry about it, but sometimes it is called to my attention, often by customers or potential customers.  Here are two tales of my misery for you to consider.

One day, I got a call from a potential customer from California.  He asked about a small item or two that I offered and asked what the postage would be.  I replied that I ship USPS Priority and I charge a flat rate and that rate to California is $9.

(Note: a peek behind the robes – I use USPS Priority because the boxes are free.  Almost all of my shipping can be accomplished by utilizing these free boxes.  I also use leftover free newspaper for packing material.  I try to keep all my prices reasonable and low cost of supplies helps me to do that.  Back to the story…)

He was shocked.  “well, I can ship things east for about 3 and a half bucks!”  “Yes, but I ship Priority and charge a flat rate.  If you buy those two small items or a pound of rubber, it will cost you $9.  You might pay more today and you might get a bargain next time.”  He would not be soothed.  He retorted “That’s ridiculous! You just lost a $300 order!” and slammed down the phone.   Well, buddy, you didn’t say you had a $300 order, but if you had, it would have shipped for $9.  That was earlier this year.

The second story – I guess this happened this week.  Today, I got sucked down the internet rabbit hole.  I almost never go to the RCGroups site – why should I?  Well, it turns out they DO have a Free Flight section.  I was scanning through the subject titles on this FF Forum and saw one “Finally Found Some Rubber”.  Being a distributor of rubber for Free Flight models, I thought I would take a peek.

I will copy the person’s entire post here; I don’t want to misquote or spin this.  But I do know I risk the wrath of customers everywhere sharing this, maybe they feel the same way:

Finally got some decent rubber and need to get my sparky in the air so checked out 2 known FF outfits wanting to buy some come to find out the postage was as much as the item I was wanting. postage rates are bad enuff these days then individuals wanting the rediculas amount for mailing is insult to injury

But did locate an outfit on ebay for a very reasonable price that wont rape ya on postage, so finally have some on the way ”  (pasted just as posted: typos, smilies and all)  (maybe that is why I never go to RCGroups!)

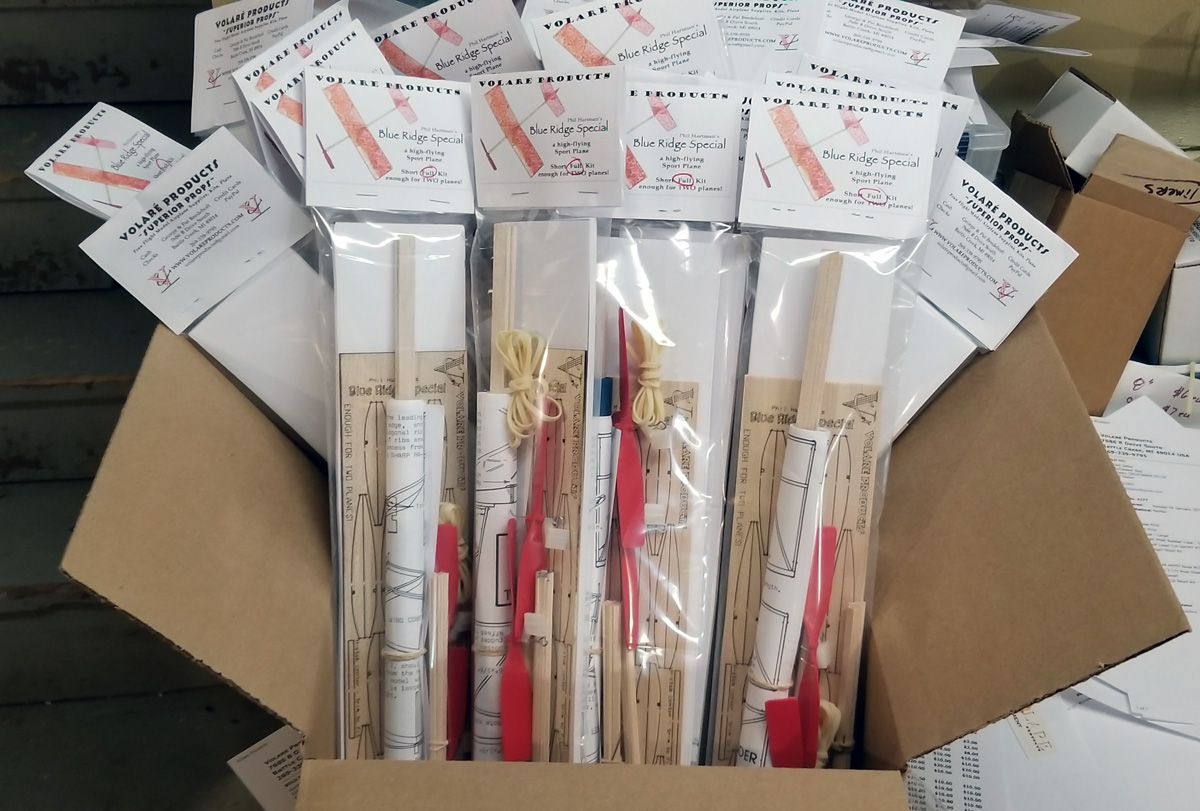
More internal operating details for you to consider, especially if you are thinking of starting a mail order business (that doesn’t include brides).  I subscribe to a postage service, so I get a better price than I can get through the post office.  Even with the reduced rate, the postage you pay me is just barely enough to cover the cost of postage.  You might expect that you should pay exactly what postage costs me.  I could do that, but it would involve weighing each item I sell and annotating its weight in my online store – and I have roughly 400-500 products in my store at any given time.  So flat rate saves me more time.

The average postal charge to me for an order is something like $1-$2 under what I charge you.  Maybe you think that is unfair, but maybe you don’t understand.  The least I get charged is just under $7 for a shipment to Michigan or Ohio (where I only charge $7.50).  I have justified it to myself that that 50 cents or $1 or maybe $2 overcharge covers two things – my time and the charge for heavier packages.

My time.  If I were to hire you to pack my orders, what wage would you expect me to pay you – $1 or $2 a box?  Hmmm…. probably not.  Oh and if you pack up a heavier package, maybe that excess cost comes out of your pay?

Heavy packages.  Did you the Post Office forces Priority Mail on packages over 1 pound?  At least that is what I see in my postal service.  Did you know that a package over 1 pound shipped to California costs me about $10.50 to ship?  And yet, I still only charge you Cali-customers $9.

So heavy packages cost me money, but it is balanced out by the lighter packages that I ship (and I guess my time is free).

As a customer, you get to feel “raped” every time you place an online order.  Me?  I feel like I am forced to abuse my customers several times a day.  But I cannot change it and still provide a service to you.  So I have to swallow my guilt and click the “buy more postage?” button.

I do appreciate every one of my customers that have never even thought to mention the cost of shipping.  It’s a bitter pill for both of us and as long as we understand that the “rediculas amount for mailing” is by far one of the cheapest forms of door-to-door delivery, then the happier we will be.

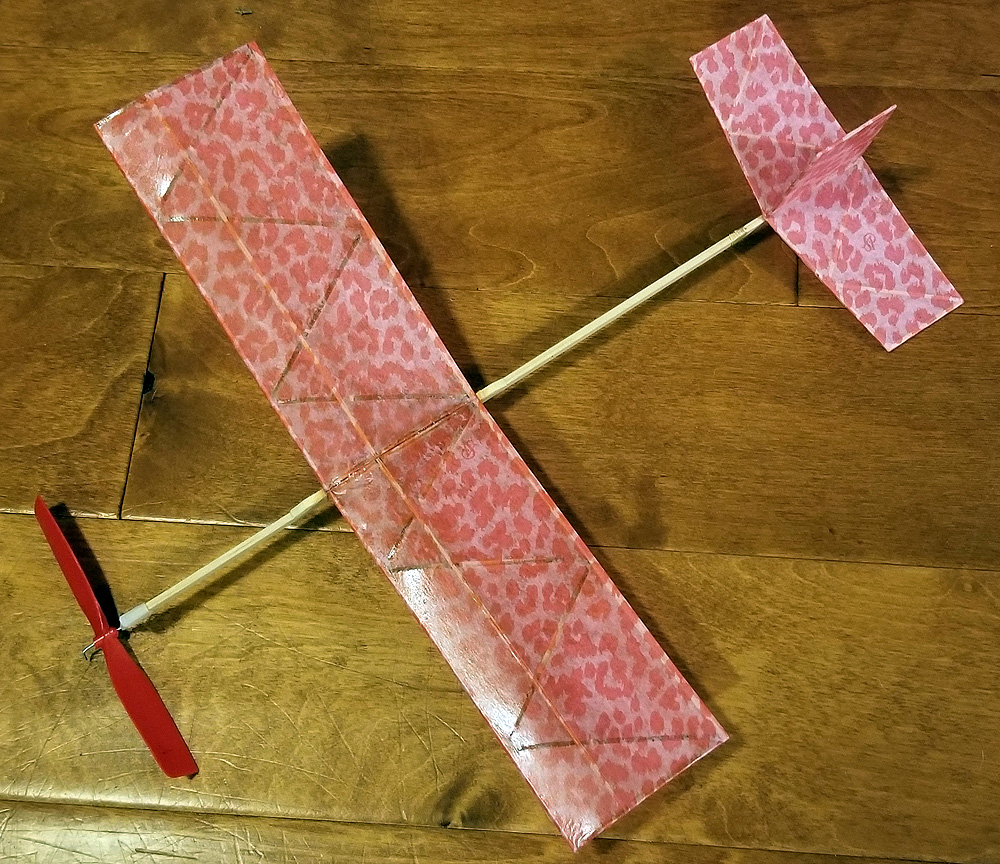
P.S.  the hardest packages for me to fill are the “1 pound of rubber plus two sheets of tissue” orders.  Think about how you might pack those up so the heavy rubber doesn’t smash the delicate tissue…ugh…

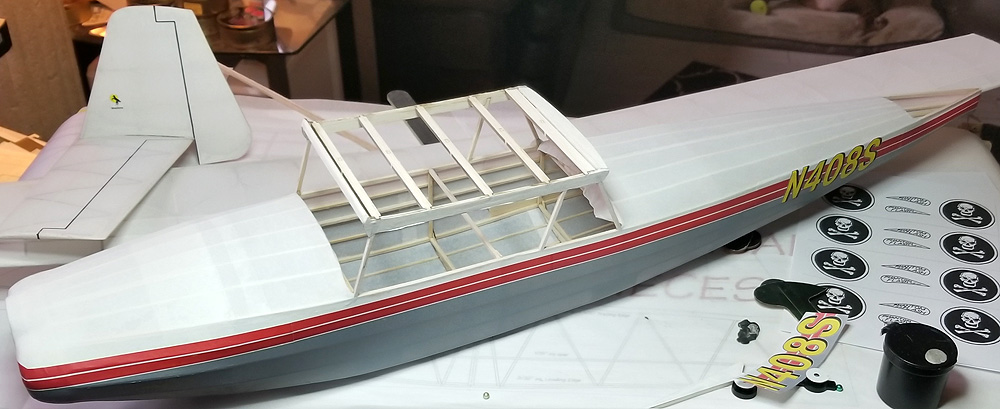
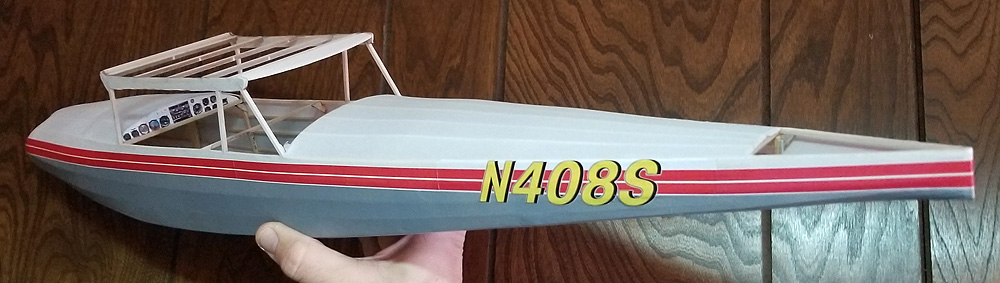
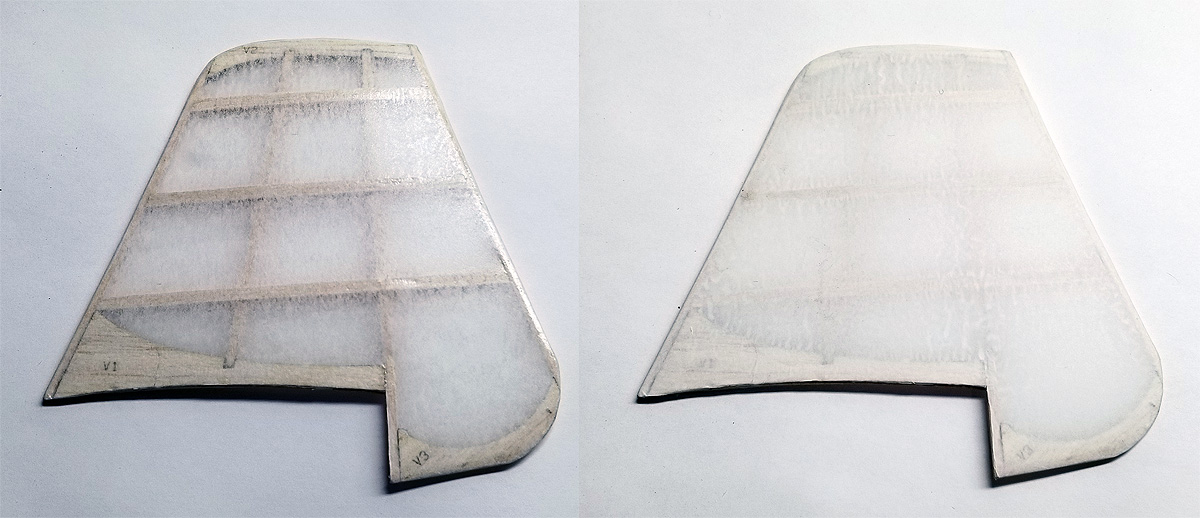
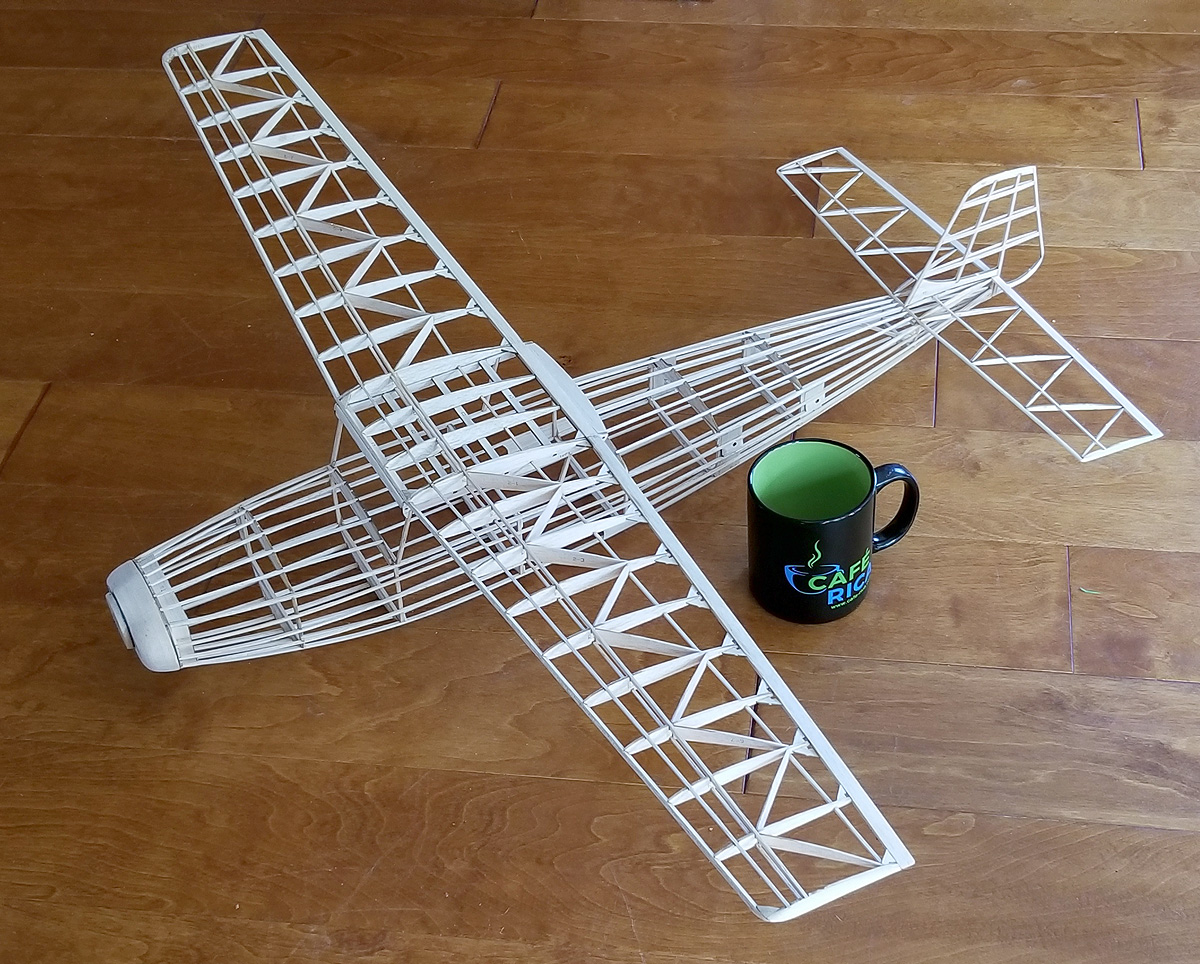
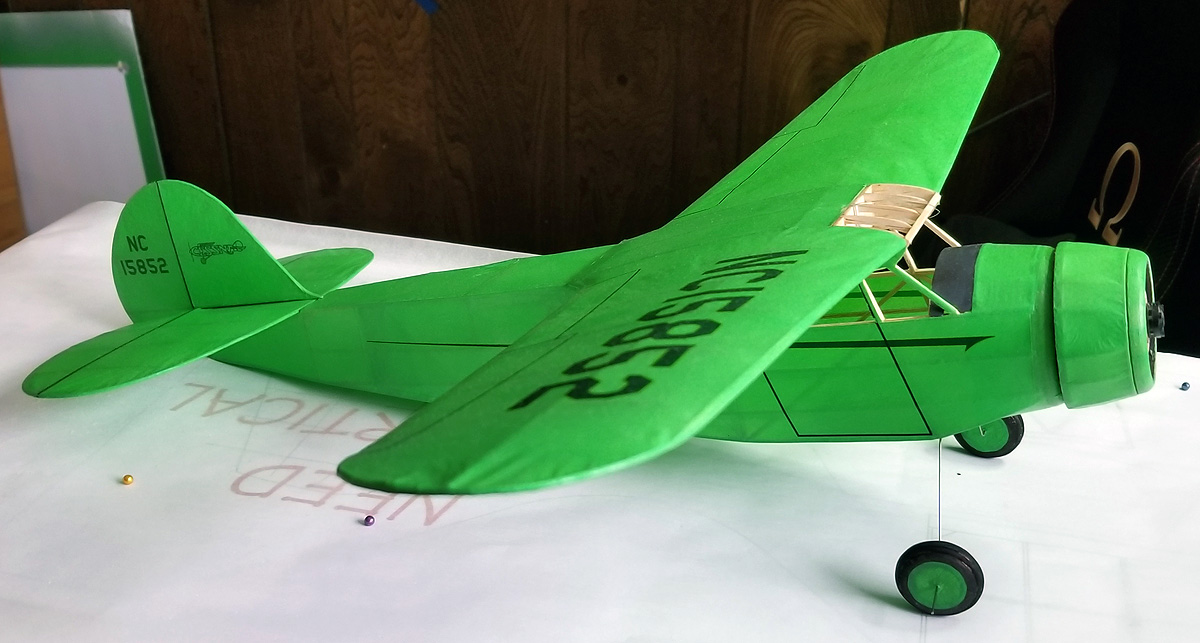
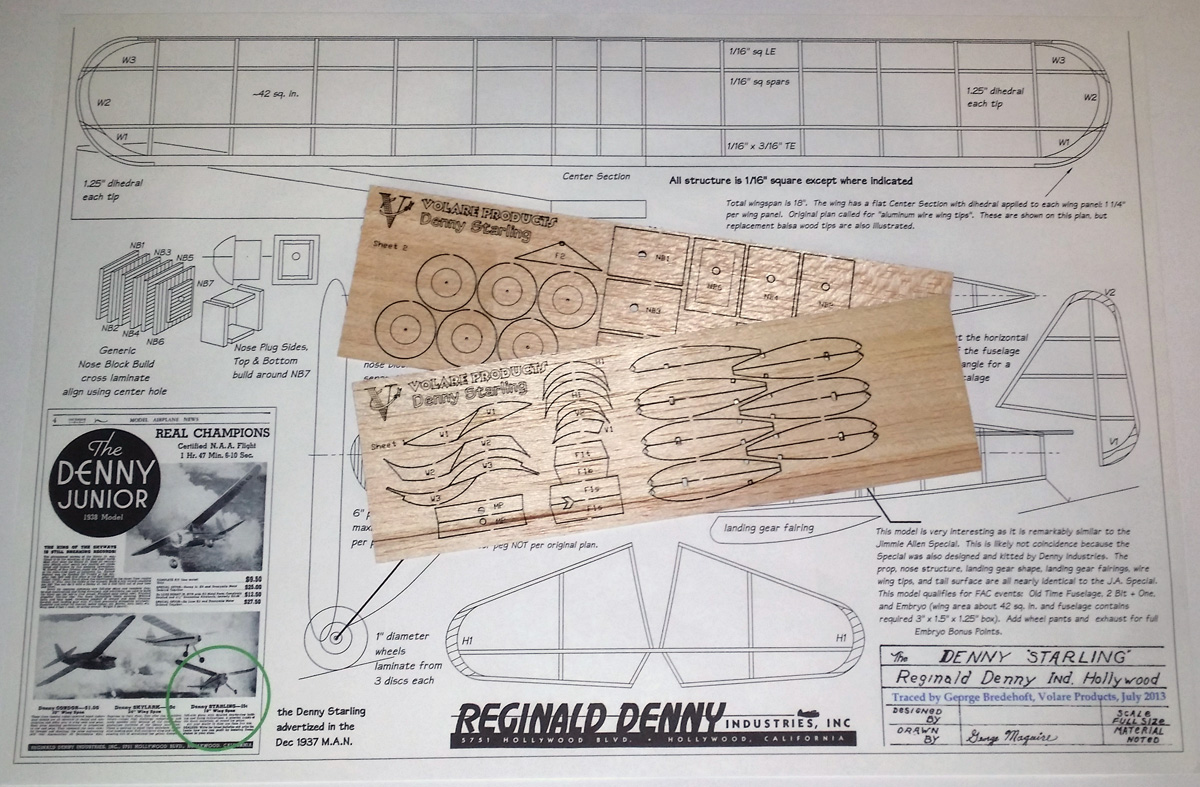
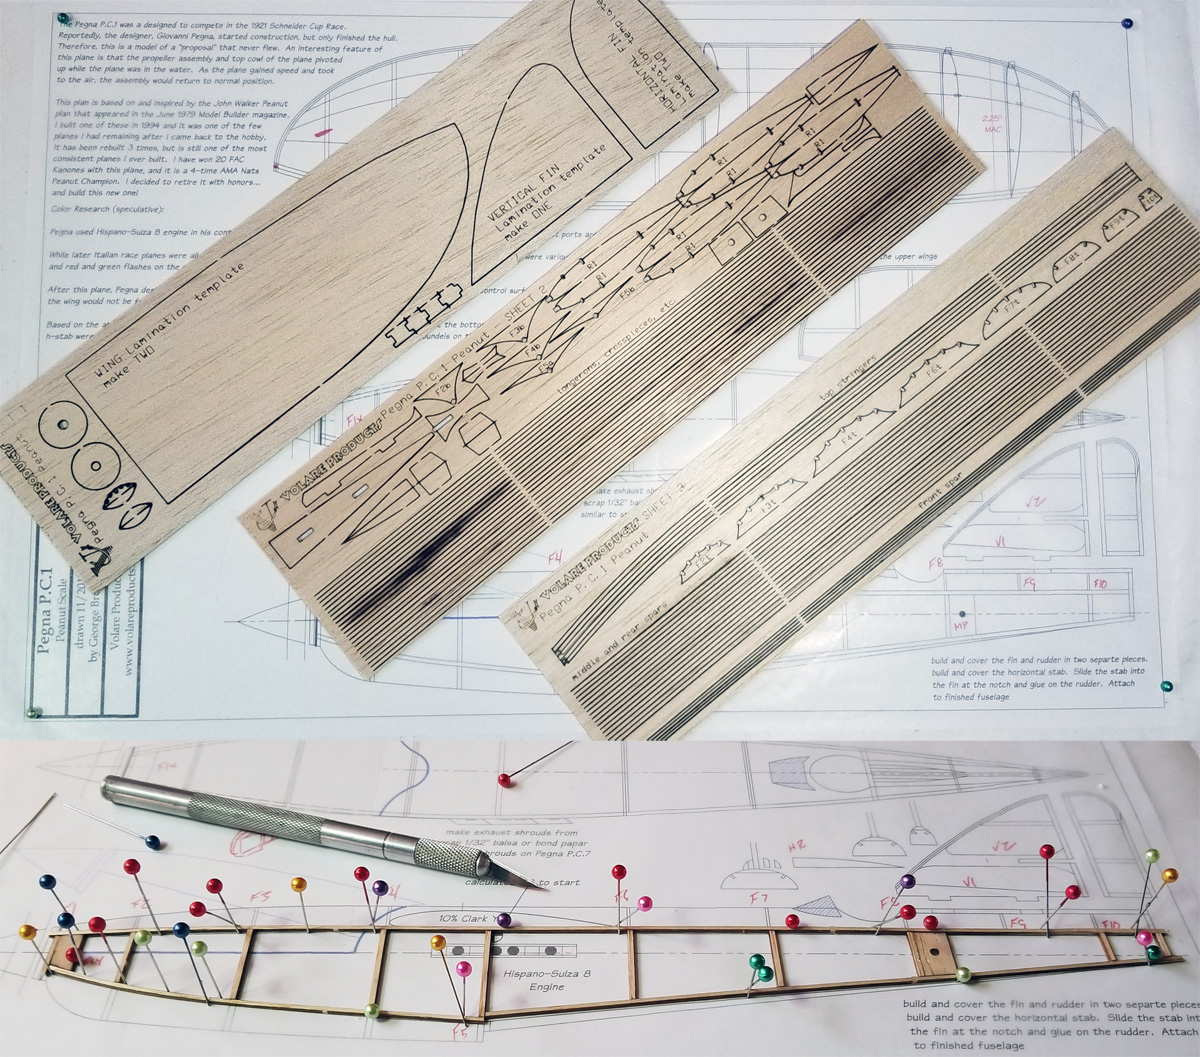
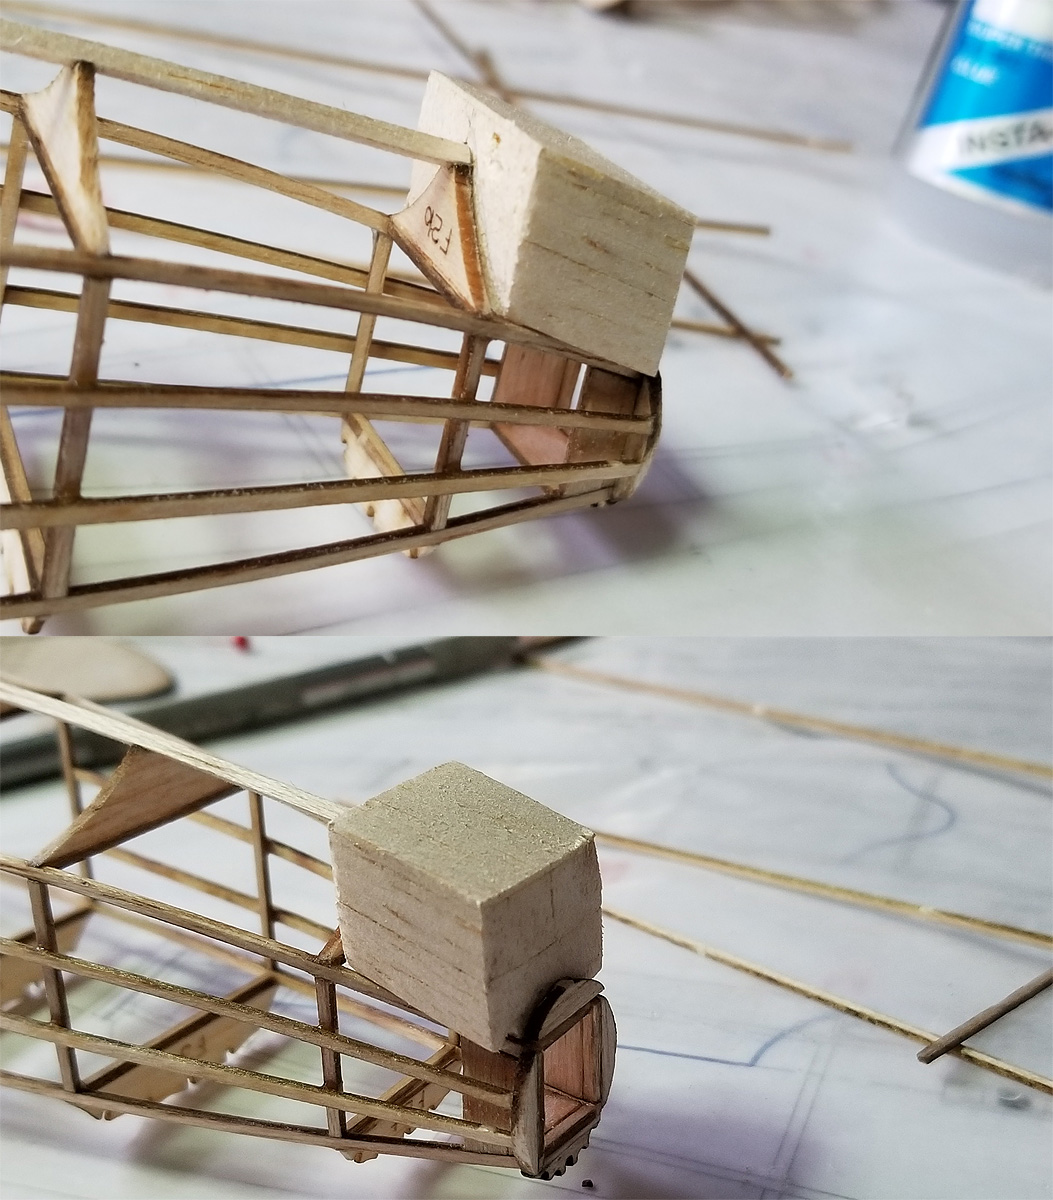
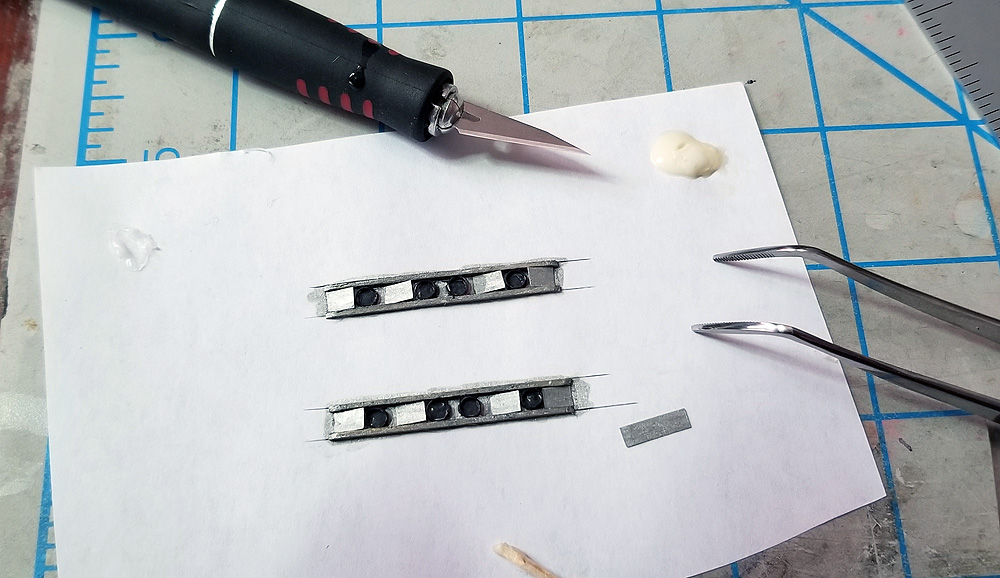
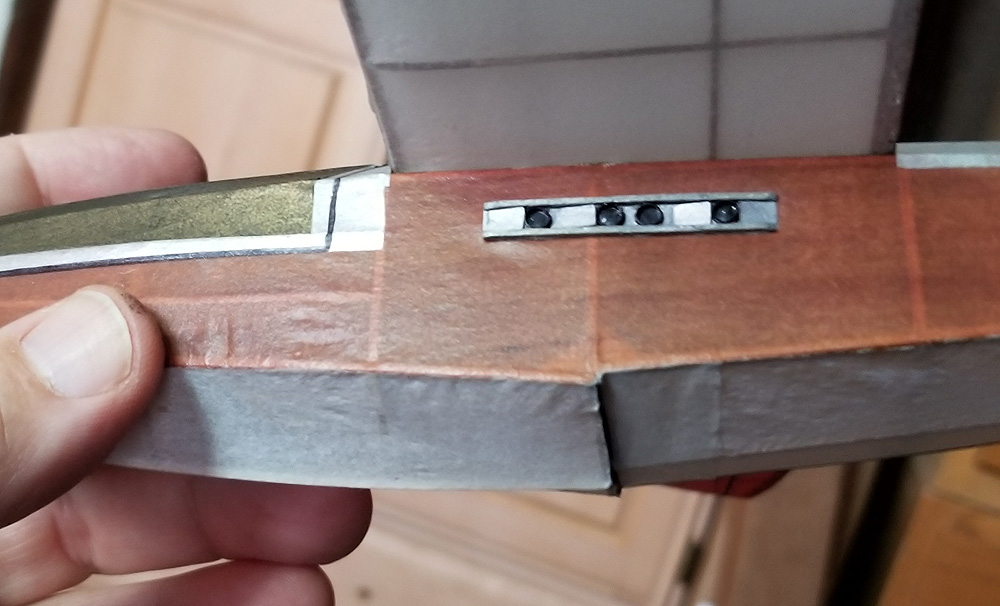
P.P.S.  I am VERY close to releasing one, Two, maybe even THREE new short kits!  That is in addition to the one I already put in the store, but never announced!

P.P.P.S.  There was snow in the air again this morning – will it ever warm up?


Posted in Customers, Uncategorized | 9 Comments

7thYEAR – Discount Code plus New Products!

It’s that time of year again!  April 1st starts our 7th Year.  Take advantage of a 10% Discount on ALL products on the web site by using this code during checkout:  7thYEAR  (copy and pate for best results).

In addition, here are three new products:

The SUPREME TRAVELER.  The Traveler by Supreme dates from 1943 and is a 26″ sport design send to me by Randy Wrisley.  He built the prototype for me and has flown it successfully out west in California.  The laser-cut short kit comes complete with a funky 3-blade sheet prop and a weird nose plug – neither of which I would recommend for flying!  I have also redesigned the nose to a more traditional construction.  One of the surprises about the Traveler is that is was originally designed with 1/16″ square construction – rather light for a 26″ span model.  The light construction and undercambered wing should make a floater!

As with most of my short kits – it’s only $10.

prototype by Randy Wrisley


prototype by Randy Wrisley

Next Product:  VPS DT Kit

Over the winter, there was an online discussion regarding Viscous DT Timers.  I decided to invest some time and money and develop my own.  I purchased a quantity of dampers from overseas and spent many hours developing a system that works for me.  It took quite a bit of time to determine a RELIABLE spring mechanism and settings.  I will share the setup detail in the kit package.  The DT weighs about 1.2 grams.

KIT Package – $12

Bare Rotary Damper – $3

save a couple of 10ths of a gram by trimming off the ears

Posted in Events, Products | 1 Comment

Modeling Pics of the Day: Jumbo Stallion Update

Yesterday was warm – for Michigan – it hit 50 degrees.  So I decoded to mask my fuselage and spray Design Master Gray on the bottom of the fuse.  I used this color on my B-52 last year and it works well.

Previously, I had brushed on Future floor treatment on the raw tissue and then airbrushed some artist’s acrylic Titanium White thinned with water on the flying surfaces and fuselage.  I could do that indoors, but needed it warmer outdoors to spray the stinky paint.

Today I jumped in and finalized the method of doing the rest of the markings.  I discovered that my color break between gray and white was about 1/16″ too high.  I decided to shift that line down by doing the red stripes in printed tissue.  I already had decided to do the registration numbers in tissue and what better way to match the colors that to print all the red lines in addition to the lettering?  I even thought of printing the gray where the letters overlapped the gray.

But I knew the tissue would probably not be opaque enough to cover the gray line.  So I decided to airbrush the back of the tissue with more white after I printed it.

So here are the photos of the series (information in each caption).

Here is the right side tissue, color laser printed. The gray is way too dark to match the paint, so that had to go.

Taken through the overhead magnifying desk light, here I show how I tried to stay just on the outside of the white separation line.

I always start on the right side. I feel the left side is the side most people look at, so I try to correct any mistake I make on the right when I do the left side. This piece has a problem – there is a tear in the tissue starting at the bottom and going between the * and the S and crossing the middle of the S. This happened when I was putting glue on the back side. I used canopy glue and it just made the tissue too soft and it tore while I was putting the glue on.

Here is the right side. All of the stripes and letters are in place (except on the rudder). There are five pieces of striped and lettered tissue on each side. I used glue stick after the canopy glue debacle. Notice the Stallion logo on the fin. That is held on with 3M #924 transfer tape.

Another shot of the fuselage with a contrasting background.

and the full scale Stallion

Posted in Builds, Products | Leave a comment

Modeling Pics of the Day: Tom Norell’s Dime Scale Martin MO-1

I really enjoy receiving reports and photos from customers showing the models they have built from my kits.  As I have said before, I try to provide products that can be successful and when I get a report like this, it shows me how modelers can exceed all of my expectations.

Tom Norell lives in Colorado and I understand he has returned to modeling after a long absence.  Reports have it that he is dominating at the FAC Eaglerock Squadron‘s indoor contests.  Recently, he purchased one of my Martin MO-1 Dime Scale kits.

Here is the text he sent along with the photos:

It built up real nice and only needed two small adjustments to fly right off the board. A little downthrust and a small pea of clay on the nose.  AUW came in at 6.9g without rubber, I think Don Deloach’s came in a little over 10g. I also created my own tissue files and am real pleased with the final product.

I’ve flown it on three occasions so far. A few quick trim flights at our local gym (25′). The annual Pikes Peak Ceiling Climb (35′) where it came in second to David Aronstein (another Free Flight legend!  –geo.) by only a few seconds. And last weekend at the EAA Family Flight Fest in Oshkosh (37′) where it was VICTORIOUS! It still needs a bit more work on rubber selection, but it’s not too far off. It’s a consistent 90+ seconds and I think it has about another 15-20 seconds more in it. It has one of your red (painted silver) 6″ Igra props on it and it is a perfect match with a 15″ loop of .065″ Super Sport.

I’ve attached a few pictures of the finished product, feel free to use them as you wish, just give credit to Connor Madison, the EAA staff photographer.

6.9 grams and 90+ seconds on a loop of 0.065″ rubber?  OUTSTANDING!  And look at the detail on his printed tissue!

So here are Connor Madison’s nice photos of Tom’s exquisite Martin MO-1 Dimer (click for large versions).  Thanks, Tom!

Posted in Builds, Customers, Products | 1 Comment

What’s in a Name – Volaré Products

Did you ever wonder about my business name, Volaré Products?  Where did I get it?  What does it mean?  How in the world do you pronounce it?  Well, I will explain.

This morning, while doing research, I stumbled across the FAC Newsletter Archive, compiled by Lincoln Ross. (What an effort he has done!)  I scrolled and found mention of the Durham Mystery Plan that I did (Tom Nallen I design) that was in the newsletter.  He made the following comment: “…Volare Products (couldn’t he have called his company something else? That car was a traumatic memory, but what did I expect for $400? How does George expect a model airplane burdened with fine “Corinthian” leather to fly well?)

Who doesn’t remember Ricardo Montelban’s commercial?  It is a cultural classic!  But – OOPS! – that was for the Chrysler Cordoba, not the Plymouth Volare.  Of course, Lincoln’s comment is tongue-in-cheek (I think?), but it got me to thinking about the name and why it is difficult for people?

First, the pronunciation.  It seems that nearly everyone mispronounces this – and I don’t know why. The most grating (and somewhat common) mispronunciation I get is “vol-AIR” – what?  Well, I guess it follows the “rules of English pronunciation” with the long vowel sound that precedes the silent E – but it is clearly wrong.  I don’t know how anyone that says it that way feels that the fingernails-on-a-chalkboard sound is right.

Those of us of a certain age – and even older – will remember the song “Volare” (or “Nel blu dipinto di blu”) from the late 50s, 60s, and 70s.  I grew up near Toledo, Ohio and we listened to WJR out of Detroit.  I thought (at the time) it was pop music, but it was really much more staid.  That song would occasionally play and it is catchy.  That pronunciation is “vo-LAR-ay” – it is Italian and means “to fly” (now we are getting closer to why I picked the name).  While this is not the correct pronunciation of my business name – it is the one that I use.  It is also the way the Plymouth car name is pronounced (so people should know?)  By the way, here is Dean Martin singing “Volare”.

The last pronunciation – and the correct one – comes from Spanish.  My wife is a native Spanish speaker and the correct pronunciation of volaré is “vo-la-REY”.  And here you will see why THIS word is the name of my business (thank you Google Translate):

You see, long before I purchased the parts business, I had designed my own FAC-based Free Flight model airplane plans.  I have dozens and dozens of designs that I have drawn up or started to draw, but only have ever offered a few for sale.  I only offer plans – and now kits – of models that have been successfully built and flown to FAC-minimum flight times – 20 seconds or more.   My products must be able to fly.

from 1997 or so

from 2003 – during my model airplane drought

Posted in Products | 2 Comments

Covering – Ups and Downs – I’ve got you covered!

In my spare time, I am trying to complete my 24″ Cessna C-34 and my Jumbo Aircraft Designs Stallion.  Both have color schemes that do not lend themselves to colored tissue alone.

The Cessna was PPG “PeeWee Green” and I sprayed white Esaki tissue with Spring Green Design Master.  I am happy with the color choice, but less than happy with the application.  I painted the tissue on a board and the results look just great.  However, covering with the pre-painted tissue was a challenge and my plane is full of sags and wrinkles.  I should have sprayed the color after covering, but I wanted to print the numerals and stripes.  That part worked fine (except for the yellow pinstripes on green tissue).  This model will be a 20-footer (like I need another one of those).

The Stallion will be covered and them painted.  I will have to place numerals on the side and a logo on the tail, but I think that will be ok.  I did two experimental things on this plane (so far):  I used a “domestic” white tissue that I found that seems to be nearly as good as Esaki and I airbrushed on some white paint – thinned acrylic titanium white artist’s paint.

The tissue seems to be very good.  It has grain like Esaki and it has some wet strength.  Strangely, I found I got better results covering dry and then water-shrinking.  Maybe that was a factor of the season as the tissue would dry out before I could get it completely covered – maybe the humidity is too low and the water is just jumping out of the tissue.

The paint is truly an experiment.  I have used Design Master White in the past, but it went on heavy.  Yes, it was a Jet Cat and yes, the balsa wasn’t sealed, so that is probably why.  I have also air-brushed white ink with good results, but the surface seemed to be rough.  Maybe it was because I sprayed raw tissue.

This time, I sealed the tissue with Future before painting.  The image on the left above shows the fin after the Future, but before painting.  The image on the right is after several coats of paint.  This doesn’t look terrible, but I had some problems; problems which probably come from my very limited experience painting with an airbrush.

Firstly, my experimentation with the acrylic painter’s paint probably wasn’t the best idea.  I squirted some into the jar and thinned it about 4:1, maybe more, with water.  I mixed and mixed to get out the lumps.  It looked thin to me.  However, I had to crank up the pressure on my air brush to get it to come out.  Maybe it wasn’t completely mixed and thick paint required more pressure.

Of course, I hadn’t really anticipated one factor – the water based paint loosened the water based Future and I had to let the parts dry nearly completely between applications.  This took a long time. Another problem with this was that the wet and saggy tissue pooled the wet paint – you can see the results of that at the top of the fin in the photo above.

Basically, all of my processes worked, but not quite perfectly.  I will go for a little more opacity on the white, I might even try a different paint, but if I try Design Master, I have to wait for warm weather.  I don’t have a spray booth and I can only spray water-based indoors.

Here are some other relevant photos:

the Jumbo Stallion bones

C-34. I will post full documentation later/soon.

Posted in Builds, Products | 3 Comments

Old Time Model of the Day: the Denny Starling

As soon as I get new balsa and some extra time, this will be the next kit out the door here at Volare Products.

I have wanted to build this for ages.  It was designed by the same team that designed the Jimmie Allen Special: Reginald Denny Industries.  It has many of the same features as the Special, but is slightly smaller – and lighter – it is all 1/16″ construction.  It is an 18″ cabin model.  For reference, it appeared in an ad in the December 1937 Model Airplane News.

As such, it qualifies for these FAC events:  Old Time Fuselage and 2-Bit plus One.  Also, coincidentally, it qualifies for Embryo as it is under 50 square inches in area and the fuselage exceeds the minimum volume requirements for Embryo.

As it is small, it probably won’t win any contests, but it should be an easy build and fun to fly – and that’s the point of all this, right?

Texas FAC member, Allen Shields, built the prototype for me.  Here is a photo he sent me of his finished model.  Thanks, Allen!

In addition, Mike Kelly helped him out and filmed some of Allen’s test flights.  Here is the video.

Posted in Builds, Customers, Products | 3 Comments

Mid-winter Modeling Musings

Just some quick blurbs that are passing through my busy mind…

Supply Shortages:

I am having issues re-stocking some of my products.  Some of it is my own doing (running out before I re-order) and some is manufacturer issues.  I won’t address them all, but one thing I am considering:  ceasing production on the Rees Winder.  The gearing is expensive and hard to get, and the winders are time consuming to make.  One possibility is to do a limited run.  I don’t know – we will see.

We are also low on balsa, so custom Superior Props may be delayed for a little while.  I need to sort out the bulk balsa shipping logistics, but that will be resolved.

New Plan Drawn:

I have a new 1/2 Wakefield drawn up and ready to build.  I should have it ready for spring.  I will just leave this teaser here for now:

Scale Scrutiny:

I am not a Scale Modeling Expert, but I have built many, many and will continue to do so.  Here are some thoughts on things I have observed that gnaw at me.

  1.  I have seen plans and models of an aircraft that was produced in a single example.  There are photos of the aircraft, but modeled versions do not represent the correct color and/or scheme.  This is ok for FAC Simplified Scale or just for fun building and flying, but as a Scale Model, it is irksome to see the wrong coloring and marking.
  2. FAC Combat Models – I have seen photos of color/camo schemes that were NOT wartime colors, but the modeler says they flew and won certain FAC events.  A CD must be hard-hearted to exclude such models, but it must be done.  No post-war colors should be permitted in either WWI or WWII combat.  It’s no different than allowing a purple Chambermaid – and it shouldn’t be done.
  3. A personal pet peeve.  A couple years ago, I wanted to join the indoor crowd and fly a Peanut Scale Voison Hydoplane.  I did not build one off of existing plans – I did my research and drew up a new plan.  During my research, I discovered something that tainted my opinion about EVERY Voison model I have seen:  there is documentation on all of the versions of the Voison pusher, both land and water versions.  This documentation showed that there is NO version that had a long fuselage; no fuselage was as long as or longer than the wing span.  In FAC flying, some modification to the general layout is permitted, but gross exaggerations should not be permitted.
    P.S. – my Voison did not make it through the testing stage.  I could not solve the power and torque issues.  But here is a shot of it.
    Anyway… just some notes to keep up on things in the winter months.
Posted in Products, Uncategorized | 1 Comment

Peanut Pegna P.C.1 Build – and Short Kit

Yesterday, I got a chance to fly my new Pegna with a new prop.  In December, I had absurdly tried a 6″x9P prop and the rubber would just not turn the prop.  I had to wait a month to try again – this time with a 5.5″x7P prop and it worked.

after the powered test flight. all tissue is printed on an HP color laser, except the bronze radiator

On my first test flight where I used 80% power, I got 57 seconds.  This was such great news.  I tweaked it just a little more, wound it up to full power and was rewarded with nice right-hand circles that climbed up about 4o feet and came down at 69 seconds as the rubber was running out.  That time (good enough for first in Peanut) was 10 seconds better than any indoor flight I had ever had with the old version!

I have the Short Kit up on the site; it’s $10.  It comes with the three sheets of laser-cut balsa shown below.  That is one each of 1/16″, 1/20″ and 1/32″ sheet.  I calculated today and it takes 20 minutes of cutting time for each kit (so you’re getting a bargain)!  With all of those delicate stringers, it is not an easy construction, but it is plenty strong for flying.

In the mean time, here are build photos that might help anyone that wants to build from my kit.

kits sheets (1/16″, 1/20″, and 1/32″) and the start of the fuselage

the basic fuselage completed, showing the keels on the bottom of the hull

top rear turtle deck with sockets for the vertical fin

a chunk of very light balsa that will be carved and hollowed to create the front nose of the hull

laminations in progress. templates are provided.

top stringers installed and trimmed

cover the top of the fuselage in pieces. this shows the right half over the wing in place

the same installed piece, trimmed; view from the other side

the top covered. this was done in several right and left sections

how I made the exhaust ports. I used a coffee stirrer for the exhaust and file card for the shrouds (silvered with Sharpie)

ports in place with RC-56 equivalent

shroud built up. upper and lower are 1/32″ square balsa

cut out and glued on the side – one on each side

ready to fly without rubber. 11 grams – that includes a Gizmo Geezer nose button

Read my article on my justification for the color and markings in my Documentation article HERE.

Posted in Builds, Products | 2 Comments

LIMITED PRODUCTION – Blue Ridge Special FULL Kits!

I have TWENTY FULL KITS now available and stick wood for another twenty.  This will be the first run, and I do not know when the next run will be.

*** EACH KIT MAKES TWO PLANES! ***

These will be available in LIMITED Production Runs, not as needed like my Short Kits.  The reason?  Full kits take a tremendous amount of time for me – so much so that I cannot do full kits and keep up with regular orders.

So, twenty kits are available NOW and twenty more shortly.  These are $25 each on my web site under Volare Kits.

*** EACH KIT MAKES TWO PLANES! ***

Posted in Products | Leave a comment