On Monday, I designed built, flew, and lost a little test bed Ohka Glider. Ok, “designed” might be a stretch – I participated in an online Ohka JetCat build back in 1999 or so, and I started with my rough plan from that time.
The glider is small – only a 9″ wing span – but it was fun to shoot around the back yard. It really wanted to zoom and would gain great height on low power and a nearly flat launch. I pushed my luck too far,launched too high and the wind and glide took it into my treeline, near the top of a tall pine. It was a quick build (and a little twitchy), so I wasn’t too upset.
Build #1 – lost
Don DeLoach commented that the tail looked too small. I had already enlarged it once, but trusted Don’s advise (as we all should) and scaled it up again for build #2. Build #2 took place yesterday and I decided two things: 1) photo-document the whole thing and 2) go with full decoration. What follows is my build process, with some explanations of why I do certain things.

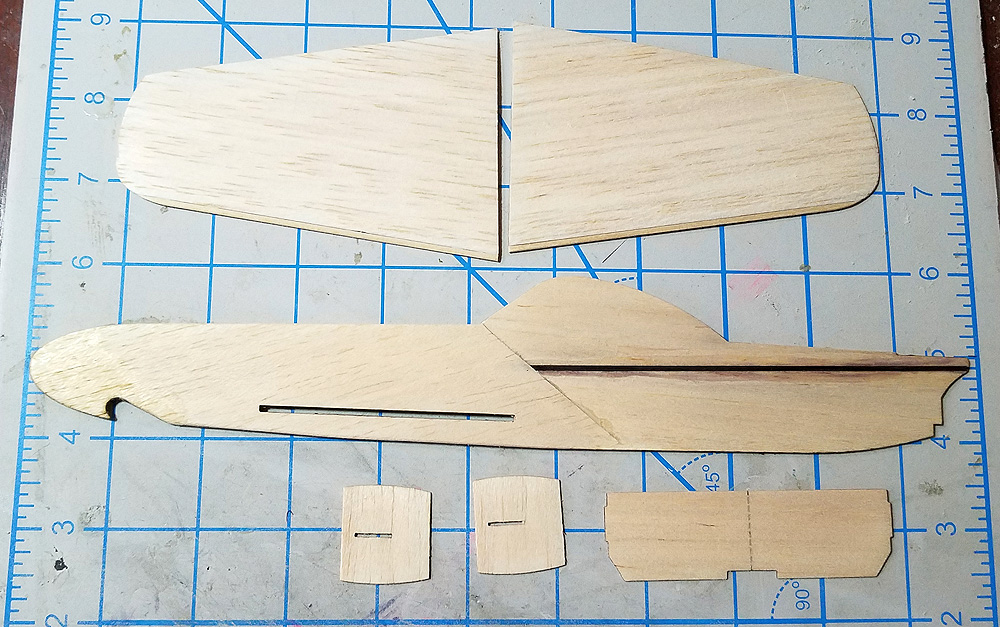
the laser-cut parts. top-to-bottom: 1/64th ply, two sheets of 1/32″ balsa, and one sheet of 1/16″ balsa
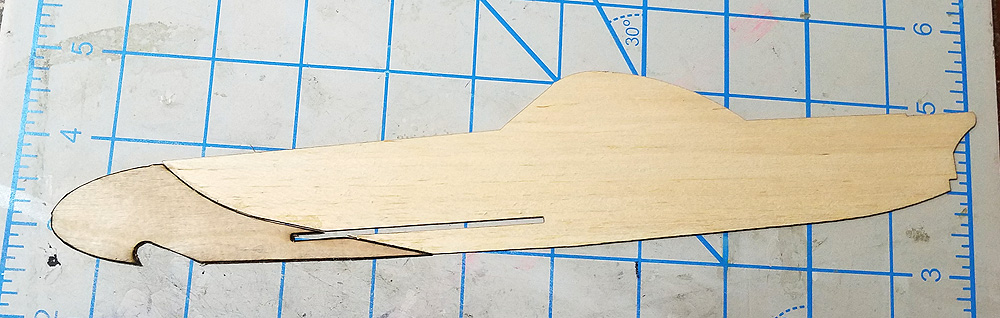
an experiment in #1 that continued into #2. I replaced the nose of the main fuselage with 1/64″ plywood. The nose takes a lot of stress and needs to be strong.
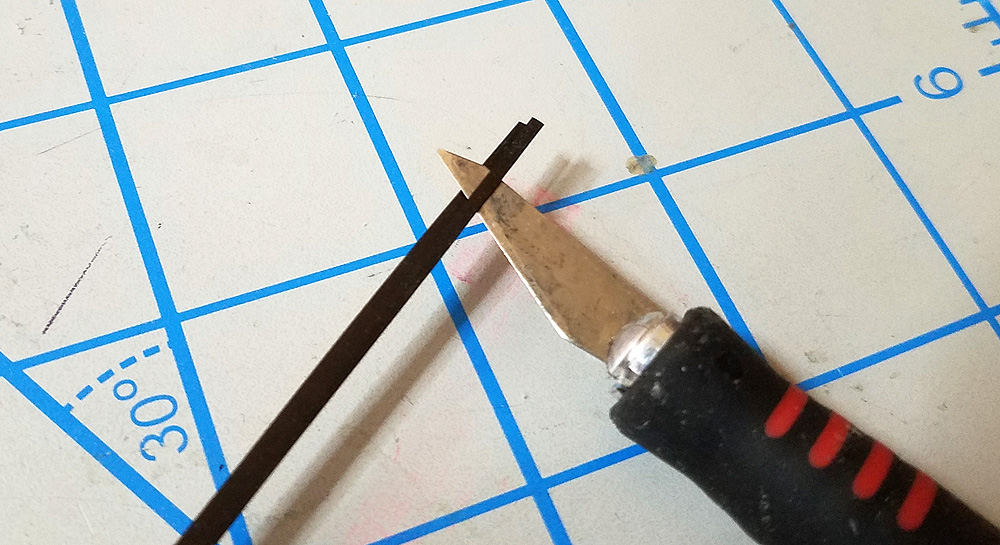
I have some 1/8″ wide carbon fiber ribbon that is 0.005″ thick. I cut this to the length of the fuselage, tip-to-tip, and split it to 2 strips 1/16″ wide. This will be on either side of the main fuselage to add a great deal of strength.
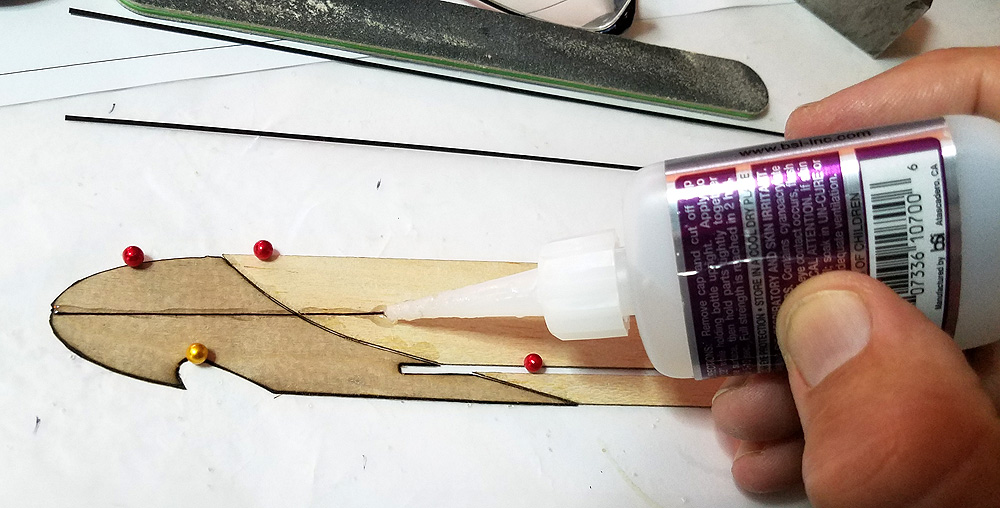
I pinned down the fuselage side and drew a line tip-to-tip where i wanted the carbon fiber to go. I am using medium CA. It gives you a little time once you put the strip down, but locate the strip quickly.

the carbon fiber strip is in the proper location and I an pressing and rubbing it down with the flat end of an xacto handle. Press and force out the excess glue.
do the same to the other side. Once the glue was pressed out, I wiped down excess with a piece of scrap balsa.
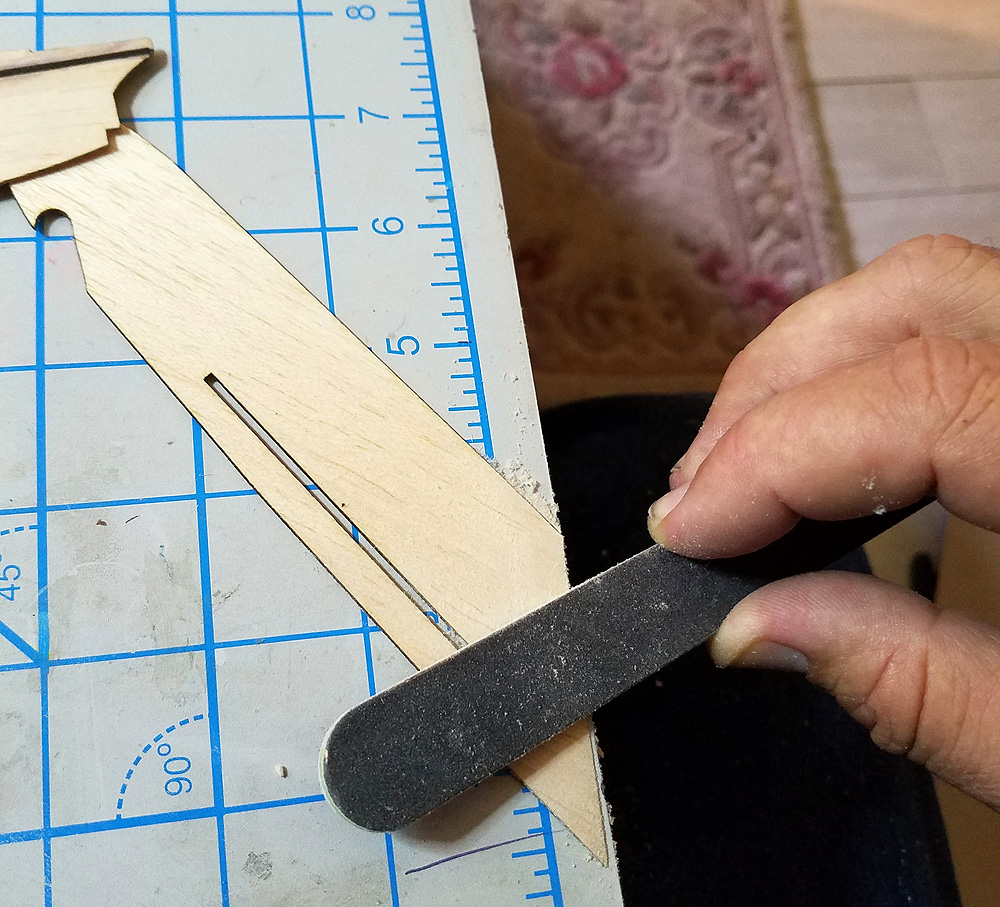
I designed nose doublers to add even more strength. Before I glue them on, I feather the trailing edge so that there is less of a “step” there on the fuselage.
There is one for each side. They cover the ply-balsa joint, cover the carbon fiber strip, and extend past the wing to give full support there, also. Given that I need nose weight, I could have done two ply sides over a solid 1/32″ fuselage, but this works just fine. Note that they are also somewhat cross-grained to the main fuselage.

This shows the CA over the entire area. You don’t want any separation anywhere. I used an “x” on both pieces so that I knew which side was to be glued and which side was to be sanded. Make one left and one right!

Did I mention that the nose takes a lot of abuse? After the sandwiched CA is set, I ran thin CA around the edge to soak into those joints and inside the hook. Then I coated the front part of the nose with thin CA.
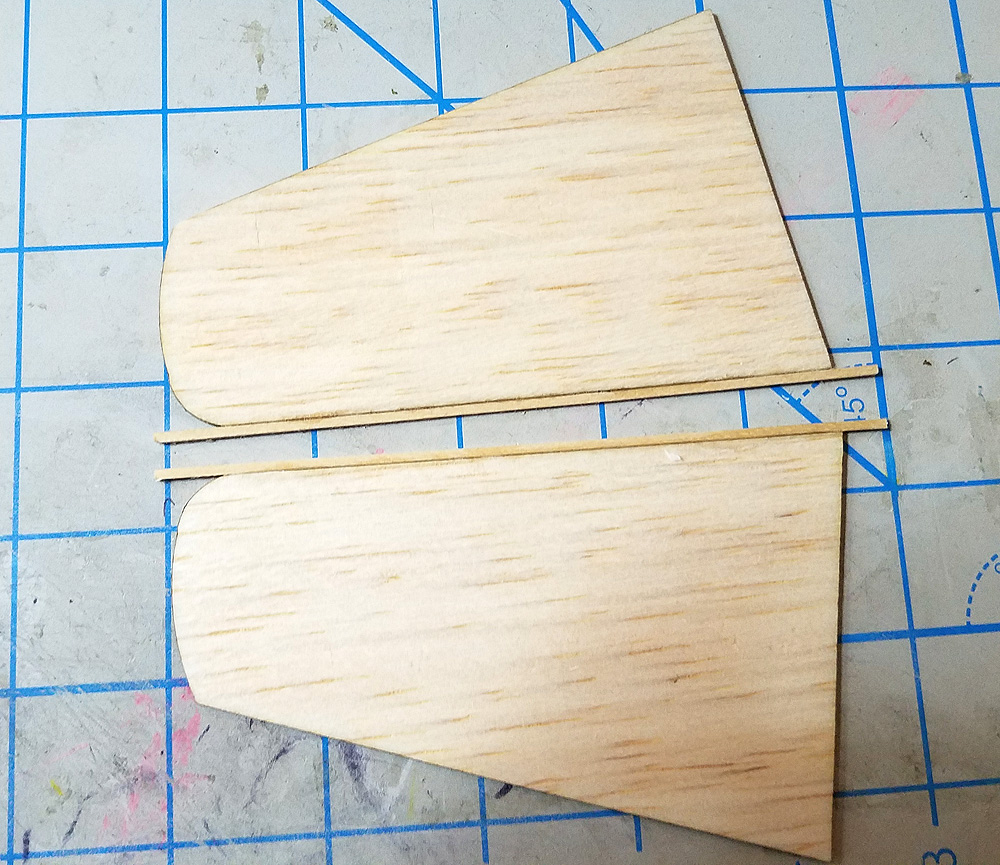
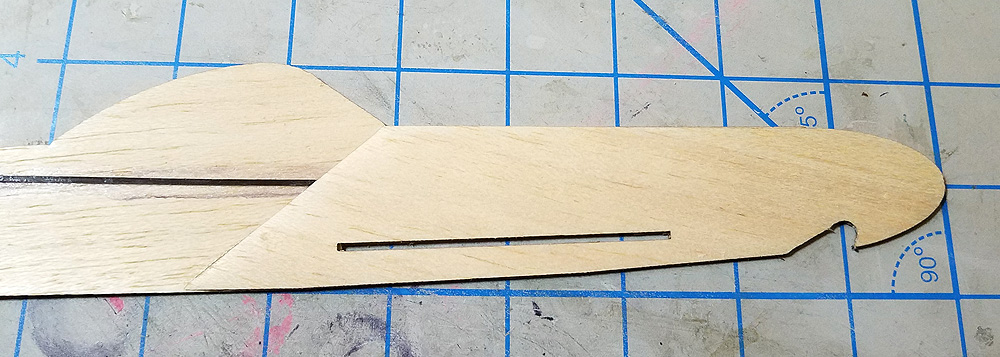
The leading edges on Build #1 took a beating, so I am using bass leading edges. Bass isn’t super hard, but it is better than light balsa.
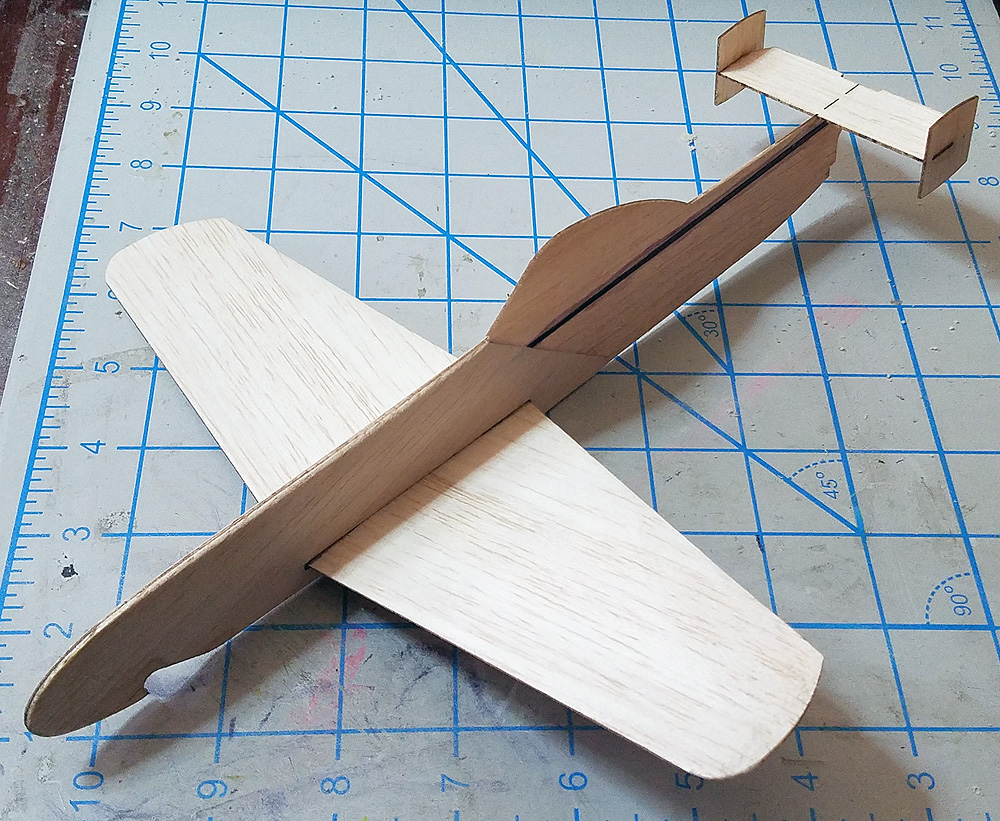
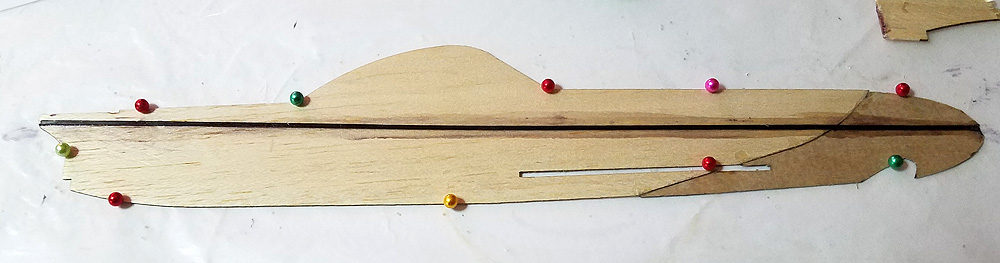
All parts ready for a) assembly or b) covering! I feathered the trailing edges of the wings and did a little of the same on the tail pieces. All surfaces were sanded smooth and edges rounded.
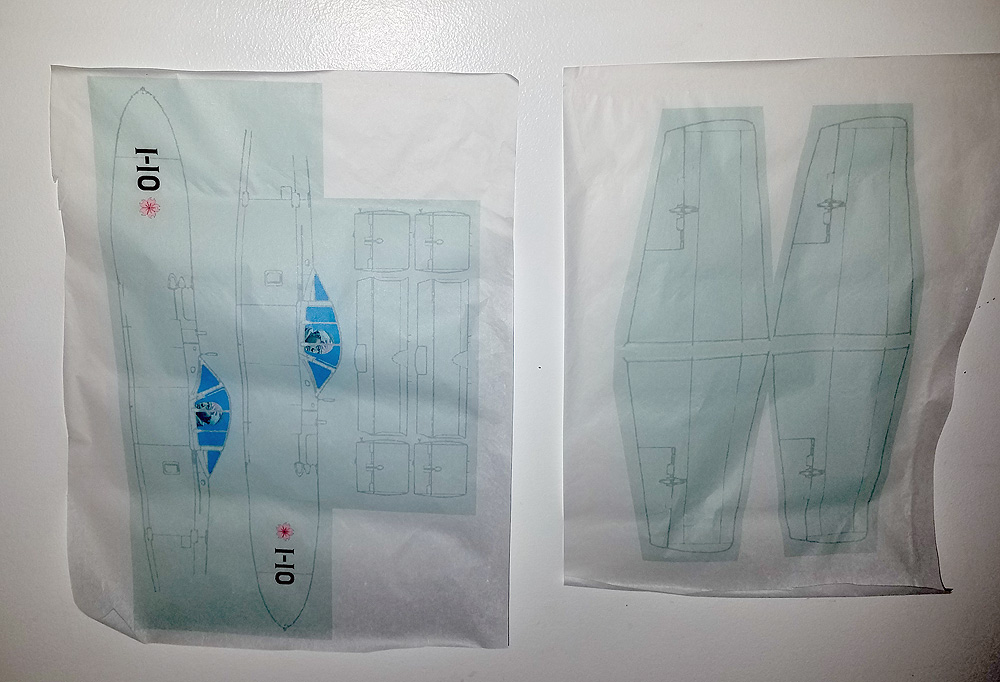
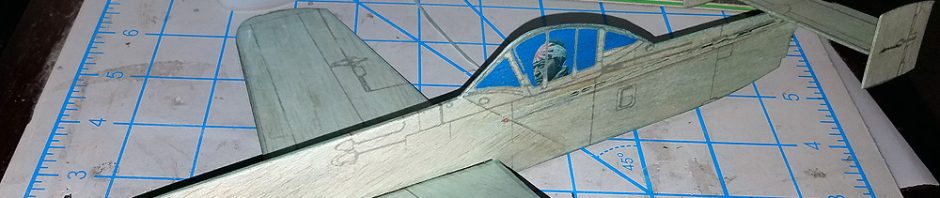
Printed Tissue! This is a tutorial for another time, but I basically take the plan, a good 3-view, a select color, assorted graphics and layer them in Photoshop. Printed on white Esaki through my Epson printer.
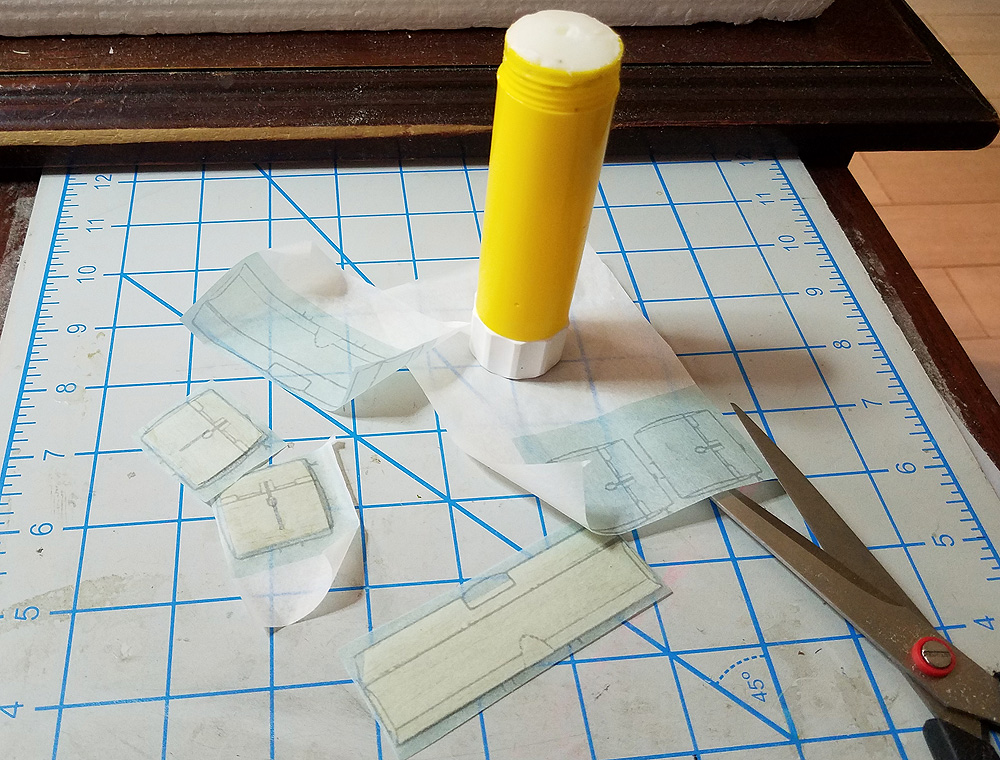
Cover just like any other model. I coat the entire surface with UHU (yeah, that’s purple UHU – it fades over time and the label peeled off) and cover with dry tissue.
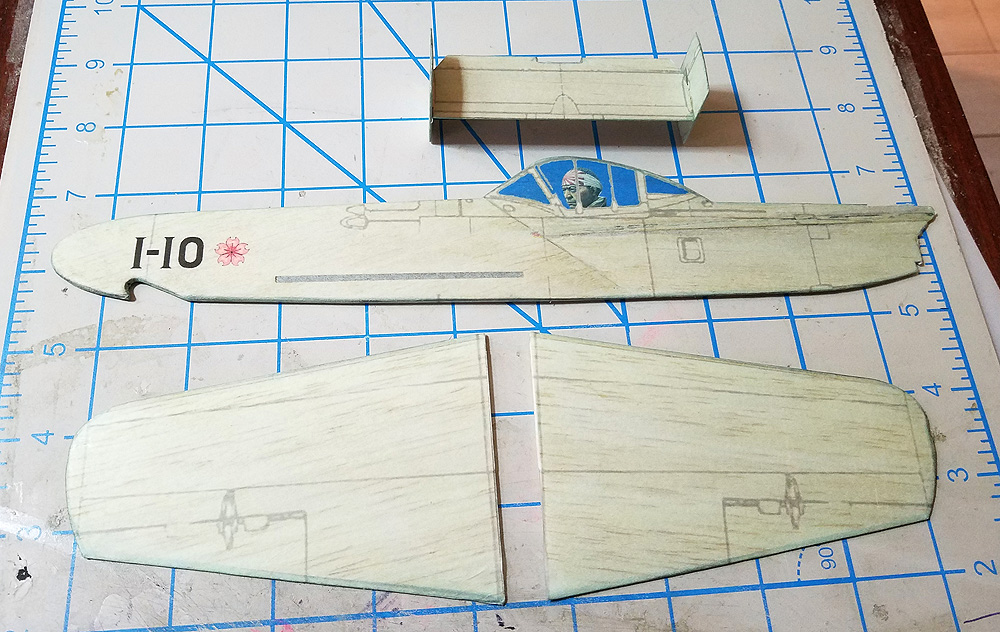
all parts covered and ready for assembly. Notice there is no black CF stripe down the side of the fuselage. I glued an strip of 1/32″ balsa over the CF strip and sanded it down until there was almost nothing left – just to “hide’ that black strip.
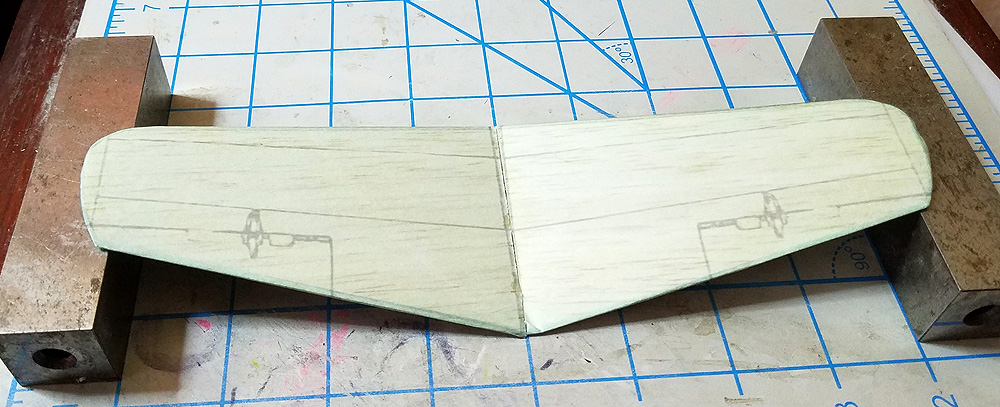
setting the wing dihedral
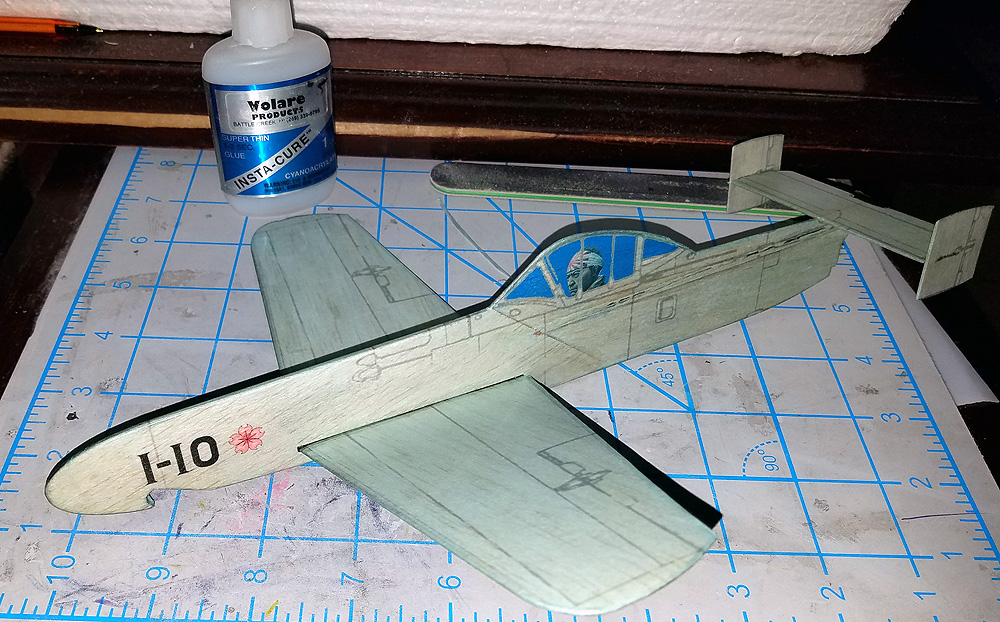
I am happy to report that Ohka #2 has NOT been lost. I stopped testing short of that. I probably had well over 100 flights on the #1 on Monday – it was just too much fun and showed little glimmers of promise. #2 is much more stable and predictable and pushed the limits of my small field inside of 10 flights. I would have a video here, but I can’t figure out how to launch a jet cat and film it at the same time.
Pingback: NEW PRODUCT! – Ohka Jet Cat FULL Kit | Volaré Products
Theres a lot of good ideas incorporated into the build. Thanks for this posting. I am really looking forward to shooting this one off. By the way i was very pleasantly surprised by the posting about the F-4, thanks very much.