3D Printing, Propellers, and Models.
According to the old clock on the server, it’s been over a month since I posted on this blog! For Shame! Today, I’ll cover some things going on at the Volare Headquarters.
Archie Adamisin (you can contact Archie – 3D Props via email HERE) and I have been collaborating on some 3D printed propeller designs. I say “collaborating”, but it is really more like “Hey Archie, can you draw this up?” since I am not nearly at his level of 3D design. He’s been doing great with his P-30 Props and others, probably overwhelmed with people wanting them.
Back in January, I laid out and printed a folding prop hinge design and it was successful. Well, it hasn’t been proven in flight at all, but it functions as intended.
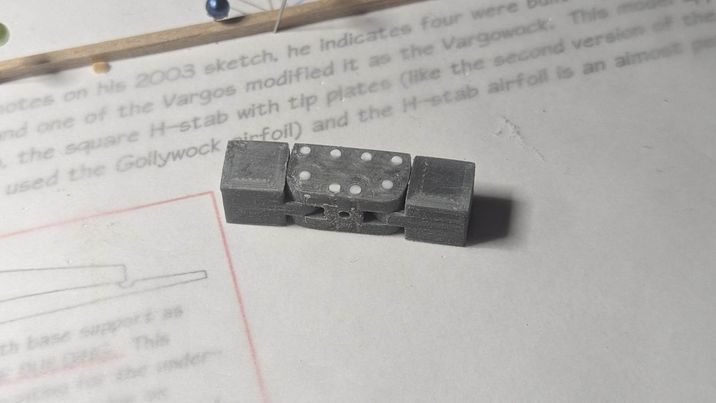
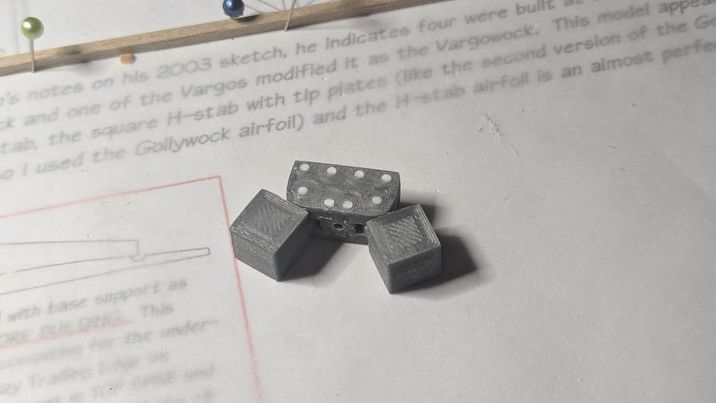
This was not designed to replace the hub on our Superior Prop Folders, but actually for FAC models – where we are restricted from using folders. Actually, the rules state: “Props that fold or feather before the model lands are prohibited in ALL FAC EVENTS.” The key words here are “before the model lands” – we can use them to save the prop blades or the fuselage from breaking on the ground strike, as long as they are held open in all other parts of the model’s flight. So this hinge does not have the offsets that allow the blades to fold back flat against the fuselage, it will just need to flex upon landing.
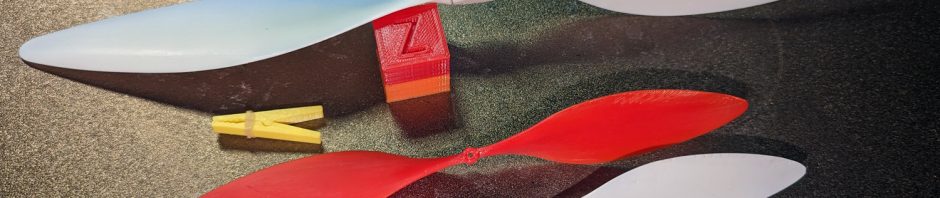
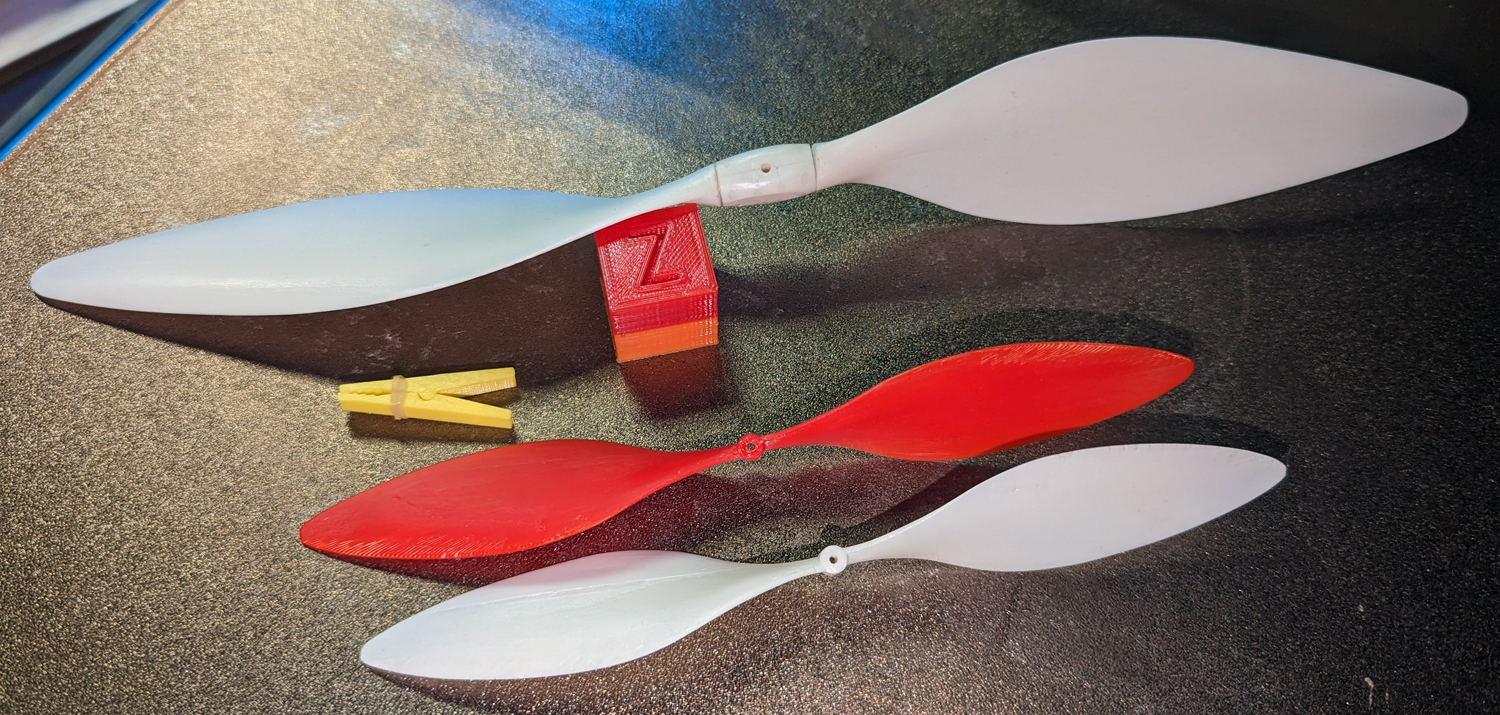
Of course, what is a prop hinge without blades. Here is where I fail in my self-taught design. I cannot design props (although I can interpret and modify Archie’s prop designs). So Archie was called upon to integrate a propeller design and hub hinge design into one. He did a great job! You can see the results in the photo below on the top – a 12″ diameter, 15 pitch, Larrabee blade layout*, folder printed in white ABS. The blades were printed individually and this layout produced a very smooth blade with almost no artifacts that cleaned up easily. I thought it was a little heavy at 11.5 grams, but it turns out that a 12″ Chinese prop is just over 12 grams. It is a very pretty prop, if nothing else! I can’t wait to try it out this summer.
* – I have been trying to make props with the Larrabee layout for a couple of years now. Most of my efforts to date have been with formed props, but again, I asked Archie if he could change his prop layout to use the Larrabee stations and values. I am glad he is up for such challenges, because now we are experimenting with printing props with the Larrabee blade profiles.
You can read about Larrabee propeller ideas at the NFFS Technical Library (here). In theory, they are the most efficient blade design. If you are really intrigued, you can also download a spreadsheet that will produce blade width values at 100 stations along the radius, if you input the diameter, pitch, and blade width (you can even integrate blade flare, if you want). You can also find that spreadsheet in the NFFS Technical Library (here). I have been using this spreadsheet to develop blade shapes that I can convert to DXF files and import into my CAD program and then laser-cut blanks for forming.
Well, Archie created the blade design that would utilize my hinge and the Larrabee blade widths and the folder is the result. Then he also converted his regular non-folding prop design so we could experiment with the Larrabee designs in other props. The red and white props shown above are my props that I will be trying on Embryos this summer. They are ABS (white) and PLA (red) and are 6.5″ in diameter, 8.125″ pitch, with a 1″ blade width. The red weighs 3 grams and the white weighs 2.5 grams. I have been having problems printing these larger props (larger than my Peanut props) in ABS as the heat while printing warps the prop. This didn’t happen with the folder blades as they were printed flat and wide, while the necessity of printing a 2-blade, one-piece prop means the blades are somewhat on edge and I reduce support to leave less “scarring” and artifacts on the blades. Anyway, I am hopeful these will work! (Aren’t they pretty, too?!)
The last little model-related thing in the photo is a little clamp of clothespin style design and operation. Modeling friend Mike Smith sent out some files well over a year ago, and I have modified those. I find these useful while building; clamping things together (obviously) while glue dries or holding a part while dope or spray dries, or whatever. These are 1.25″ long and sprung with a dental band. They can open to about 3/16″ maximum grip. I am thinking of selling them at, say, 4 clamps for $3.
I am also redesigning my Small and Medium Bobbins. Currently, the user has to assemble them and some have had (very mild) complaints about the 2-piece designs. So, I am working on whether single-piece units are viable.
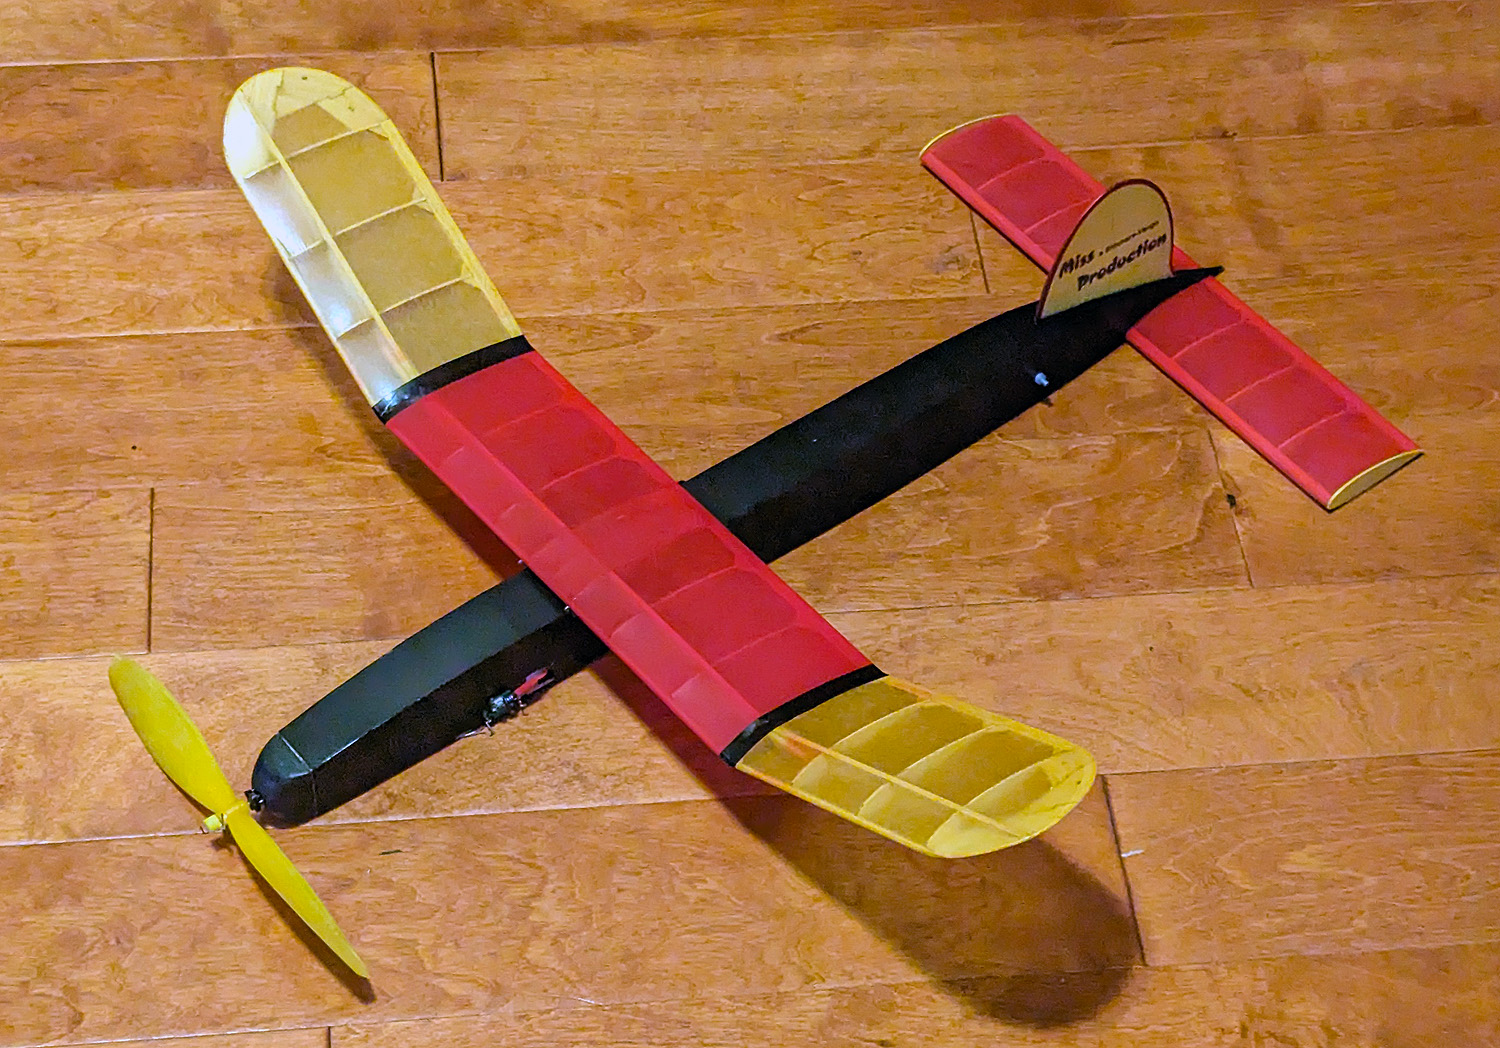
As for the “Future Flying” aspect of this post, I have finished my “Miss Production” Old Time Stick. If you are a “MaxFax” subscriber, you saw that this was an old design that Dan Driscoll found. The Maxecuters decided to honor Dan with a memorial one-design at their Kudzu meet in the spring. I had similar thoughts and had started work converting the MaxFax sketch into a plan with laser-cut parts when they announced the one-design. I completed the work and have it on my site as an early sales item so that flyers on the east coast could get the kit and build it before the event. So, clearly, this short kit has not been flown to date. At least two have been built now, mine and one by Duncan McBride in Florida. His will probably get in the air sooner than mine, as his weather is more conducive to Free Flight in the February/March timeframe. The short kit can be found in my shop for a early-bird price of $20 (that price increases soon). Here is a shot of my finished model.
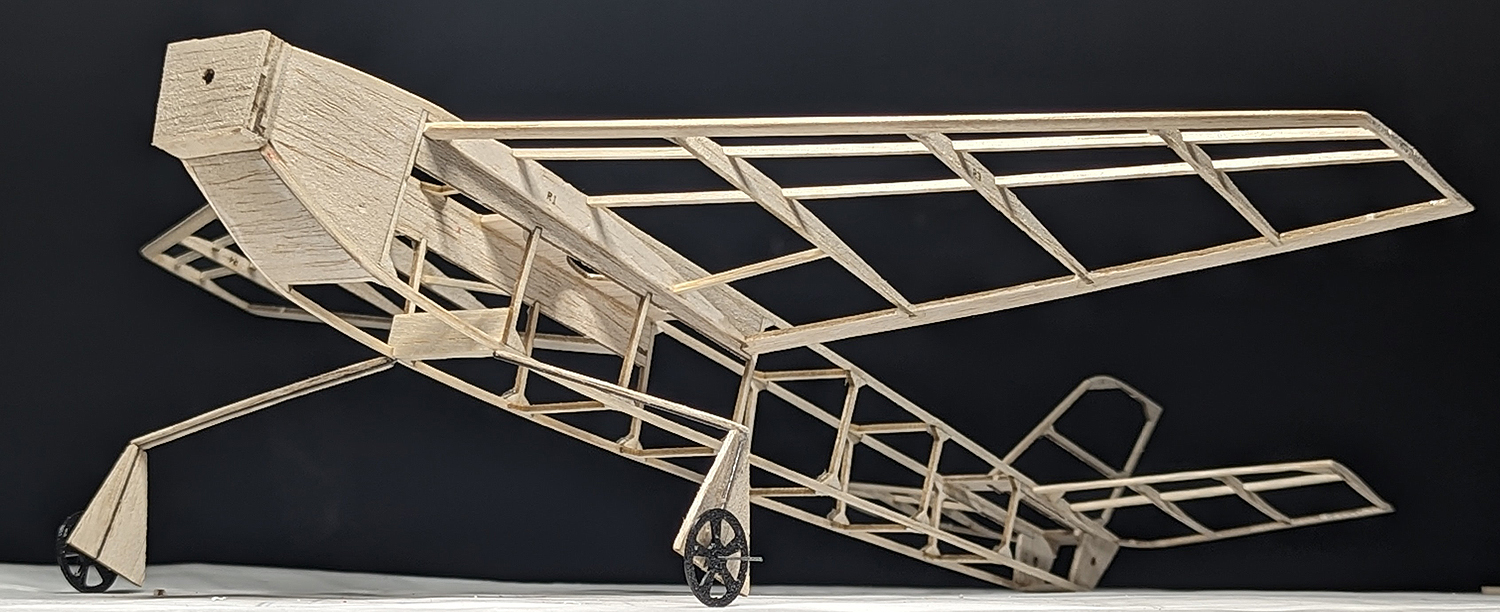
Lastly, I have been working on an outdoor Embryo. This one is to honor a long-departed Cloudbuster, Tom Groening. The hand-drawn plan was published in the Cloudbuster Newsletter in the last ’90s and I grabbed it when Dave Livesay pushed a bunch of plans to the web many, many years ago (I think that’s where I got it?) As I told Winn Moore, who built kit prototype #1, there are probably three people that remember Tom: me, Chris Boehm, and Dave Livesay. There might be one or two more Cloudbusters that do, too. I have intended to do this model for a long time. I remember Tom and this Embryo and it is a shame that he was taken from us too soon – he was murdered in a home invasion in 2003. So, 20 years later, this model will fly again. I am calling it the “Dragonfly”, since there was no name and “Tom Groening’s Embryo” is just a little too clunky. The new plan will appear in a future issue of the Cloudbuster’s newsletter and the short kit will be available as soon as either Winn’s or my model flies successfully. Here are a couple of photos (my bones, Winn’s covered model). I’ll write up details on this later, as it is quite a quirky design and build.

Wonderfully Quirky, refreshing design!