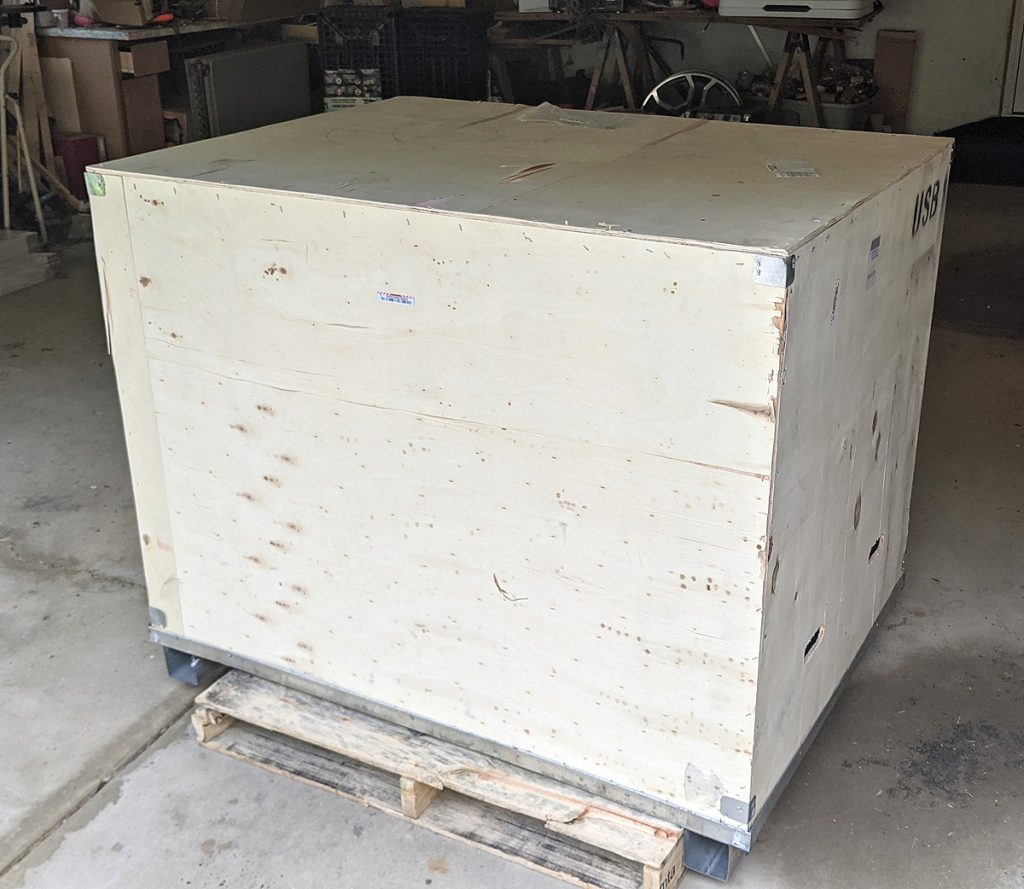
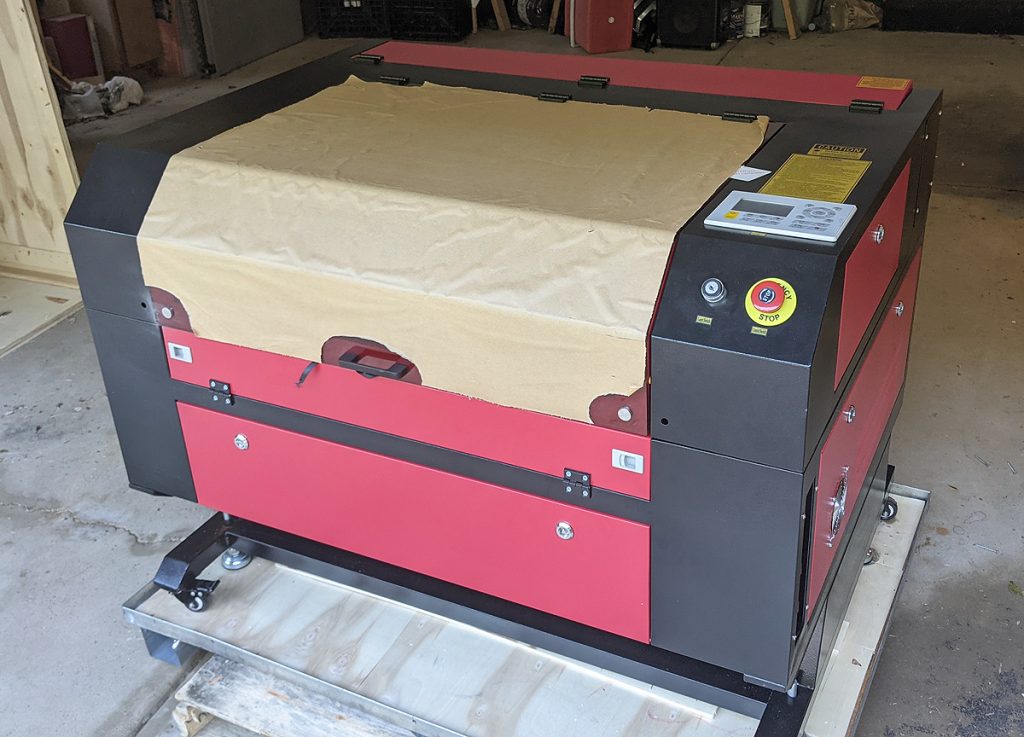
I took delivery of my new laser cutter on the 11th. It was scheduled for delivery on the 10th, but the truck driver did not want to back his 53′ semi-trailer into my driveway and tear up the yard. That was kind of him, and as I said, I didn’t mind because when I take delivery, that’s when my work starts. So they came back the next morning with a smaller box truck and dropped the crate off in my garage.
So there it sat. I had to wait until late that evening for my sons to come over. They were working in the coffee shop – and then golfing (!) – so, old dad had to wait to get his new toy moved into the house. As it was indicated that it weighs something over 300 lbs, I had the idea to roll it on plywood around the back yard to the door into the room where it will sit. I broke down the crate and used the three larger sides for that purpose. About 1/4 of the way through the journey, Jack suggested we simply carry it. That was the right thing as it went much easier than swapping all those sheets of wood. I did have to remove the doors from the entry way, since they interfered. With them off, we simply rolled it through the doorway with about 1/4″ to spare. Now comes the complicated stuff – getting it to work.
I installed the software that came with the cutter onto the laptop that I used for the old cutter and eventually brought up the water cooler (for the laser tube) and the industrial filter system. I say “eventually” because I didn’t need either of those to get started – I needed to get to that “it’s alive” point and that didn’t require cutting – which heats the tube and creates smoke – so just making sure that I could control the head and load a drawing was the first part.
After it became operational, and I got the water hooked up, it was time to do some test cuts. As with all things technical, there is a learning curve. I knew I had to convert all my old files to a new format. The old laser required XPS format and this would read DXF. DXF is good, because that is somewhat of a universal CAD file format. TurboCAD uses its own proprietary format (of course), but easily writes to DXF. Somewhere along the lines of testing, I got the machine confused and it thinks things are mirrored, and try as I might, I could not get it resolved in the free RDWorks controller software that came with the machine. Googling told me that LightBurn was a better controlling software, but it costs $80. I downloaded the trial and found that I could actually set up and control the machine now (so I sent them $80). It did take me all day to get to a comfort point and that was rather frustrating – just ask the Mrs.
Side track for a moment. While my old cutter was dying, i had plenty of time to mess with it. As mentioned before, it would simply stop cutting in the middle of a file, often burning a nasty hole in the balsa. You can’t really start over on a cut, so tossing all those partial cuts was wasteful. I discovered that if I stood there and monitored the cut, I could unplug and replug the USB cable and it might resume right were it stopped. I tried different USB cables but no luck. These are the silly printer USB cables with the strange square end that plugs into the machine. During my week of working on the dying machine, I discovered that whatever the problem was, it was throwing errors that stopped the USB driver from functioning. I could unplug from one USB port and move to another and have success – until that one threw an error. So…Is it the machine board initiating an error that fed back into the computer – or was it the computer and its USB ports/drivers failing? I don’t know. Its an old recycled laptop, that I dedicated to the cutter. I moved the laptop up to the new cutter and loaded the trial software and got to setting up the cutter. However, I decided that I cannot trust the old laptop, so I bought a new $500 laptop for the new laser cutter. End side track.
I was able to create some files and test the actual cutting. It appears that the new cutter is about 5x faster than the old cutter! Add to that the bed has just over 4x more area. I should be able to cut at least 4x more wood in the same time as the old cutter. The old cutter has a cut bed about 14″ left-to-right and 9″ front-to-back about the same size as a sheet of legal paper. Consider that any of my larger kits require several sheets of balsa, and you can see that to cut one kit would a) take some time and b) take swapping out wood for a second or even third set of wood.
I tested some Chambermaid Dimer kits. These require three sheets of balsa – 2x of 1/16″ thick and 1x of 1/8″ thick. I was able to load both thicknesses and cut two kits all at once in less time than I could cut one kit. Success! However, as I mentioned on facebook, I was out of any balsa heavier than 6-pound. I had some on order and coincidentally, it arrived on Sunday. So yesterday was spent refining and tweaking. I ran into two issues: 1) I ran into some software-induced problems and 2) balsa suppliers only supply “nominal” sizes.
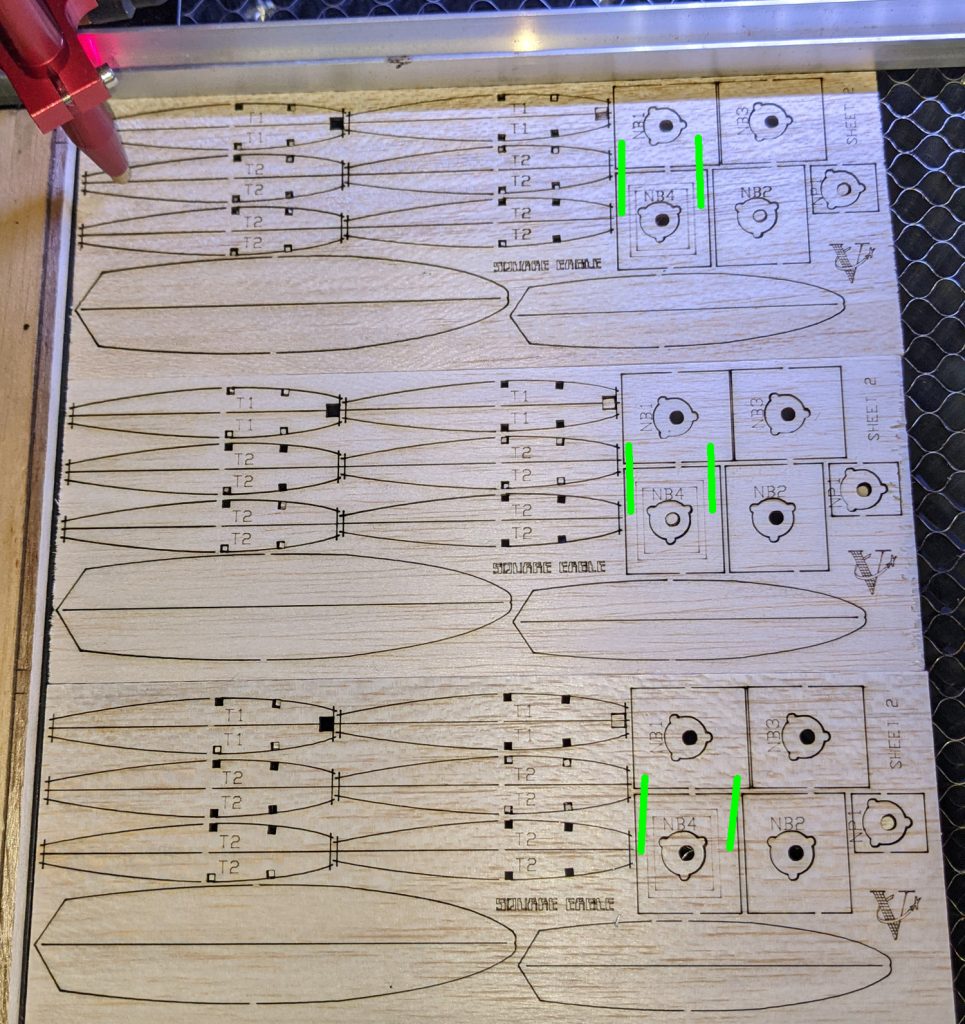
The software. I have a backlog on P-30 kits. And with the arrival of the new wood, I could get busy cutting for them. I laid out a bed-full of balsa to cut 3 kits at once. That is four sheets per kit for the Square Eagle and I could fit three kit’s worth on the bed at once. To get technical, the cuts are sorted by layers – I use blue for the main cuts, red for the lettering, and green for optional features (like gizmo geezer nose button cut-outs).
It only took 25 minutes to cut three kits! however, I noticed a problem – the lettering was shifting to the left. That wouldn’t be too serious, except I also etch certain parts locations on other parts – you know: “glue part A to part B HERE”. I noticed that between the first kit and the third kit this location had shifted almost 1/16″ of an inch. And then the third layer of cutting the nose button holes was also off.
I did more googling and found that apparently the command to control the stepper motors can induce a drift like this. Here is a snippet: “‘PWM rising edge valid’. This controls which side of the motor pulse the motor drivers are expected to respond to, and if it’s wrong, it will cause very slow drift of jobs over time…” and “… cause slip, especially if the job contains lots of small moves.” – like all those small moves in writing out all that text. So I got that fixed.
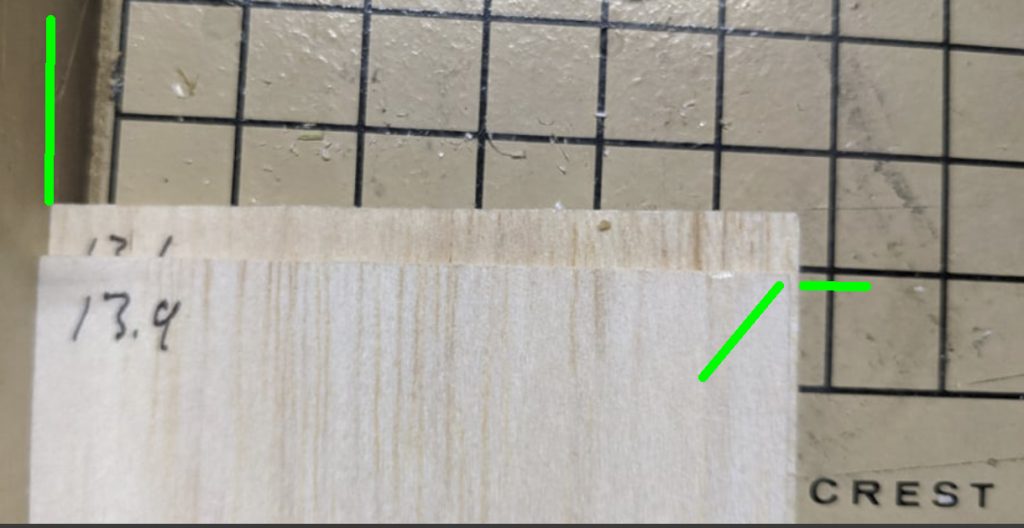
The next problem was one that I encountered before. I will call it “error stacking”. I order 3″ wide balsa. I have found that suppliers have a wide tolerance for producing 3″ wide stock. I have received batches that are under 3″ by at least 1/32″ and some batches over by as much as 1/16″.

the left green mark shows the sheets pushed up against a wall and the right side shows the two different widths of 3″ wood from suppliers.
On my old small bed, I could account for that and most of my files are padded with about 3/32″ of space between the ideal 3″ width and the parts cut. That 3/32″ padding on each side would allow for errors to stack up and not really affect the cuts – most cut pieces would stay on the piece, regardless of the size. I did often strip 1/132″ off of some sheets. But with the new cutter, I have the capacity to stack up a lot more than two or three sheets and with that, I am stacking errors from all those poorly-dimensioned stock woods. My solution to that was to make a cut file to process each sheet – it cuts off any excess over 3″ and makes those sheet 3″ wide. While I haven’t tested it, in theory, this should solve that problem. It will take about 3 seconds per sheet, not including the load time, but with all the time save with the faster cutter, I can spare that time and still be faster.
So all that testing took all day yesterday. I was finally able to pump out some good balsa, but I also have a waste basket full of scrapped sheets of balsa. Now it’s back to work!


Thanks, George, for taking the time to write about your new laser. It gives us a good idea of what you go through to produce the excellent kits you provide.