A LONG post with a lot of photos AND a video!
One of the great things about the Flying Aces Club is that CDs are allowed to implement rules in their own way and try new things at the local level. On the East Coast, you will find 15-contestant Mass Launches being flown in 14 rounds. And out in Colorado, they are trying out a Mass Launch event for NoCal Thompson and Greve Racers. And now, Don DeLoach (Colorado) is taking that event to the national level – literally. As CD of the 2019 AMA Indoor Nats, he is strongly promoting FAC Events and has obtained GHQ permission to run the the NoCal Combined Races at this National meet – for a Kanone, even.
Now, you don’t see a lot of Racer NoCals – Chambermaids mostly – and the Hosler Fury is a favorite in come indoor circles (Don had prohibited the Fury), but you don’t see many other planes. While contemplating the drive out to Arizona, I wondered how I could participate in this event – given that I don’t have a Racer NoCal, and have never drawn any plans for one. I do sell a Chambermaid NoCal, but that’s been done to death (from my point of view). And who really wants to see the sky filled with Chambermaids and Mr Smoothies (although the Smoothie would probably do really well)?
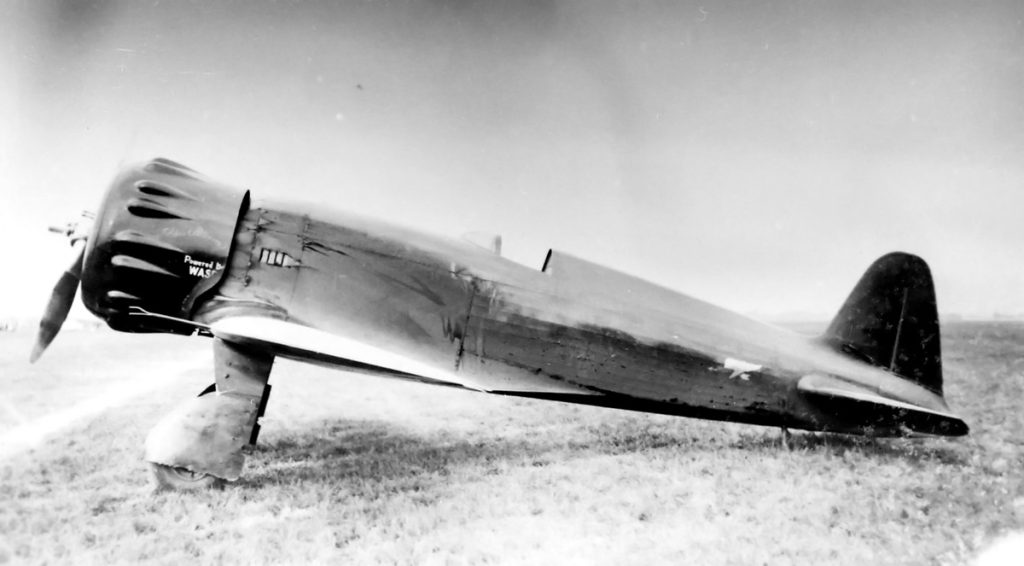
Back when I was a younger man, I drew up the Wedell-Williams Model 45 for Peanut Scale. It wasn’t very successful. But I decided this would be a good candidate for this event – it has decent moments AND I already had a drawing to start with (always thinking!)
It was a quick draw from Peanut to NoCal and the good part was it fits on a single sheet of 11″x17″ with only the horizontal stab overlapping the wing. I laid out the parts and cut a prototype set.
The build went together pretty well and it came in pretty light – about 2.5g at that point. Now, the event requires a minimum weight of 6.2 grams and maximum prop diameter of 7″. These restrictions are a method of leveling the playing field – no super-light NoCals with monster props. They all have to be “heavy” and fly with a moderate prop. I decided to print the colors on some domestic white tissue, because I knew I didn’t need to save weight.
The model finished out at just under 7 grams. I was going to use a 7″ plastic can prop I made earlier in the year, but this proved to be too delicate this heavy model and the supporting blade spars cracked on test glides, so I went with a plastic commercial 6″ prop, scraped down to about 1.5 grams.
I will include more build photos here – and a test flight video. But if you want to know more, scroll down and I will address the “errors” and “fixes” that I have encountered – important stuff, should you want to build one yourself.
One more comment before the photos: Don will be running this plan in the NFFS Digest to promote the Indoor Nats and this Event. I will soon have the Short Kit ready for purchase ($11) and free Tissue Templates for download (2- legal size sheets).
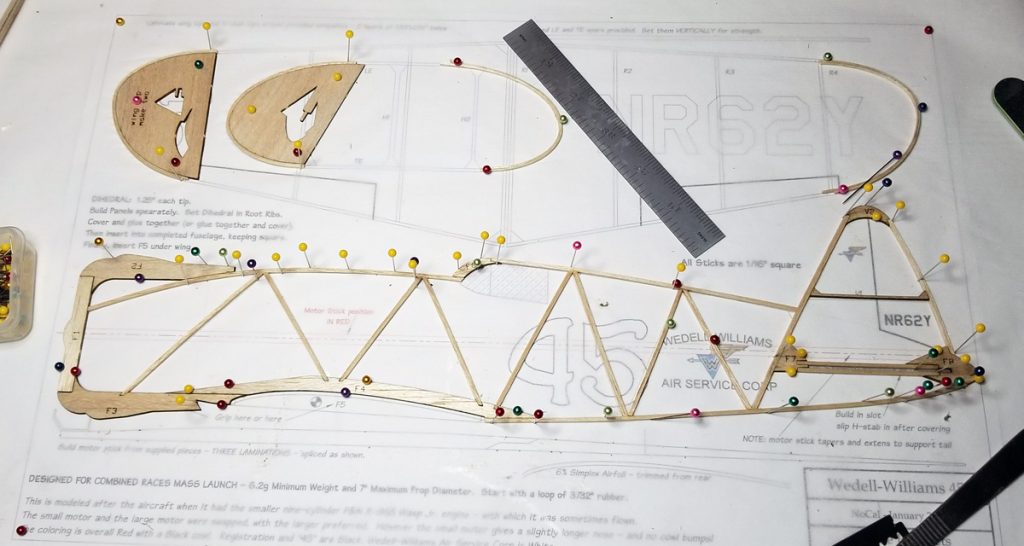
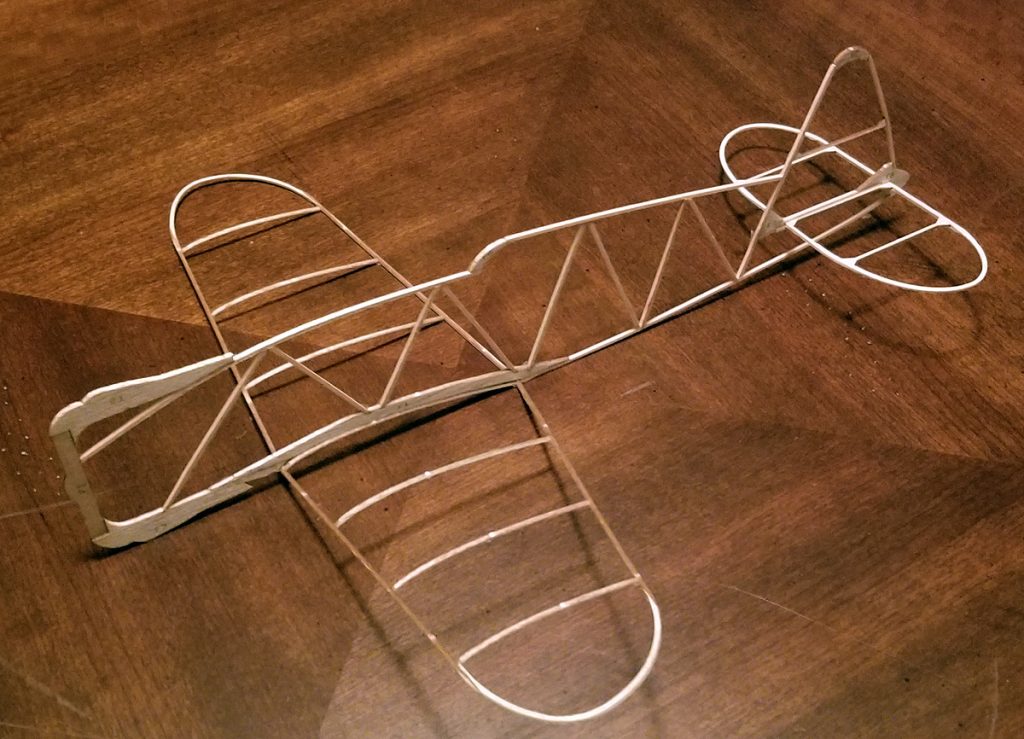
the fuselage structure and the start of the laminated strips. Tip Templates are provided. You can see the right tips completed and the left tips in process. I used 2 strips of 1/32″x1/16″, wetted, and glued with wood glue.
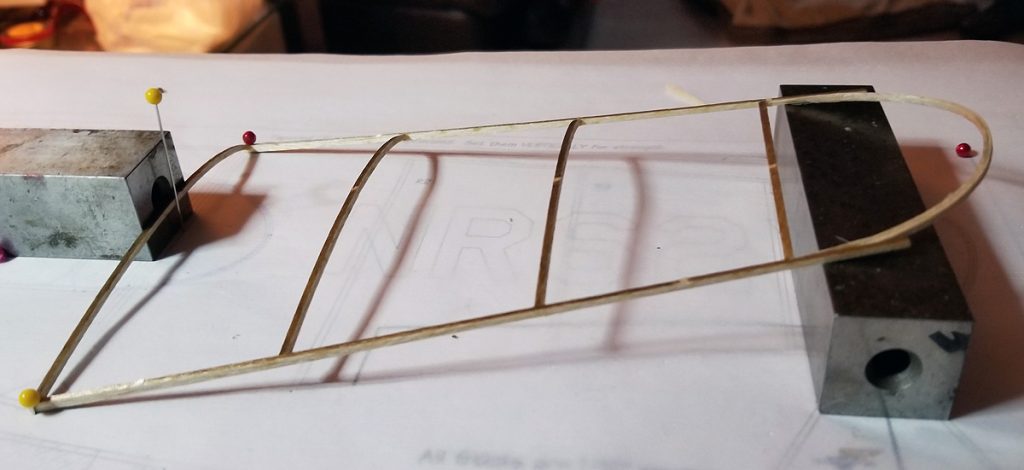
Setting the Root Rib Dihedral. I recommend two root ribs (one each panel) to create a strong anchor for the fuselage.
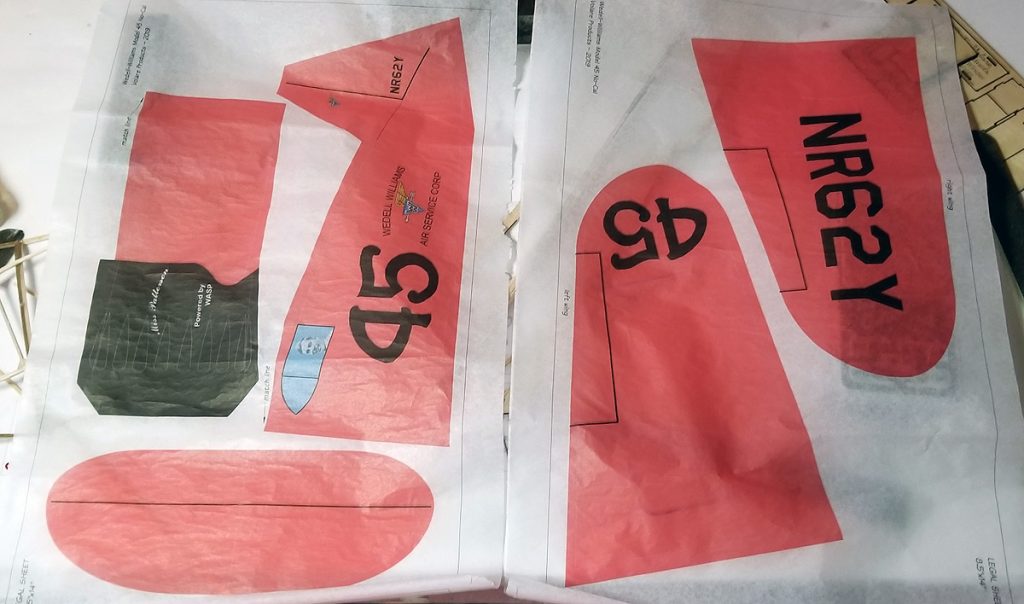
the printed tissue – 2 sheets of legal size – 8.5″x14″ run through an Epson printer for waterproof ink. I used domestic white – more on that below.
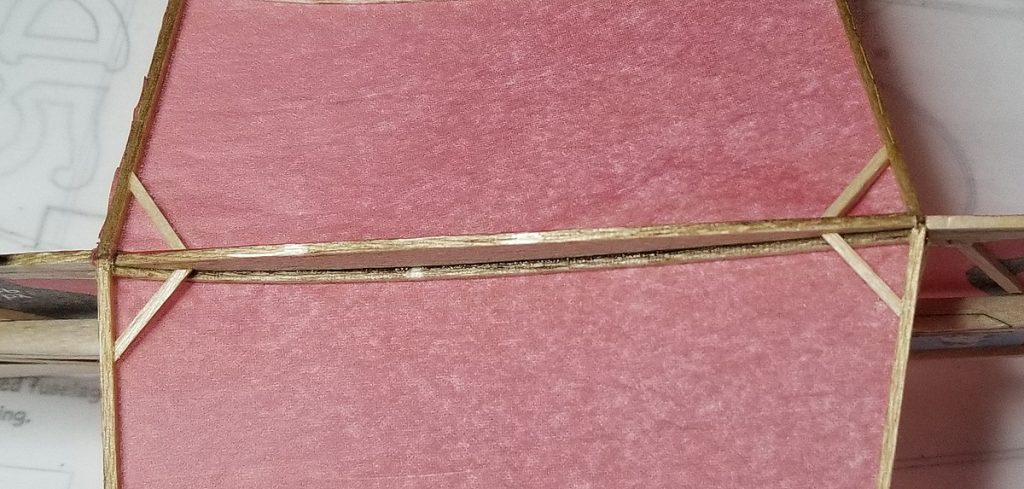
Wing Root braces. Shown as gussets on the plan. You can install gussets (or braces) before covering, after covering, or (like I did) after assembly. But do it – they add a lot of strength to the wing.
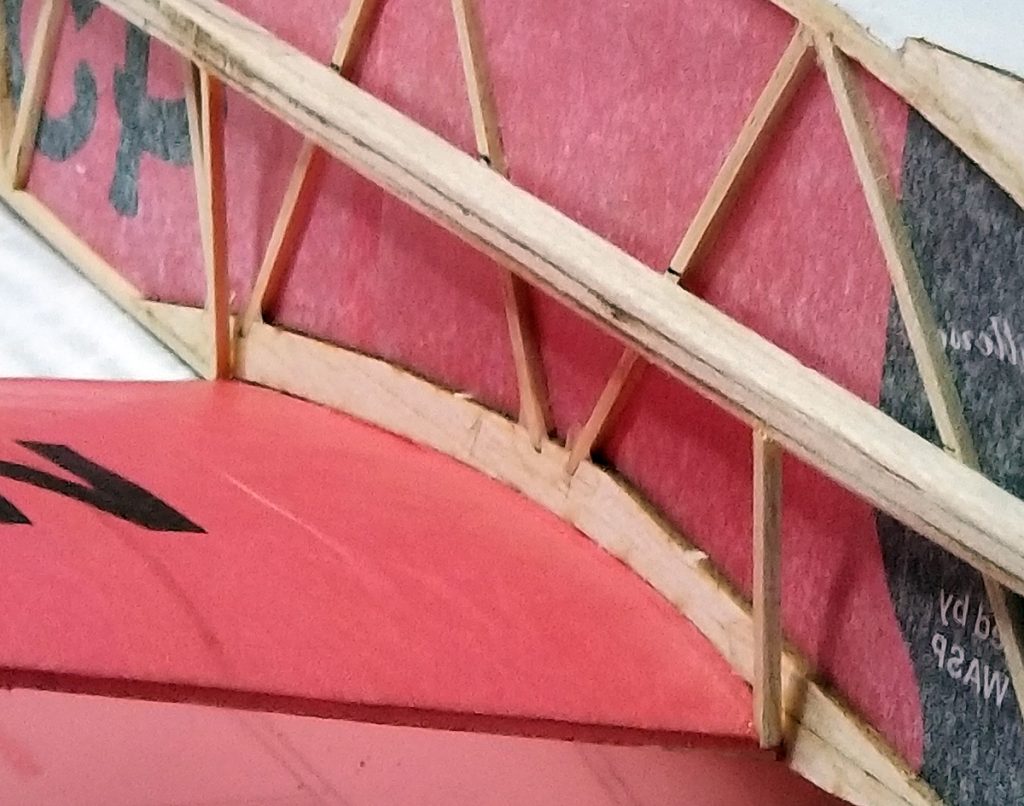
these braces also add a lot of strength to the wing-fuselage joint. They run from the motor stick to the LE and TE of the wing at the fuselage joint.
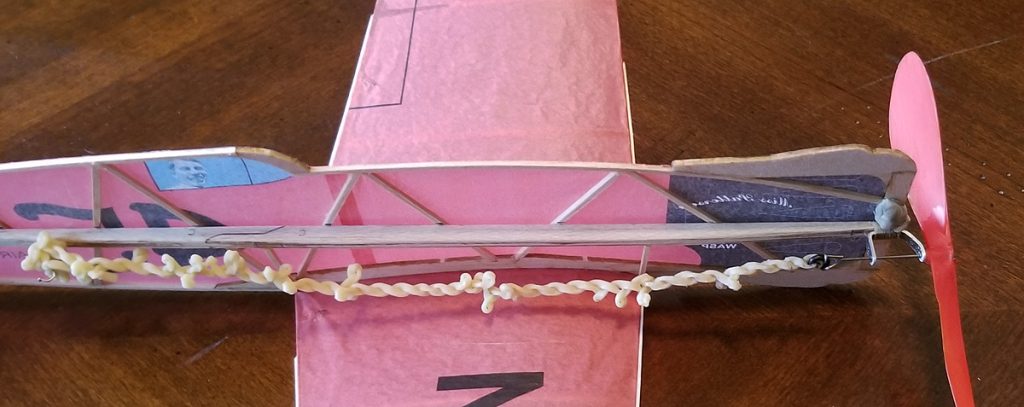
Showing the motor stick, prop and nose bearing. The motor stick is made from parts supplied in the kit and was plenty strong. The bearing is home made from sheet aluminum. And the prop is a scraped 6″ Peck-style prop. You can also see the balance of the rubber related to the CG. I would NOT move the rear hook farther back – and you might be able to position it more forward – say 1/2″ – 1″.
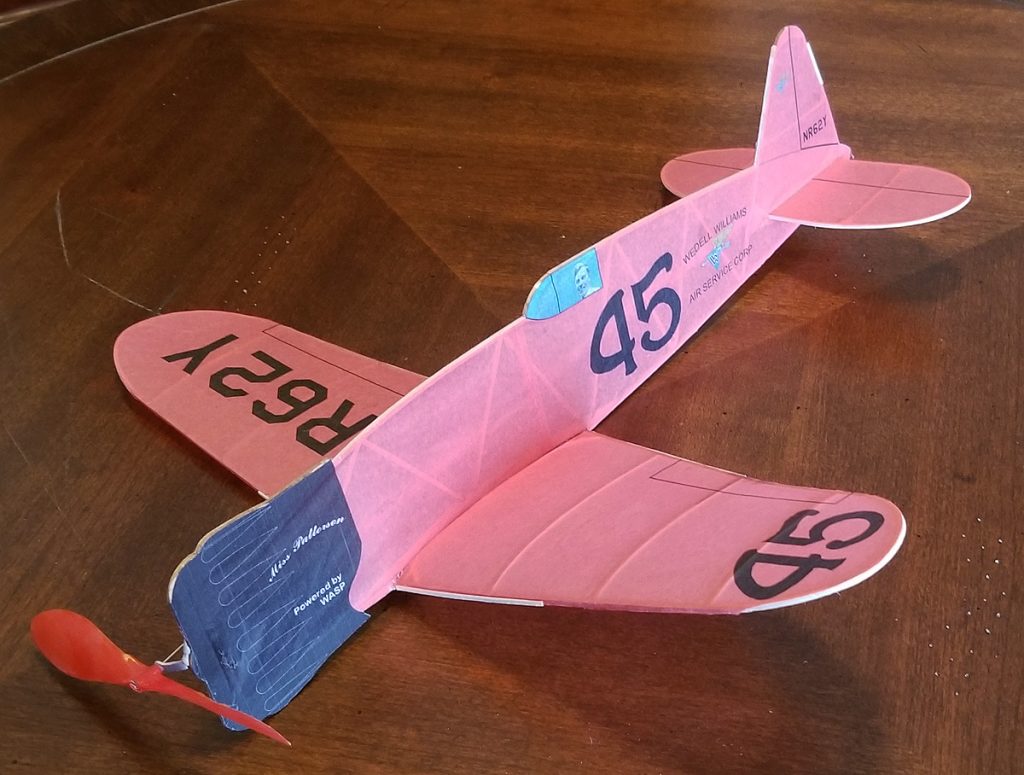
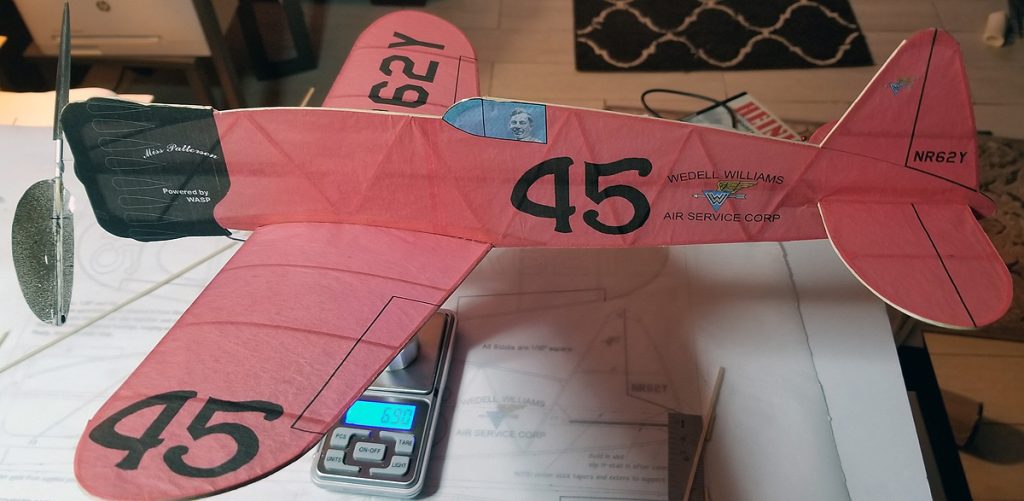
The finished model – after flight testing and trimming – see below for issues and fixes. And that’s Jimmy Wedell in the pilot’s seat! And printed cowl bumps, too.
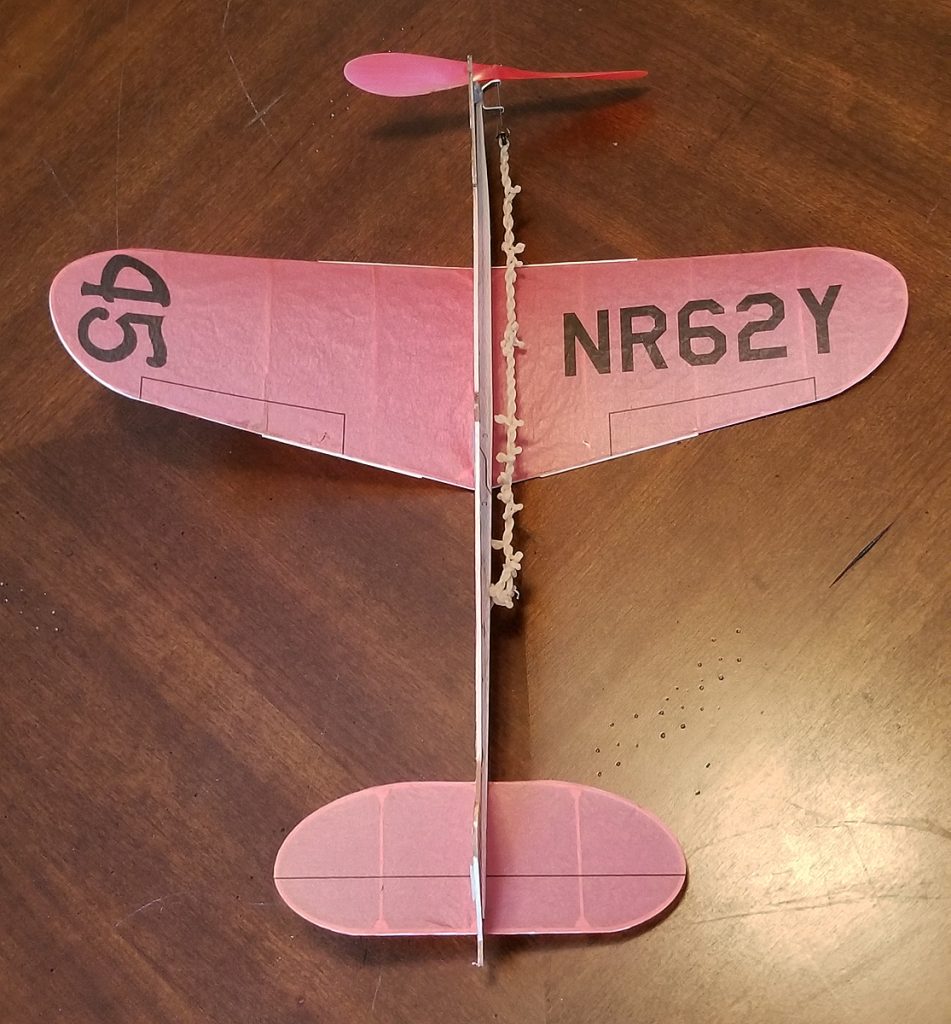
the overhead view showing the good proportions of the model. the tail is plenty big: 26% of the wing and it produces a 0.78 TVo
PROBLEMS, ERRORS, and FIXES
Soooo… The video shows the model flying – it flies pretty well, but could do better. It is hard to tell in the terrible video, but it has just the slightest stall tendency. I am flying it left because I feel that low-wingers work better to the left. I do try to fly high-wingers to the right, especially indoors.
I didn’t pay attention to weight in this build. I knew I could hit the target weight and being well under would only mean having to add ballast. But I think I did make some mistakes in this design.
- I should have built the fuselage lighter – and the wings heavier. I used “indoor style” LE and TE spars – cut from balsa and tapered from 3/32″ at the root to 1/16″ at the tip. This proved problematic during MY testing phase. Low-wingers are not as easy to trim and they can have induced roll – mine did – and when it finally came to the ground, even slowly, the LE and TE would crack if the wing touched first. You can see my 1/13″x1/16″ balsa splints on the LE and TE in some of the pics. That helped, but if I were to build it again, I would probably use bass on the LE at least, maybe on both. That would make the wing stronger, and less susceptible to warping, too.
- I used cheap domestic white tissue. This wasn’t a real problem – until I got too eager and decided to try some test flights – outside – with light snow flurries. The tissue was not pre-shrunk or crinkled – it was just put on with a little bit of loose-ness. Well, there were snowflakes on the wings when I came in the house. I didn’t blow them off. They melted and made the tissue wet. The tissue shrunk slightly – you can see a bit of “potato-chip” in the wings. I should have crinkled the tissue on the wings and tail – like I usually do for light-weight NoCals.
- There are printing errors in my tissue that I have fixed in the tissue templates.
- I scraped that prop down to 1.6 grams but, judging on the blob of clay on the nose, I didn’t have to. Although… using lighter wood and lighter tissue in the fuselage, would have resulted in less weight behind the wing and less nose weight needed.
- Note – not a mistake, but a disclosure. My goal yesterday was to get this flying respectably – which I did. The prop and rubber combo is not the best for duration. This is a loops of 3/32″ and a 6″ plastic prop. A bigger prop and more testing time would likely result in increased duration.
That’s all the major issues. I have a 7+ gram NoCal that flies on a loop of 3/32″ with less wing area that flies for 2.5 minutes. This plane has more area, in fact, it has a lot – 53+ Square inches. So this design might be able to get to that level, but care and attention will need to be observed (remember, low-wingers are less stable).
Two more things:
- get yourself out to the 2019 AMA Indoor Nats – it is in a football dome with a 100-foot ceiling!
- Build a Racer NoCal! Any of the Thompson/Greve racers will qualify. That Mass Launch should be a lot of fun!
See you on the flying field,
–george

George,
Can you provide info on using these printing templates? Specifically, what printer/inks do you use? How do you apply to the airframe? Glue stick? Dope? Can you shrink the tissue such as for for compound curves? Will this distort the printing? What finishes can you put on the printed tissue that won’t effect the printing? Krylon? Dope?
Lots of questions, but appreciate any insights.
Thanks.
Hi Jim – great questions. I will do a write-up on my tissue-printing experiences! –g