
One detail of how to improve your model-flying consistency is to braid your motor so that the rubber unwinds to a specific length and repeats that every time. Part of this practice is to allow the motor to rotate around the rear motor peg to avoid bunching. Most recommend a tube that slips over the rear peg. Here is my implementation of that. I made a bobbin.
My motor peg for this Peanut (and all Peanuts) is made from 3/32nd OD aluminum tubing. The tubing I chose to use for the bobbin is 5/32nd OD tubing – two sizes larger. I cut the tubing to 1/2″ length – wide enough to fit my stuffer stick, but narrow enough to fit inside most Peanut fuselages. I then CA’d some laser-cut 1/64th ply discs to the tubing. These “walls” prevent the rubber from coming off the bobbin. This assembly only weighs 0.2 grams.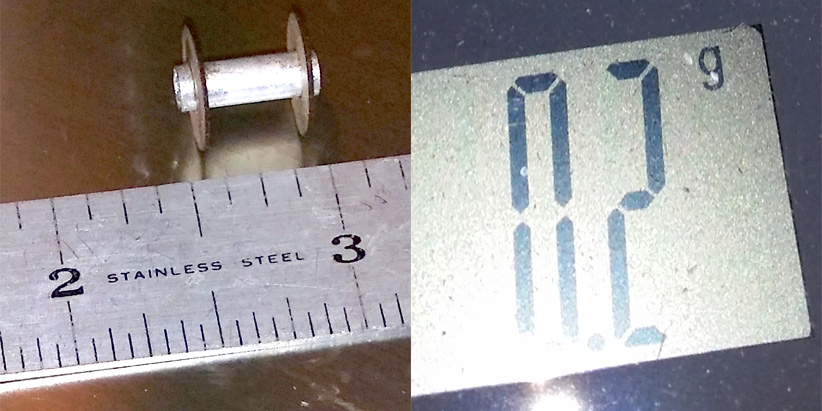
In this photo, you can see the single braided loop of 3/32nd rubber mounted on the bobbin.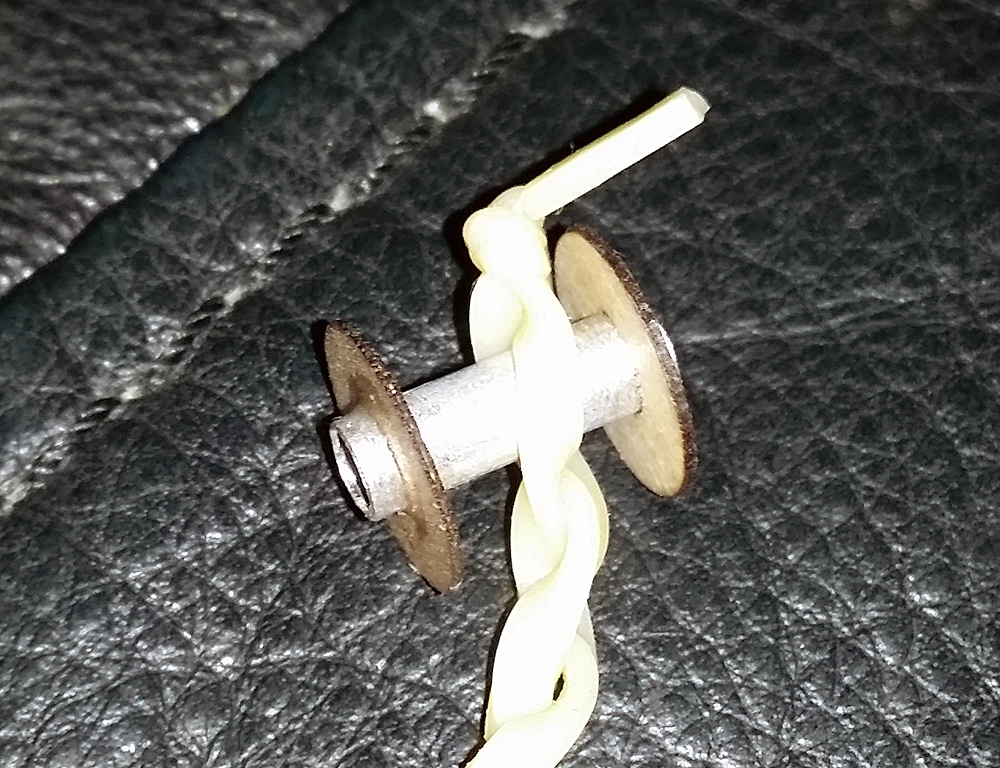
Now you can see the bobbin, loaded with rubber, mounted in the stuffer stick. 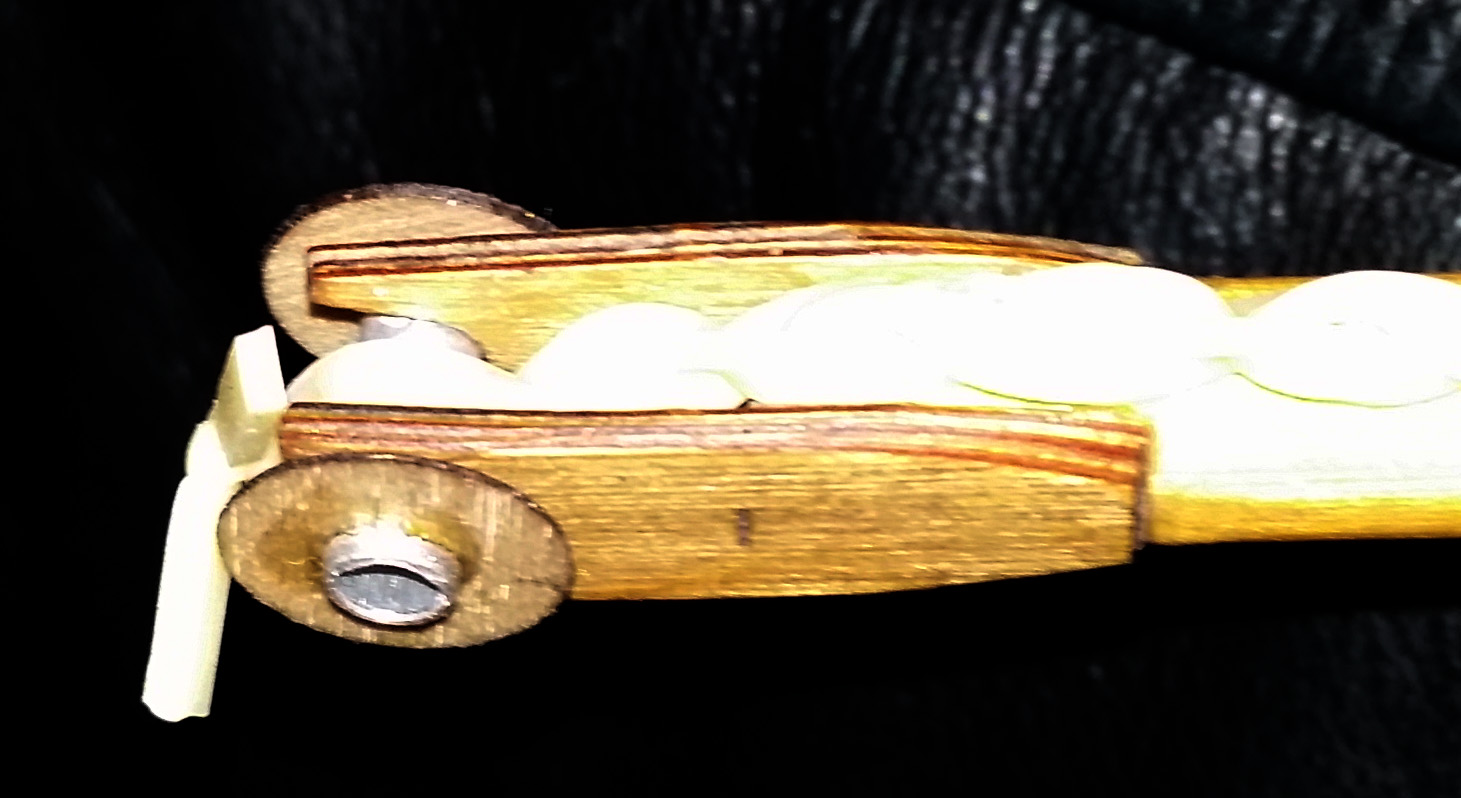
Finally, you can see the bobbin and rubber installed in the plane.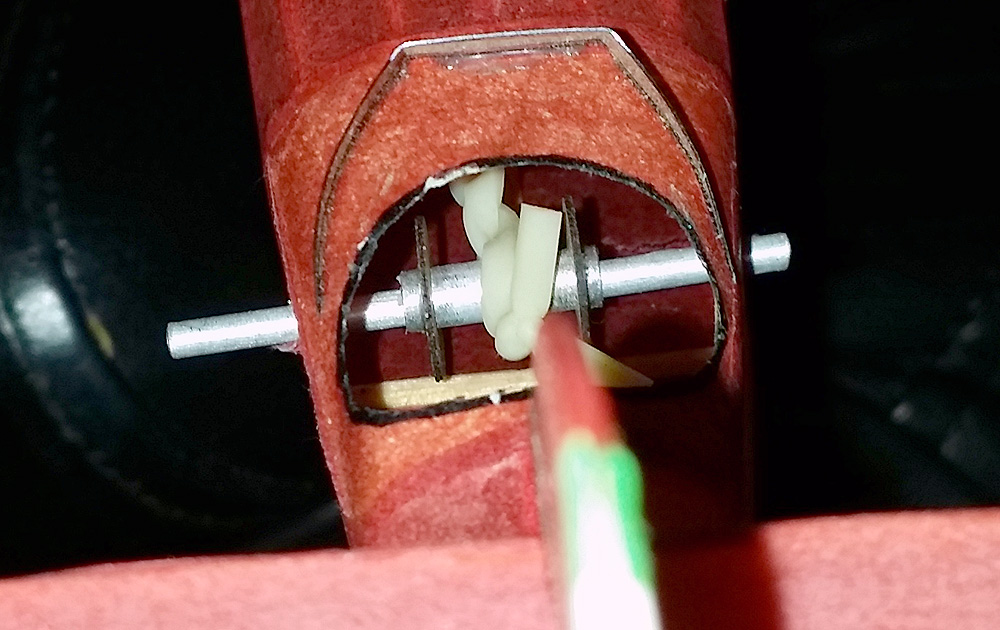
![]()
Hi George, Just a thought. After installing the ply discs, and before gluing them, slightly flair the tube ends. This prevents the discs from coming off if the glue ever fails and also makes it easier to slide the rear peg into it. I enjoy your site, you do good stuff…